LabVIEW
The following guide will show you the basics of the LabVIEW programming environment. LabVIEW programs are called Virtual Instruments (shortened to VIs). When you create a new VI you will see two windows. The grey background is called the front panel, this is the user interface. The second (white) window is called the block diagram. Unlike most text-based programming, LabVIEW uses icons and wires to control operations. Below is a great general overview of the LabVIEW graphical programming environment.
The Front Panel
On the front panel you can place controls and indicators. A control allows the user to manipulate the data before or while the program is running. An indicator allows you to see a live update of the data at a certain point in your code.
Some things you may want to see or control:
- Boolean values (true/false or on/off)
- Strings (text)
- Integers
- Double precision numbers (decimals)
You can also use the front panel to graph data. Use a waveform chart to plot data as it is processed. Use a waveform graph to display data once processing is complete.
Activity: Front Panel Exploration
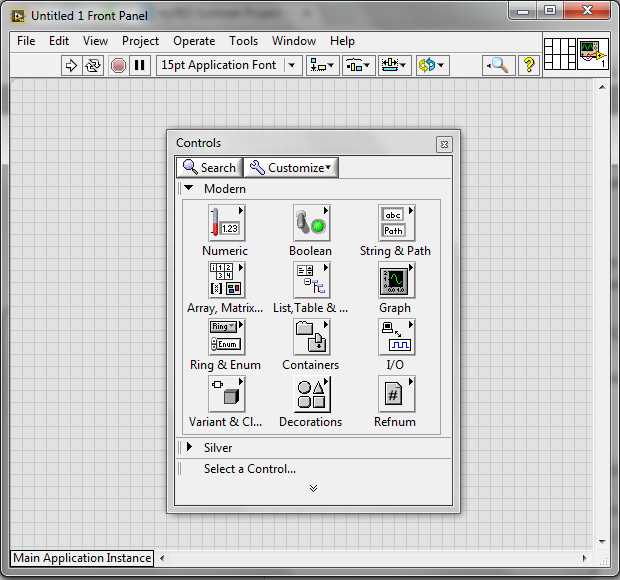
Right click on the front panel to see the controls palette. Here you can choose controls and indicators for your user interface.
Drag and drop a few icons onto the front panel and notice how matching icons appear on the block diagram.
The Block Diagram
If you right click on the block diagram you will get a completely different menu.
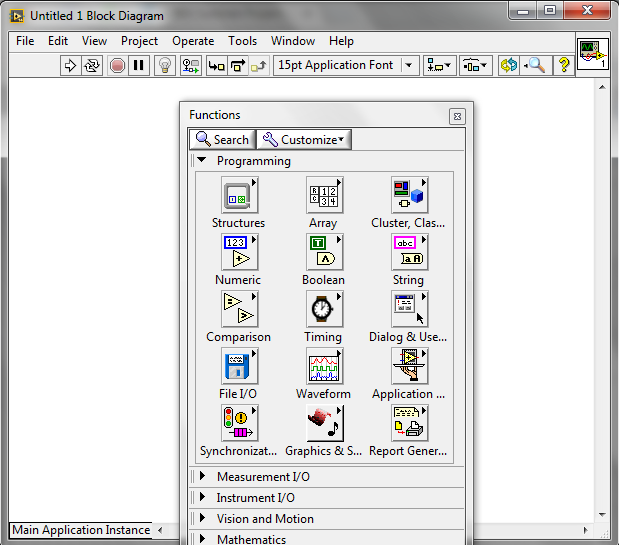
Right click on the block diagram to get the functions palette. This palette contains the graphical code use to make programs.
You will use graphical programming to control your program in the block diagram. Use wires to connect icons' terminals together. Wires control in what order things happen. You can place snippets of code in parallel and they will run simultaneously.
Right click on a control or indicator on the block diagram to view or hide it on the front panel.
LabVIEW Vocabulary
So now that you know the basics of what you are looking at, you should know some basic vocabulary that you can use when asking for help or searching for answers. There will be more detailed explanations of these concepts later on when you use them for projects.
- SubVI - Any of the little boxes with inputs and outputs. These often contain more code within them which can be accessed and modified by double clicking.
- Terminal -The little colored circles on subVIs that you wire into.
- Comparison -> Select - An "if statement" that takes only true or false.
- Case Structure - This replaces the classic more generic "if statement".
- Array - A group of the same data type organized in a grid and represented by 1 wire.
- Cluster - A group of different data types represented as 1 wire.
Case Structures in LabVIEW
Often controls programs need to make decisions. LabVIEW makes decisions by choosing cases. To use a case structure (in the block diagram tools palette) wire a boolean (true/false), integer, or string (text) into the [?] box. The cases can be changed and cases can be added and subtracted. There is also a default case which will run if none of the cases are satisfied. More information on the uses of case structures can be found below.
For simpler, boolean operations, you can also use a select statement. A select statement (located in the comparison toolbar) will output the value wired into the true terminal or the value wired into the false terminal. It can output integers, doubles, strings, arrays, etc.
Basic Loops in LabVIEW
Sometimes you will want code to repeat multiple times. For this there are loops. A while loop will run until a stop condition is met. A for loop will run through a predetermined amount of cycles.
This video explains while loops in LabVIEW.
This video explains for loops in LabVIEW.
LabVIEW Debugging
LabVIEW has multiple built in features that make debugging your program easier.
First is the RUN button. If it is a broken arrow, there is an error somewhere in your program. If you click on this broken arrow it will list your errors with a brief description. You can even locate the exact position via this menu.
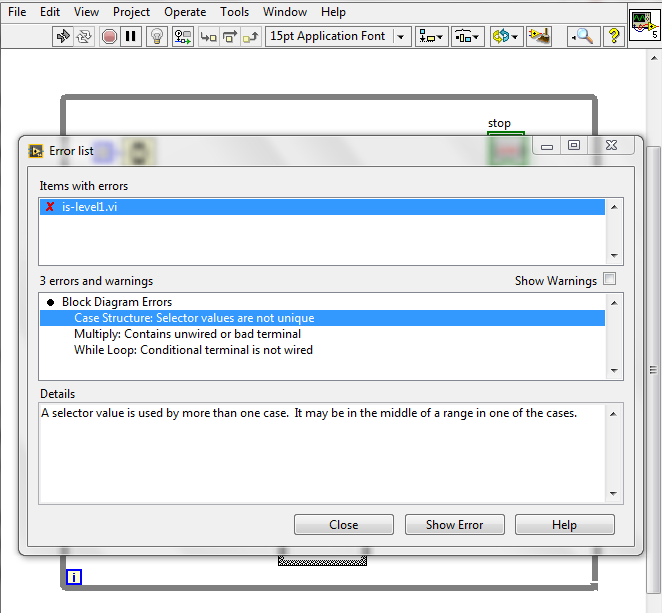
When the run arrow is broken, clicking it will list all errors.
Next to the run button is a light bulb. This is called highlight execution. This will slow down your program but will light up each action as LabVIEW executes it. This will better allow you to visualize the order of which your program executes. It will also print out each decision as it executes.
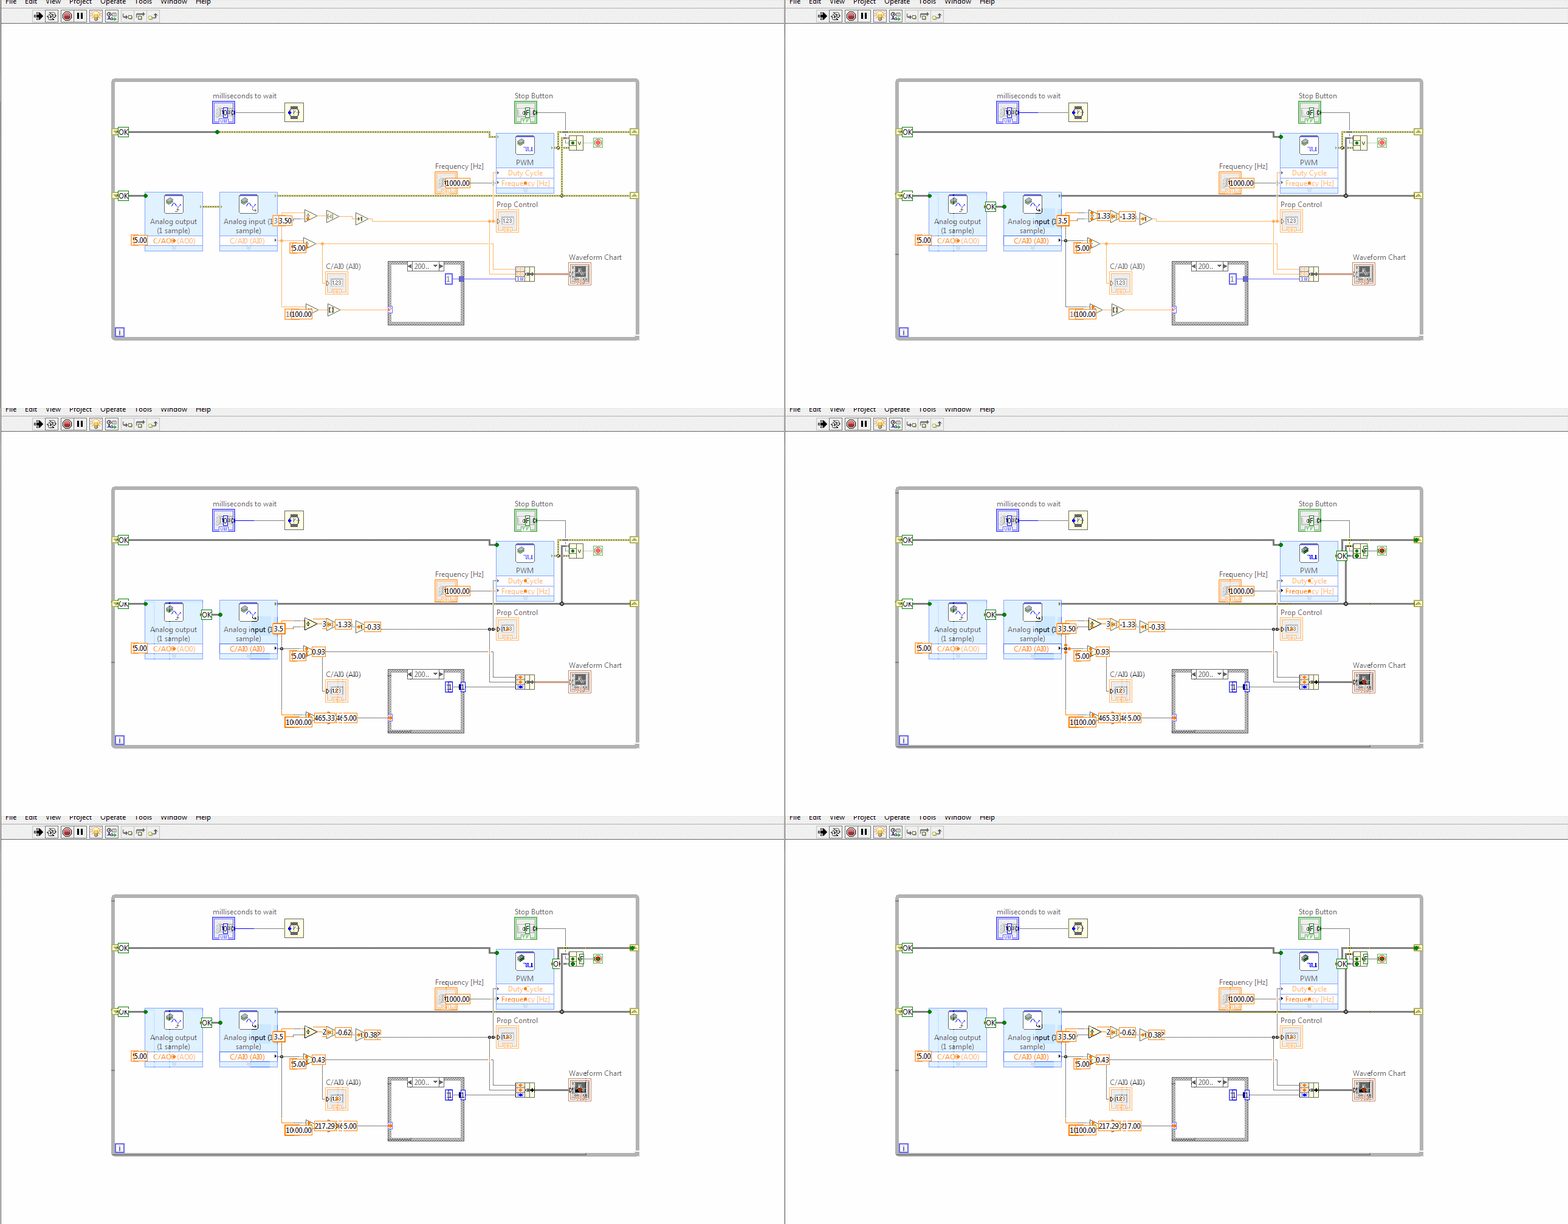
Use the light bulb in the corner to turn on highlight execution. This will show you where the code is as it runs.
While your program is running at full speed, if you click on any wire you can add a probe. This will allow you to see the data flow through any wire at any time.
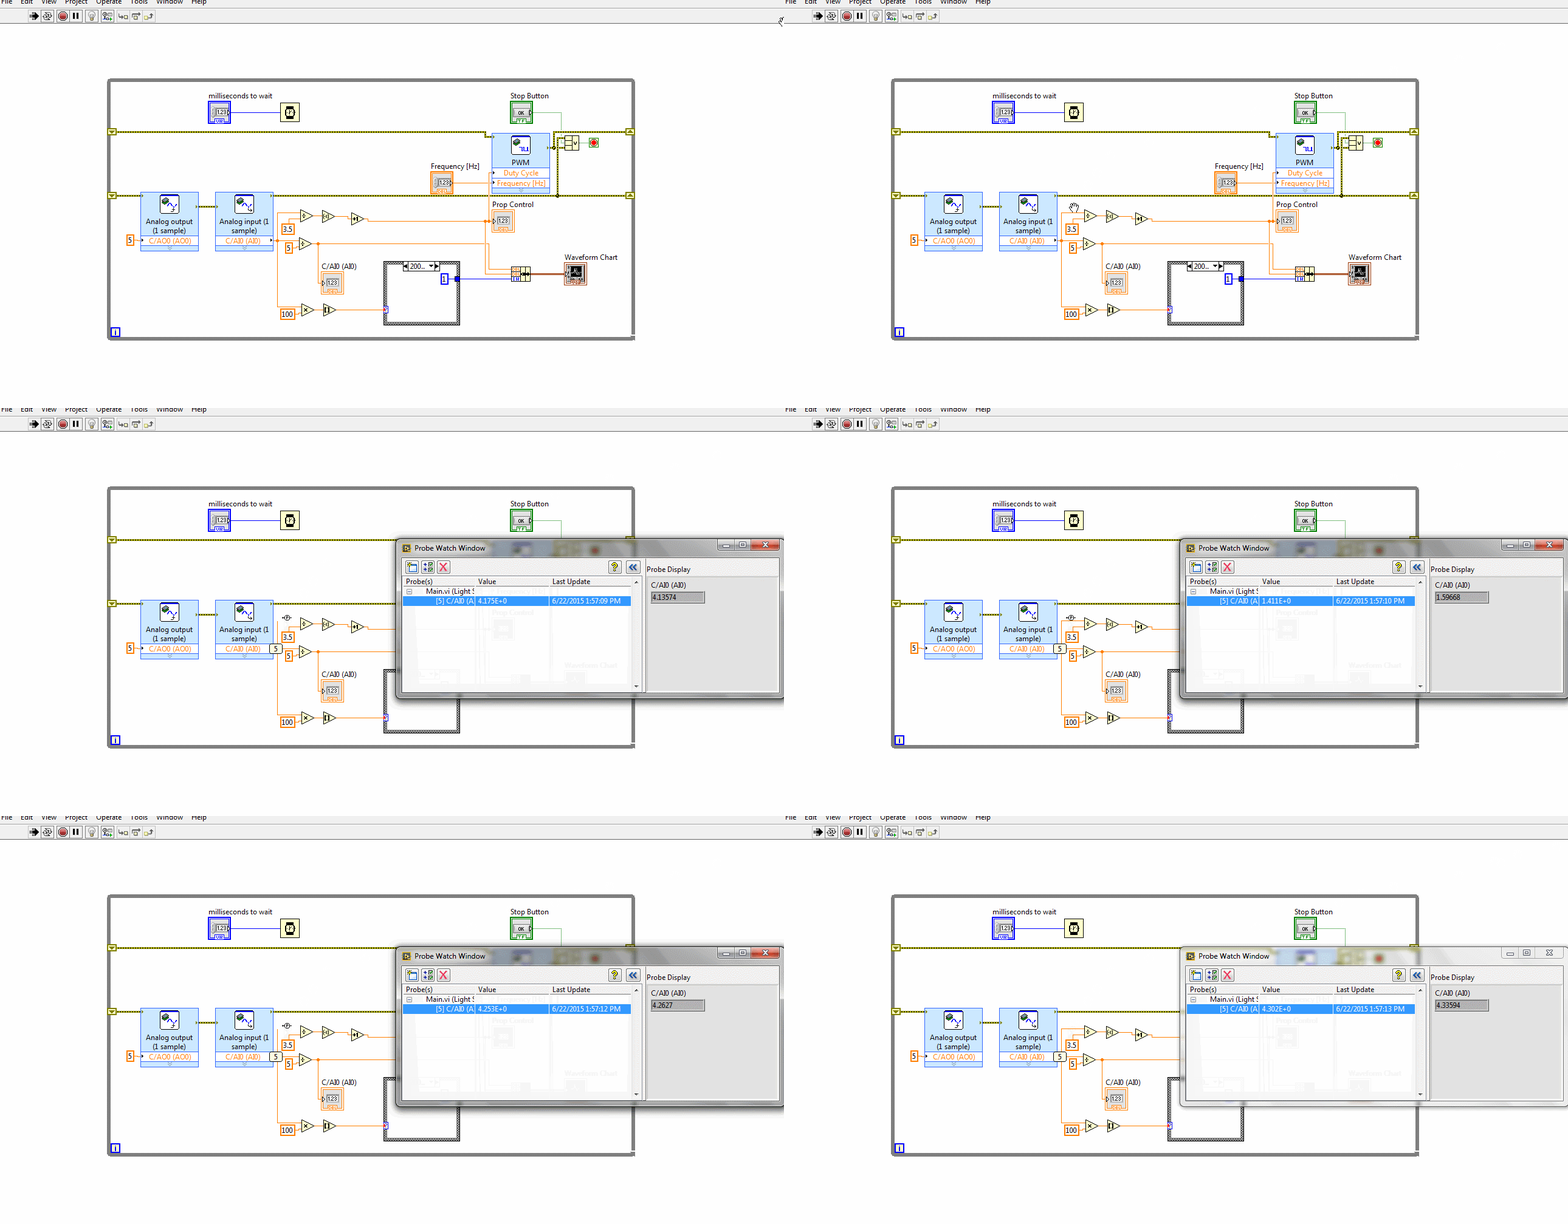
A probe will not slow down your code and will show the most recent value.
LabVIEW Shortcuts
There are some helpful keyboard shortcuts when programming in LabVIEW.
- Ctrl + H = Show context help (Mouse over any subVI for details on the subVI and its inputs/outputs).
- Ctrl + E = Toggle front panel and block diagram.
- Ctrl + T = Split screen between front panel and block diagram.
- Ctrl + B = Delete broken wires on the block diagram.
- Ctrl + U = Clean up block diagram.
- Right click on a control or indicator and click view as icon to toggle display as an icon or a ribbon.
- Double click on a subVI to view the VI that it uses.
- Right click on a wire or terminal to create an indicator, control, or constant.
Keep in mind that each color of wire represents a different data type.
A full list of LabVIEW shortcuts can be found here.
