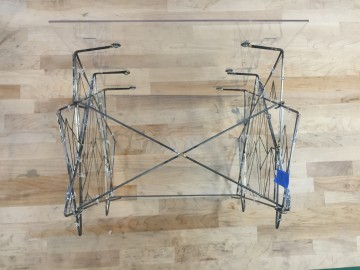
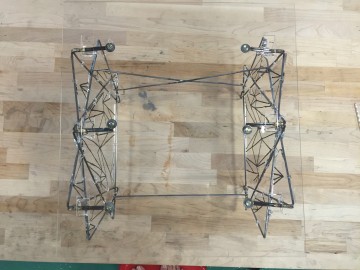
DI-Wire Computer Stand
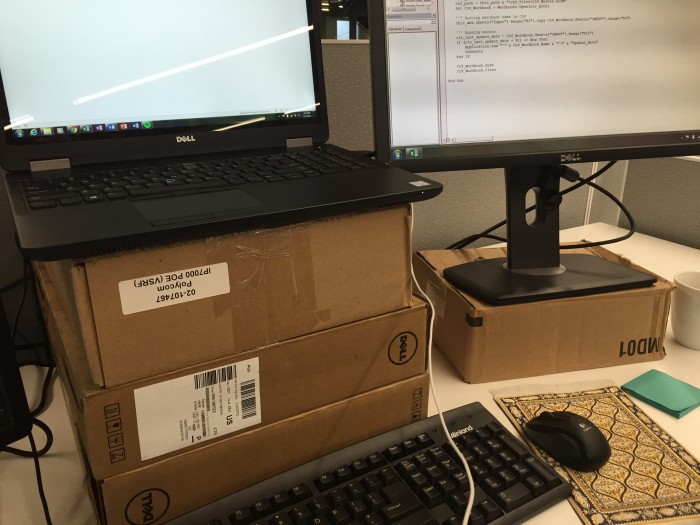
A 6’7″ friend of mine came to me asking if I could build a more elegant solution to his makeshift cardboard box computer stand.
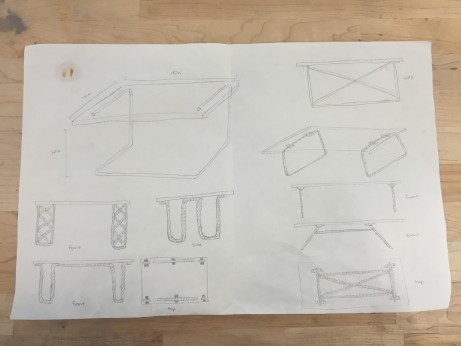
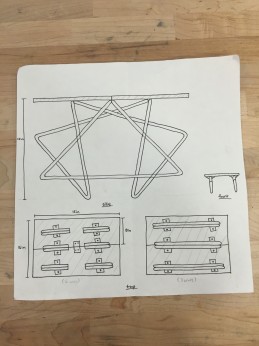
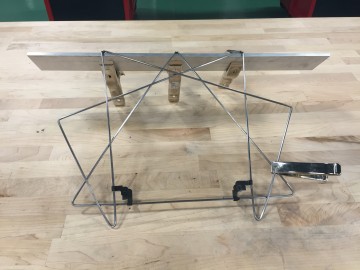
So I decided to make a stand for him using the DI-wire. I started with brainstorming ideas and settled on a final geometric triangular design. The sides would be made using the DI-Wire and the top would be made out of a piece of acrylic.
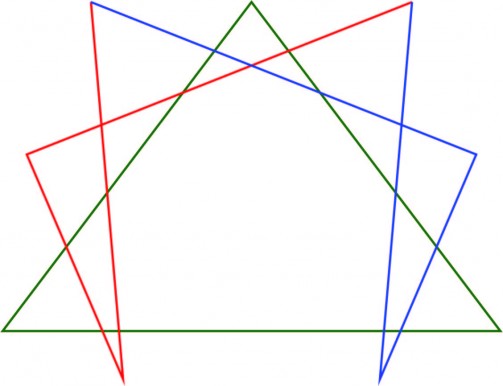
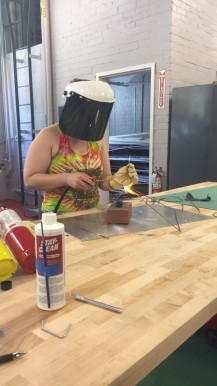
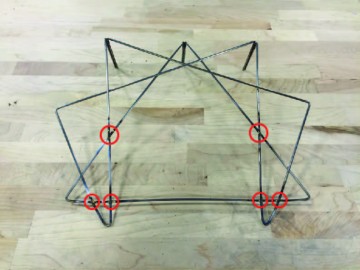
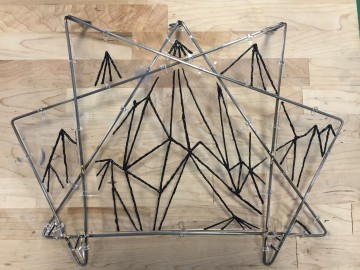
I used the manual function on the DI-Wire to bend three pieces of steel wire into the different triangular shapes (the green, red, and blue shapes) that made up the geometric design. I then used a technique called braising which is like welding but for thinner metals. I braised the top wires together to form the design and then braised six points of the design (the ones circled in red) for structural support.
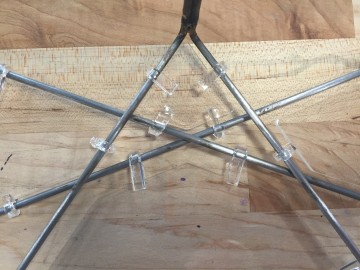
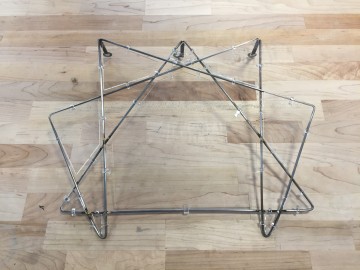
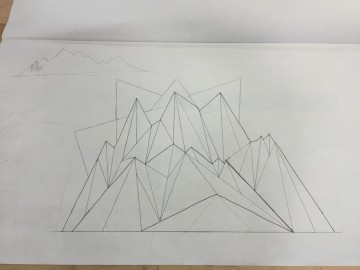
Next, I laser cut and bent acrylic over different parts of the design to give it a stained glass look. To bend the acrylic I cut tabs out on the laser cutter and I used a heat gun to heat the tabs until they were flexible enough to bend. I would then bend it over the metal wire wearing gloves and would hold it in place until it cooled and solidified. To further the stained glass look I made a geometric design inspired by mountains and used puffy paint to paint it onto the acrylic. I then plan on filling in the different sections of the puffy painted design with glass stain so it has the appearance of stained glass.
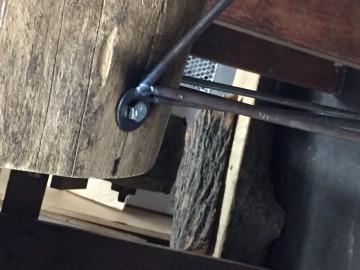
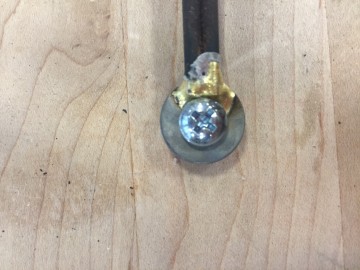
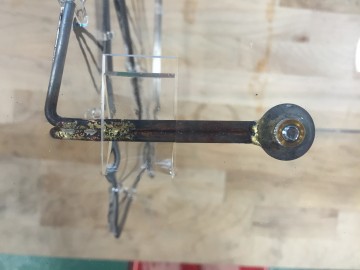
I was still debating how to attach the sides to the acrylic when my co-workers and I went on a field trip to Artisan’s Asylum. There I found inspiration for how to do just that. One of the artists who worked there had attached metal wires to a log by braising washers to the ends of the rods. This is what I then did to attach the sides of the stands to the top of the acrylic.
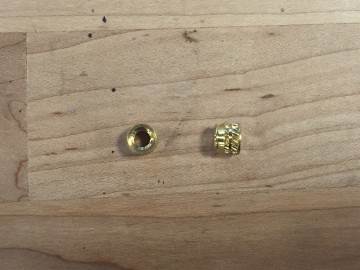
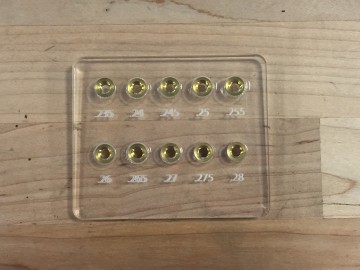
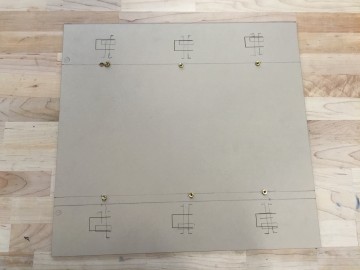
I laser cut holes into the acrylic and added threaded inserts using a soldering iron to heat up the insert and push it into the acrylic. This allowed me to screw the washers at the ends of the wires right into the acrylic top. I also laser cut more tabs into the acrylic and used the same method of acrylic bending that I used before to bend the tabs over the wires for extra support.
Finally I added a cross support across the back of the stand to give it more support and prevent it from wobbling. I braised the middle of the cross support to secure it in place. All I have to do now is paint the sides and the stand will be complete.

