Engineering, Simple Machines, and Math
This challenge was intended to be done in 2 hours by the interns. We had not done any exploration of the MINDSTORMS kits or gears prior to this and it ended up taking longer than expected. The activity would fit much better in a scaffolded LEGO Robotics curriculum where the students have some experience with building and some time to explore gears.
Will & Trang's Experience
Process:
We immediately set on creating a system of gears that would practically prevent the car from moving. We were already familiar with the process from changing speeds on a bike: connect the motor to a small gear, connect the small gear to a larger gear on a different axis, place a second small gear on the same axis as the large gear, and repeat the process (starting with the recently placed small gear) to amplify the effect.
Result:
Our car did not turn out as we had hoped. Placing a gear system on either side of the car made the axis (the width between the wheels) too long to remain stable. Getting the gears to attach to the motor forced us to make a lot of cumbersome extensions, adding extra gears and LEGOs so that the pegs would align. In hindsight, it probably would have been more successful to redesign the gear system from scratch half-way into the project. If you're an economics students, think of it as a sunk-cost fallacy.
Reflection:
This challenge was harder than we had expected. Our final car was unstable, and could not support its own weight unless the LEGO MINDSTORMS Brick was taken off the car. Not only did we fail to start the second challenge by the end of the two hours, we did not have time to use math to figure out how many times slower the wheels were turning than the motor.
If we could start all over again, we would place much greater emphasis on building a stable car design, and then designing a gear system that could easily be attached to it without compromising stability. We prioritized making an impressive gear system to the point of losing sight of the overall goal.
Photos:
- Our final gear design hooked up to the motor
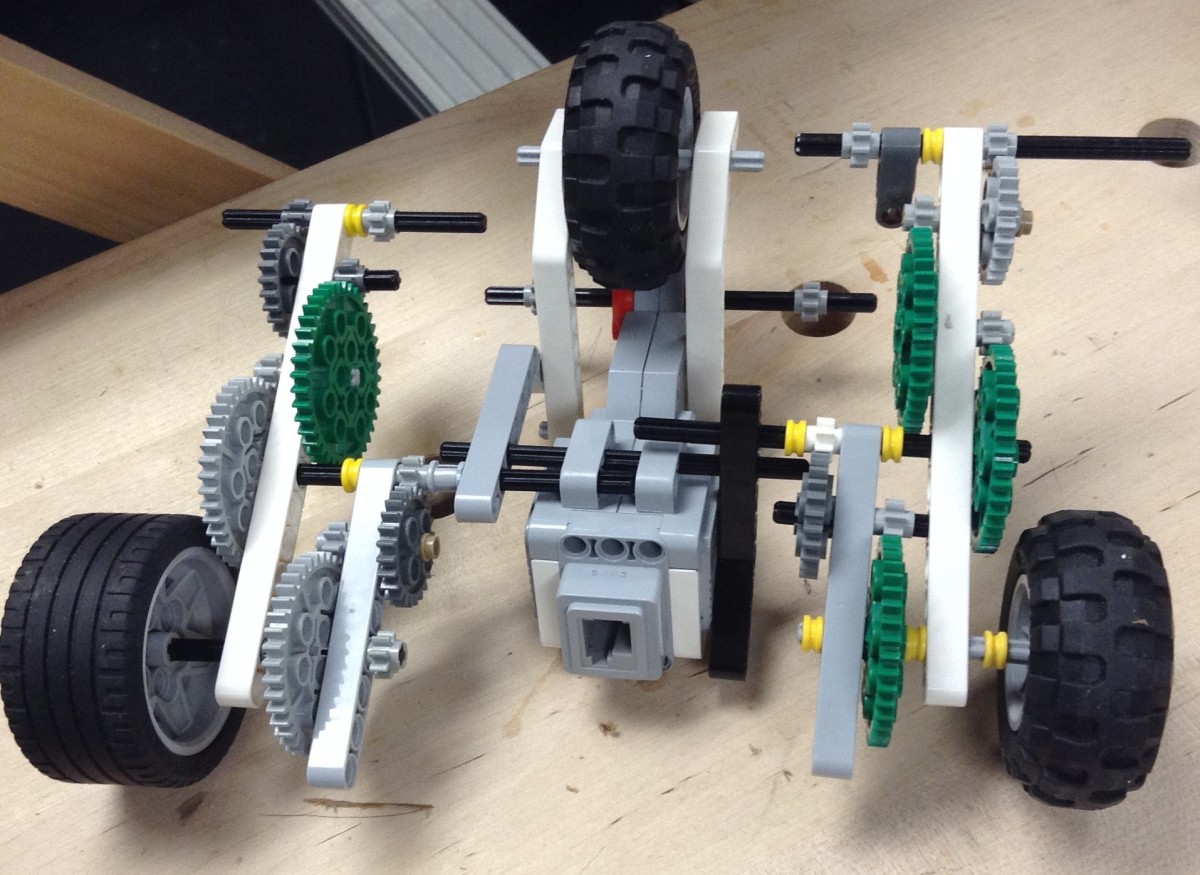
- A top-down view of our design (incomplete) at the end of the two hours
- The same design, upside-down
- An initial design of the gear system
Luke & Vincent's Experience
Process:
In order to create the slowest car possible, we knew we would have to create a set of gears arranged in such a way that their ratio would be as low as possible. By creating a low gear ratio, even the fast spinning motor would not be able to spin the tires nearly as fast. To create this very low ratio, we arranged the gears such that the small gears would be driving the larger gears, and in turn the larger gears would be spinning on the same axis as the subsequent small driving gear. Using this design over a few iterations, we then connected the gearing system to an axle with wheels.
Result:
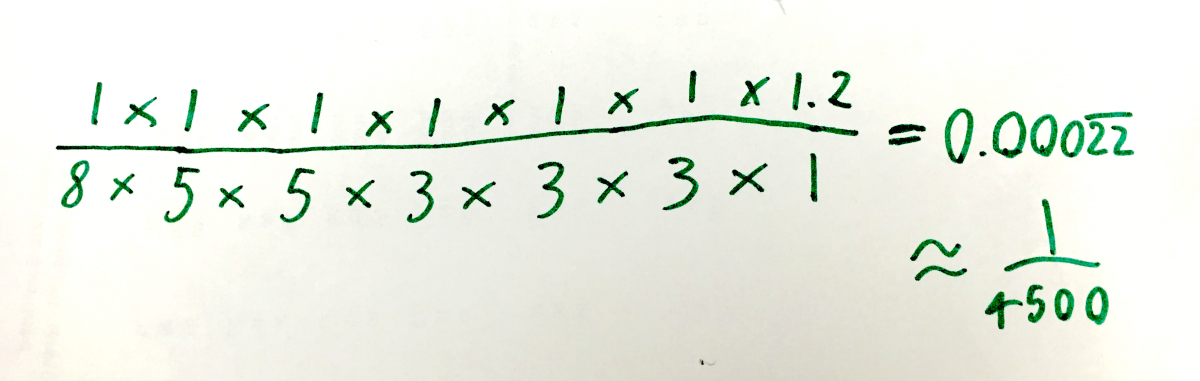
Connecting the gearing system to the back axle of the car, we successfully created a very, very slow car. After analyzing the gear arrangement, we calculated that the gearing ratio for our car was 1:4500. Even after turning on the motor at full speed for about 10 minutes, the car moved no more than a centimeter.
Reflection:
Our car turned out to be very slow indeed. Given the amount of gears and the amount of time we were allotted, we could not have made the gearing ratio too much lower. If we were to do this challenge again, we would have spent a little more time on the body of the car, as the design of the frame was fairly last-minute due to our attention to the gearing system.
Photos:
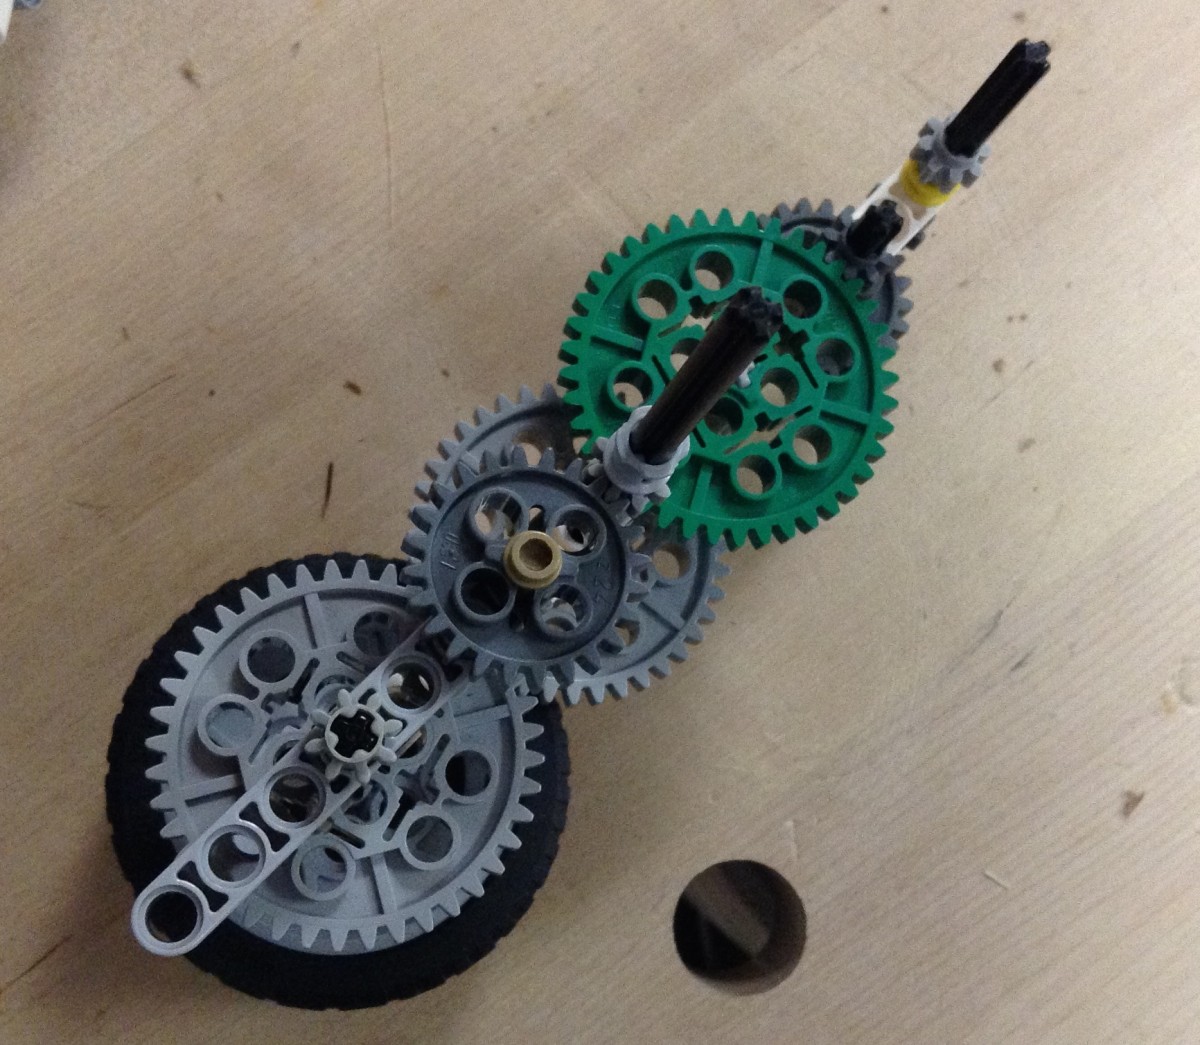
- Our initial gear arrangement, using the largest and smallest gears to achieve a very low gear ratio.
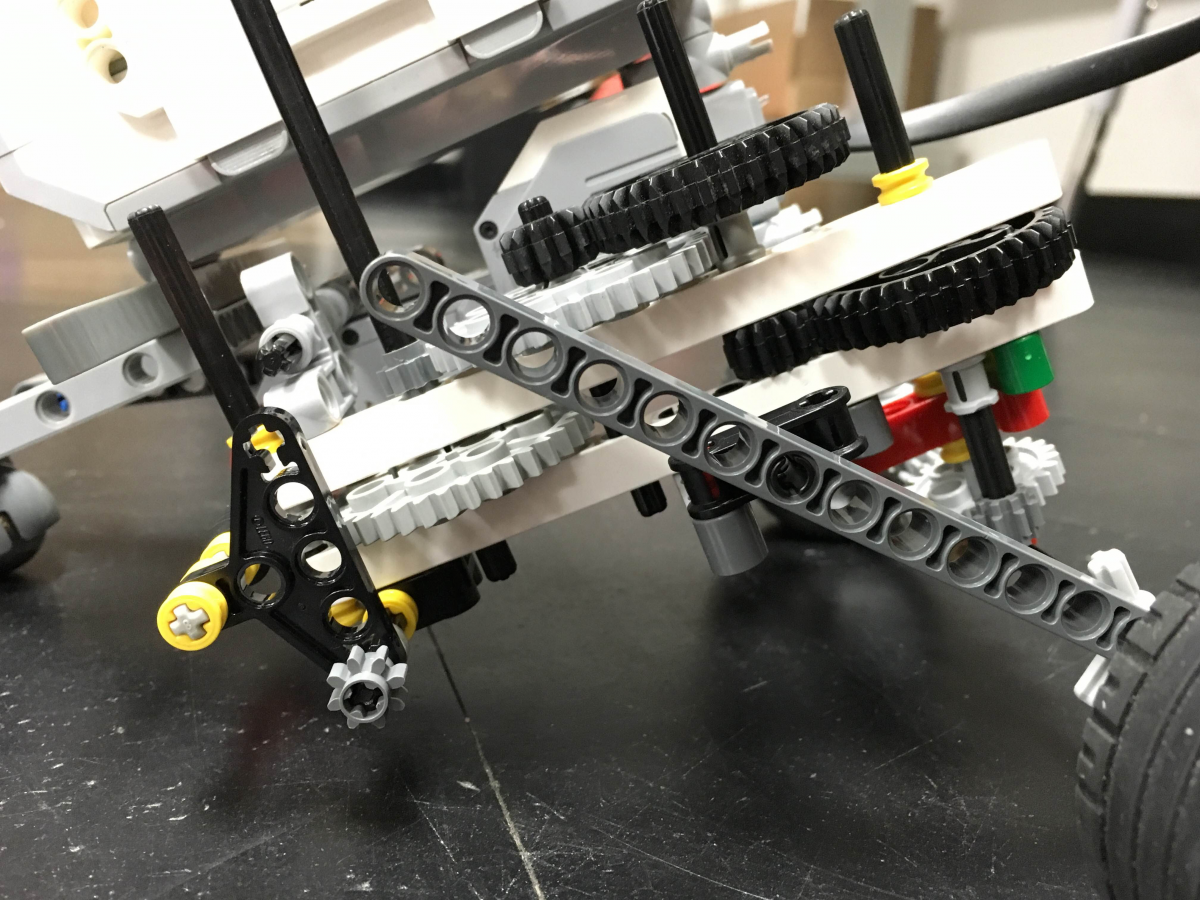
- Intermediate process. Attachment of the gear system to the body of the car.
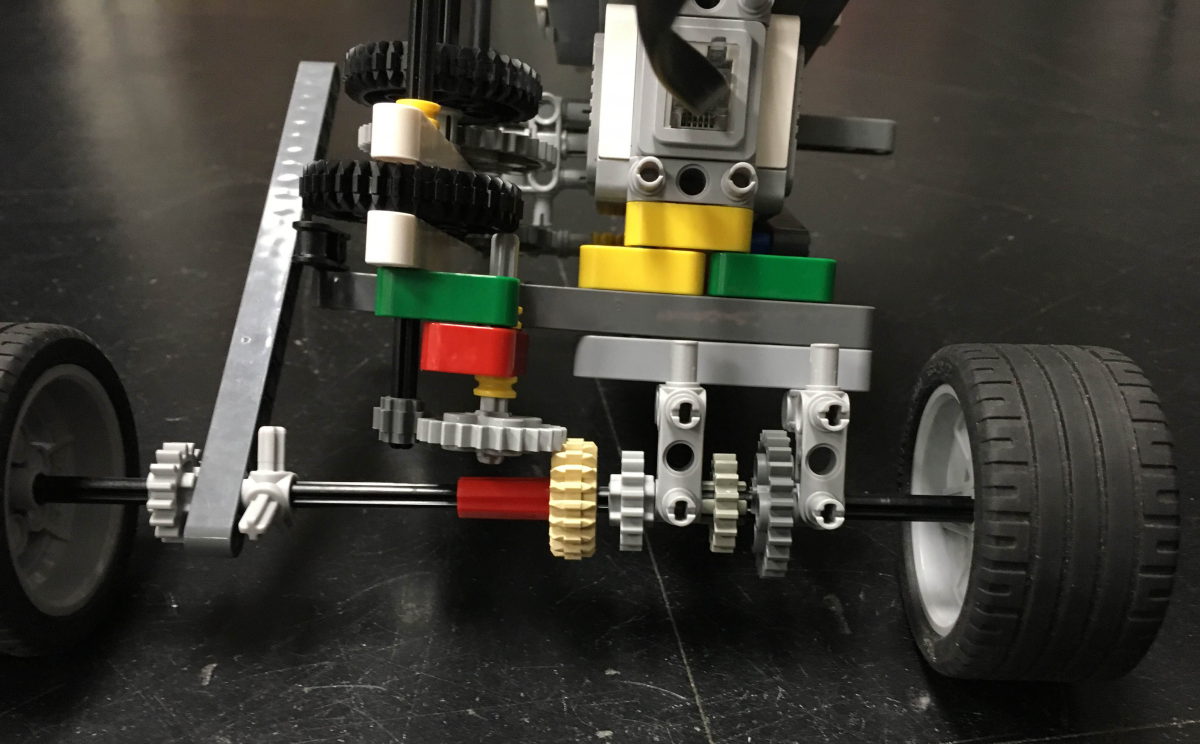
- Completed slow car design.
- View of back axle. Bevel gear used to change the rotation direction.
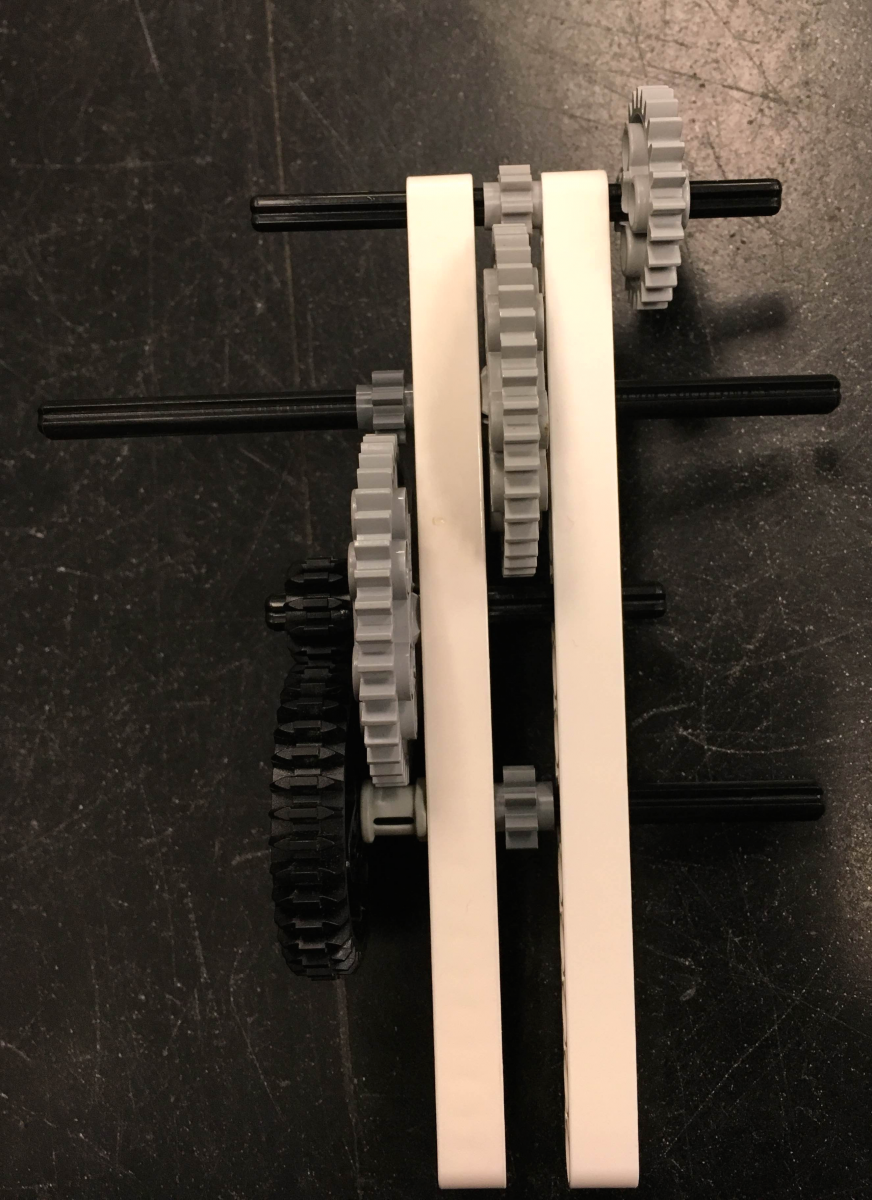
- Close up of side of final gear arrangement.
- Close up of top of final gear arrangement.


Rose and Orian's Experience
Process:
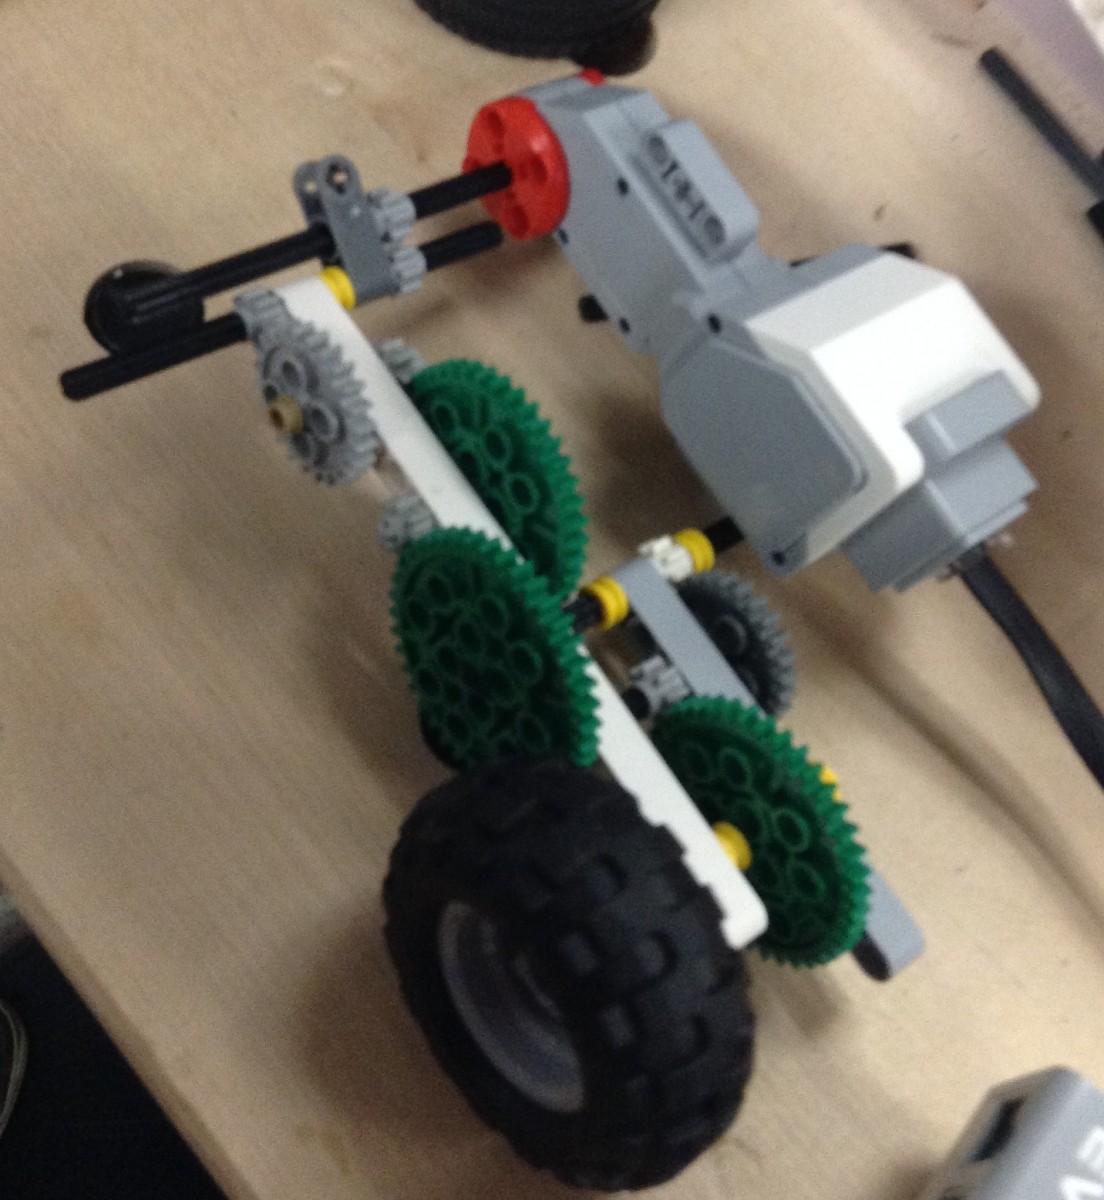
To slow down the rotation of the wheels we new we would have to have the motor power a small gear and gear up to larger and larger gear until we reached the wheels. As we geared up the speed of each successive larger gear would slow down and the speed of the car would be reduced. We decided to use only one motor to power the two wheels since two motors were unnecessary. We started by creating a gearing system from larger gears down to smaller gears. We attached the motor to the center of the brick so it would be balanced and could control a central axle that would be attached to the two driven wheels. We then started to attached the gearing system to the brick by working backwards going from larger to smaller gears that finally attached to the motor.
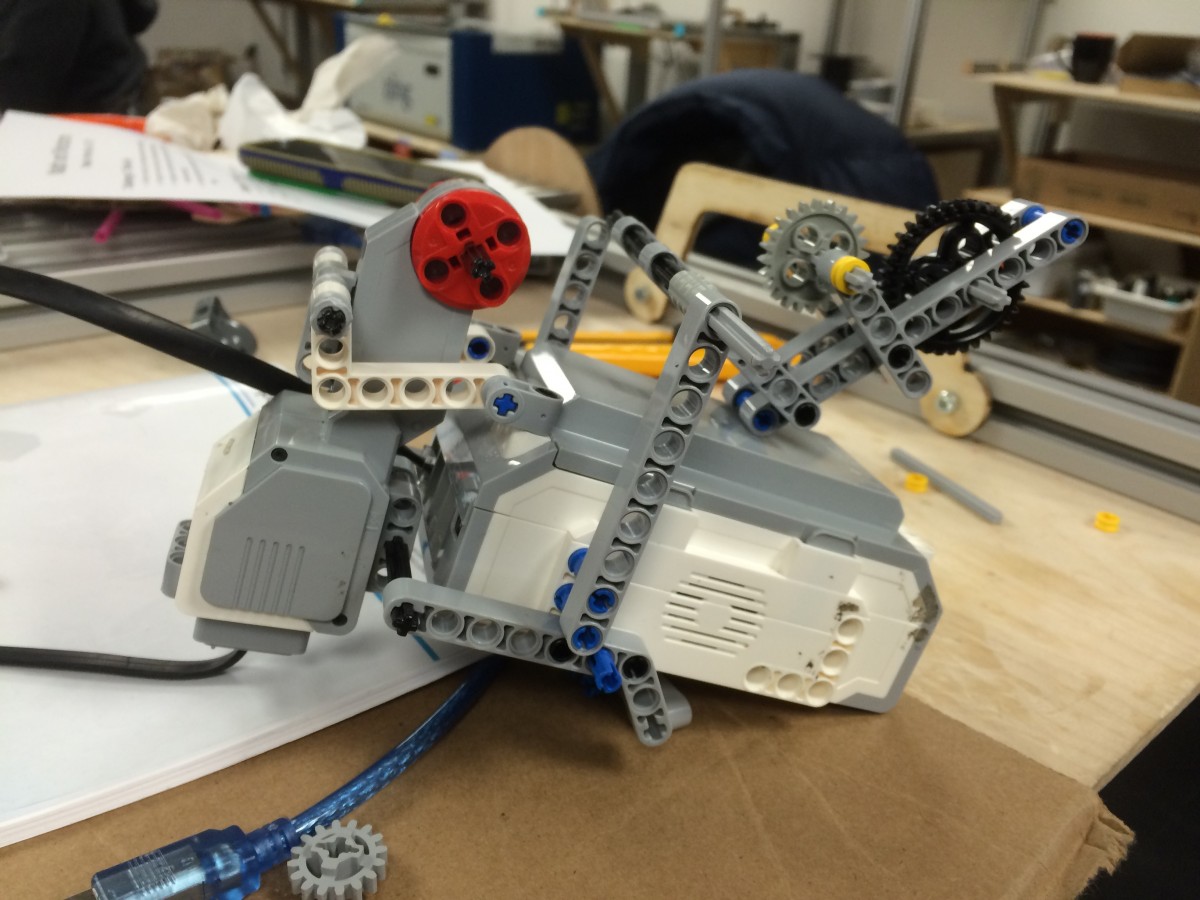
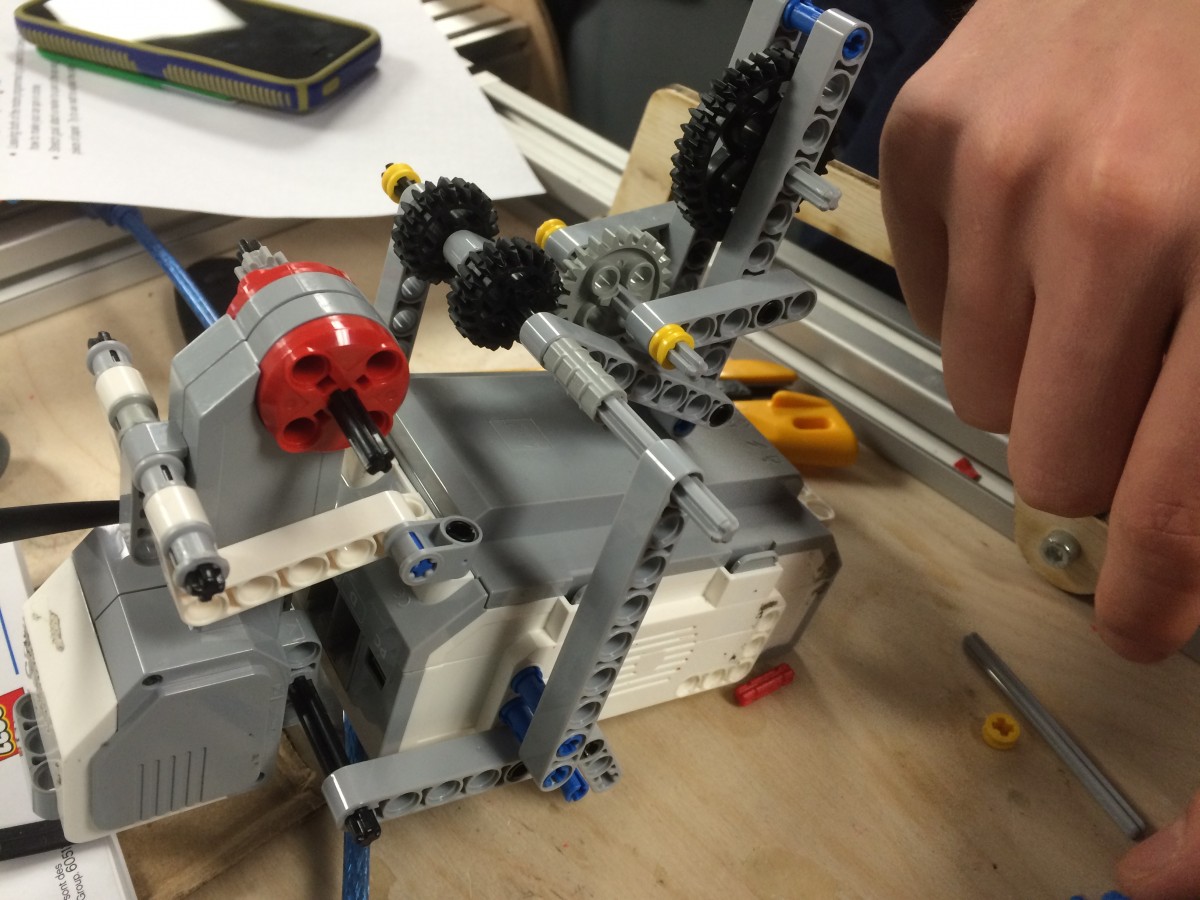
Result:
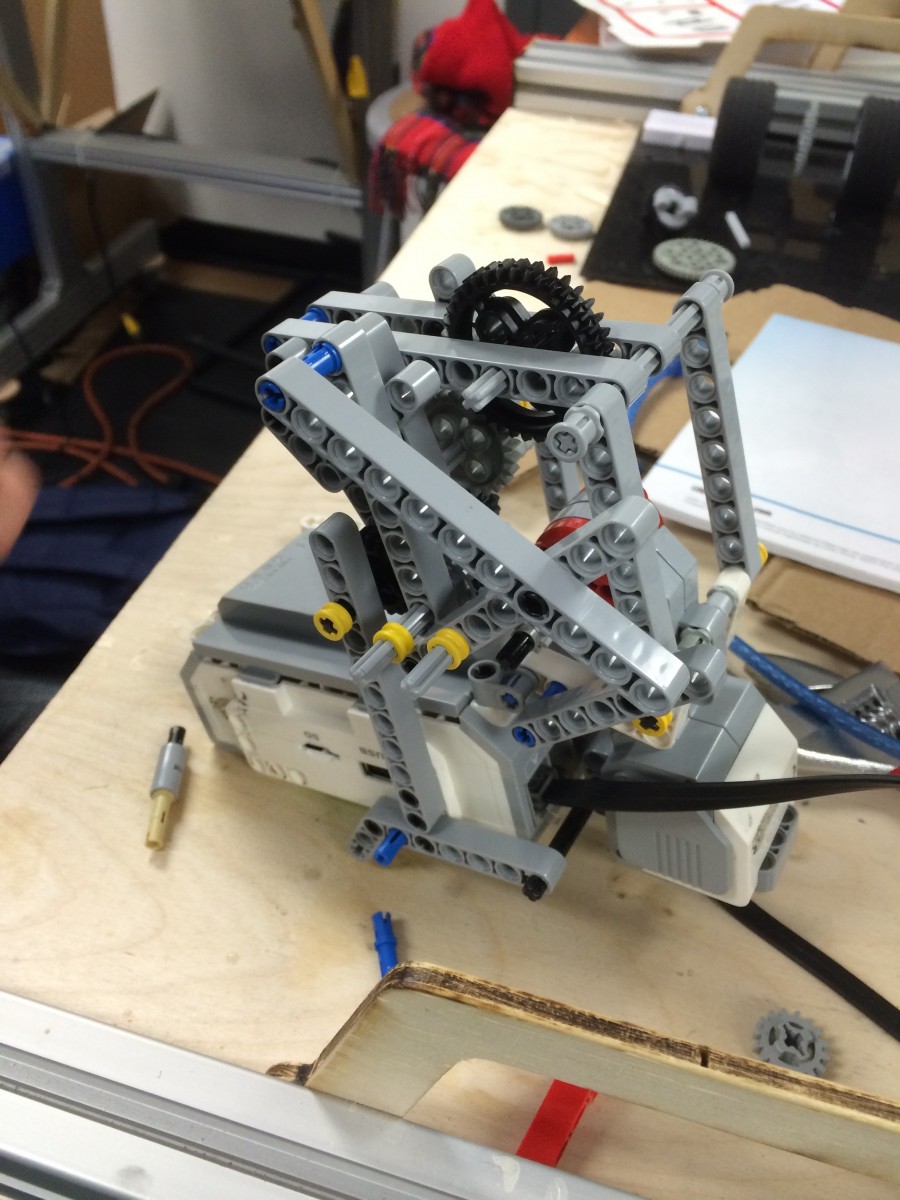
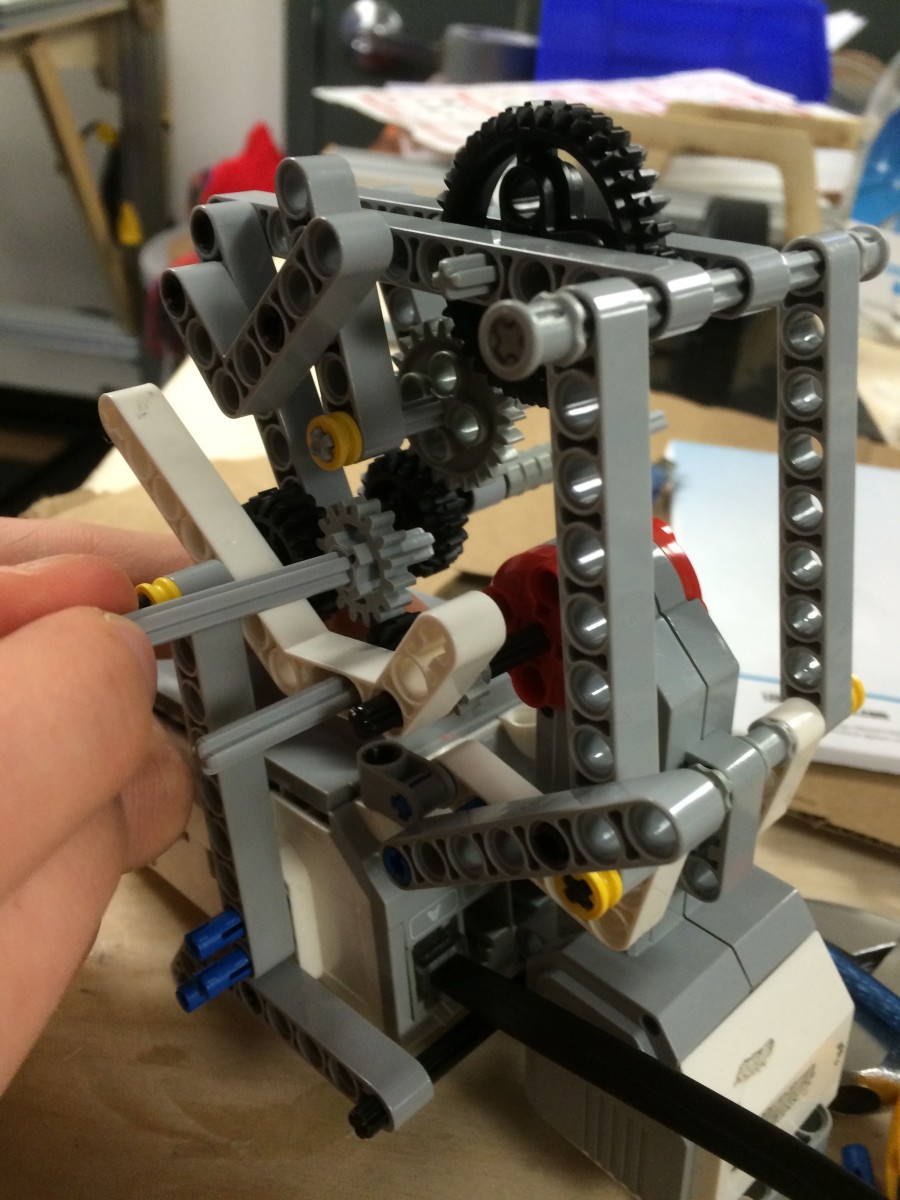
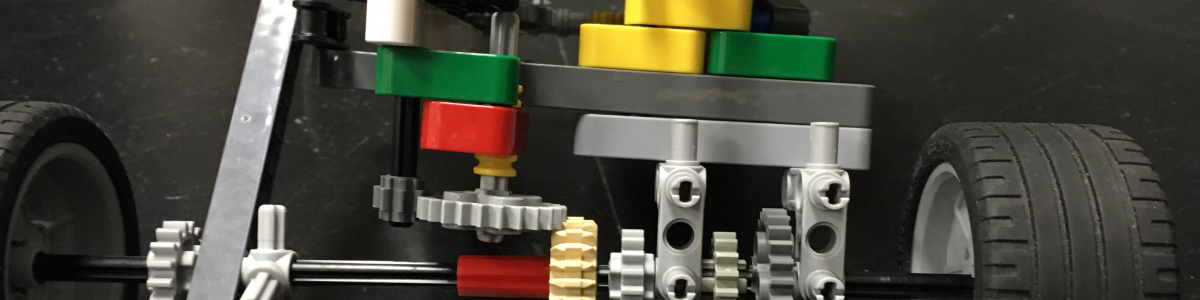
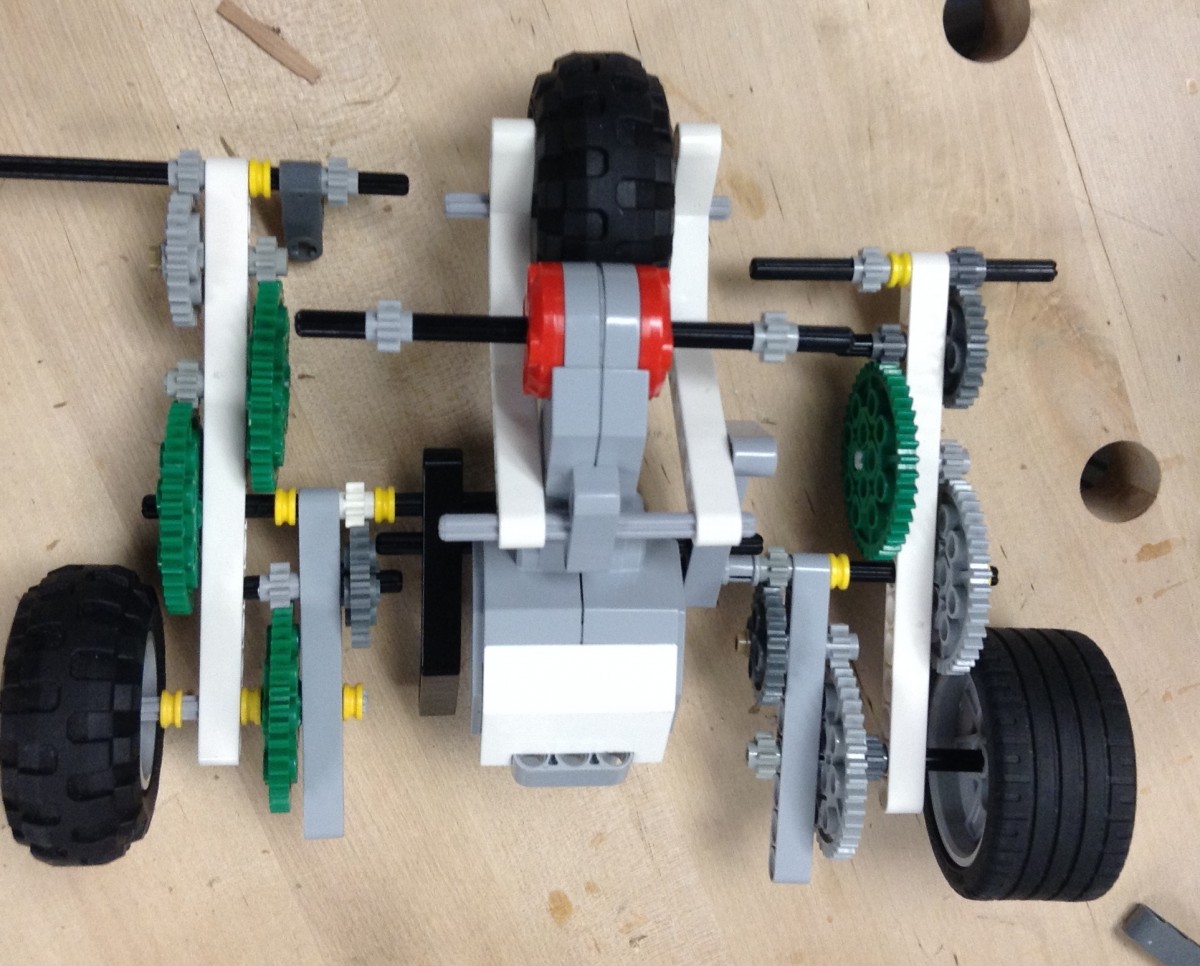
We were not able to successfully build our car because our gears did not mesh properly and the motor could not translate its speed down to the wheels. Our final design was a mess of Lego connectors and axles with a complicated scaffolding structure. We had trouble limiting the degrees of freedom within our structure in order to fix the axes of the gears in place. We were unable to find a system that allowed us to mesh the smaller gears into place with the motor and so our car did not run successfully.
Reflection:
If given the opportunity to redo this project we would have started by gearing straight from the motor and gearing up to larger gears rather than starting with the larger gears and gearing down. By gearing up we would have ensured proper meshing every step of the way and we would have been certain that the motor could drive the gearing system down to the last gear and the wheels.
Photos:
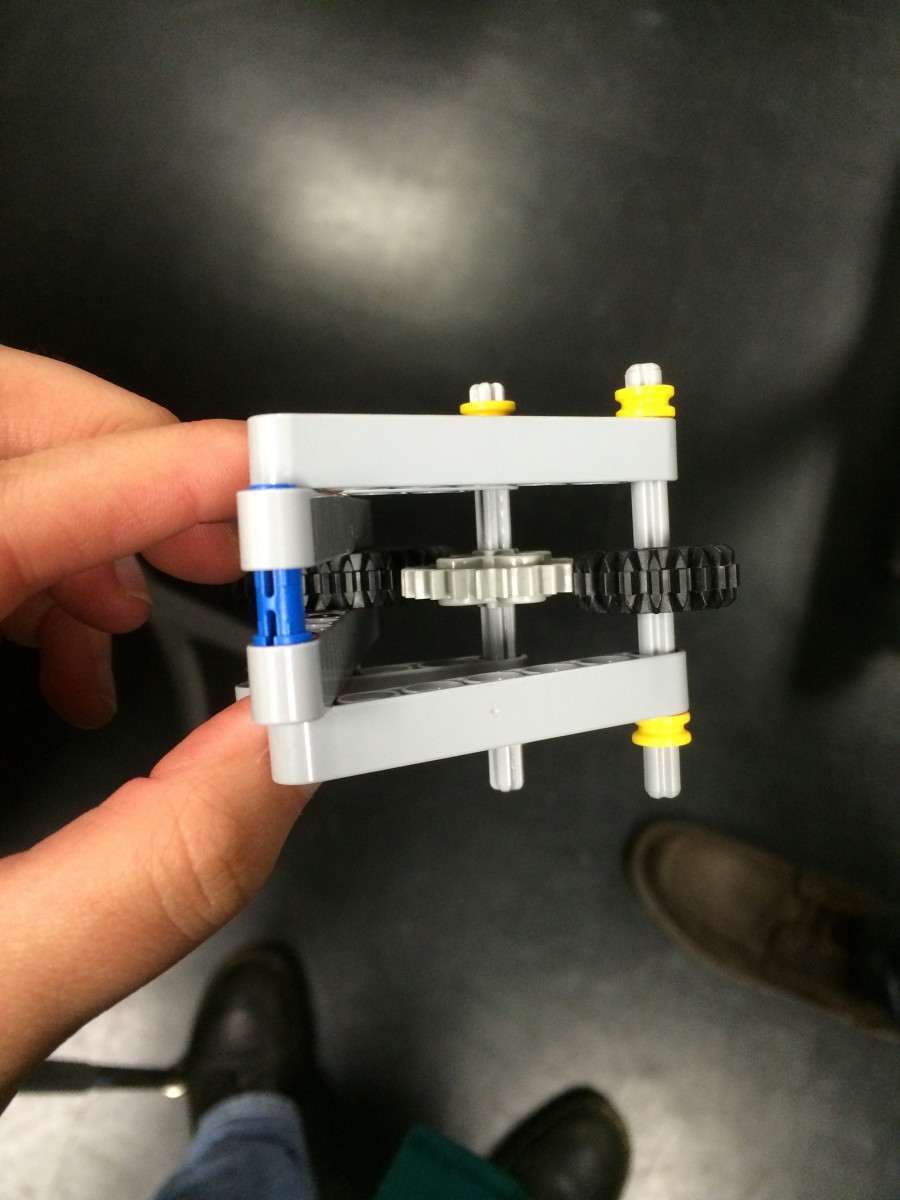
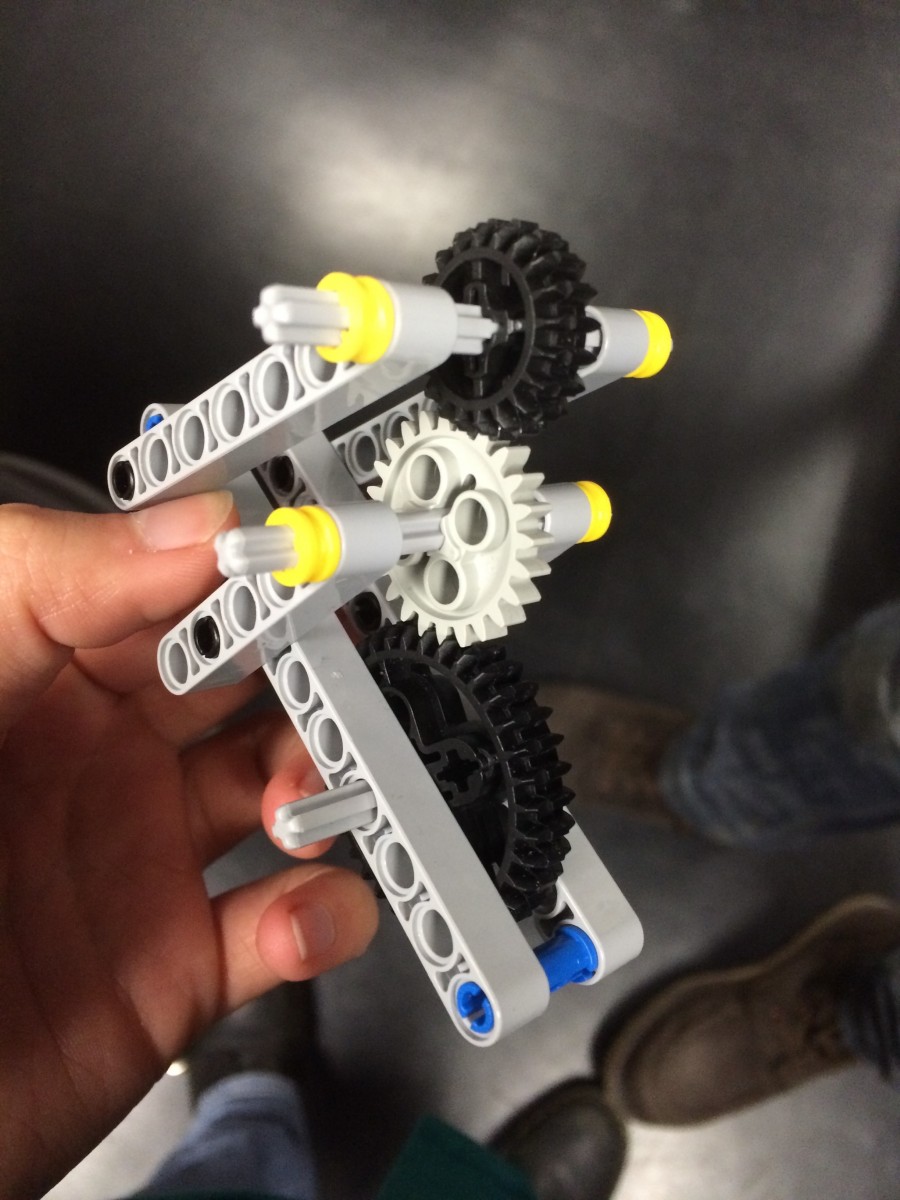
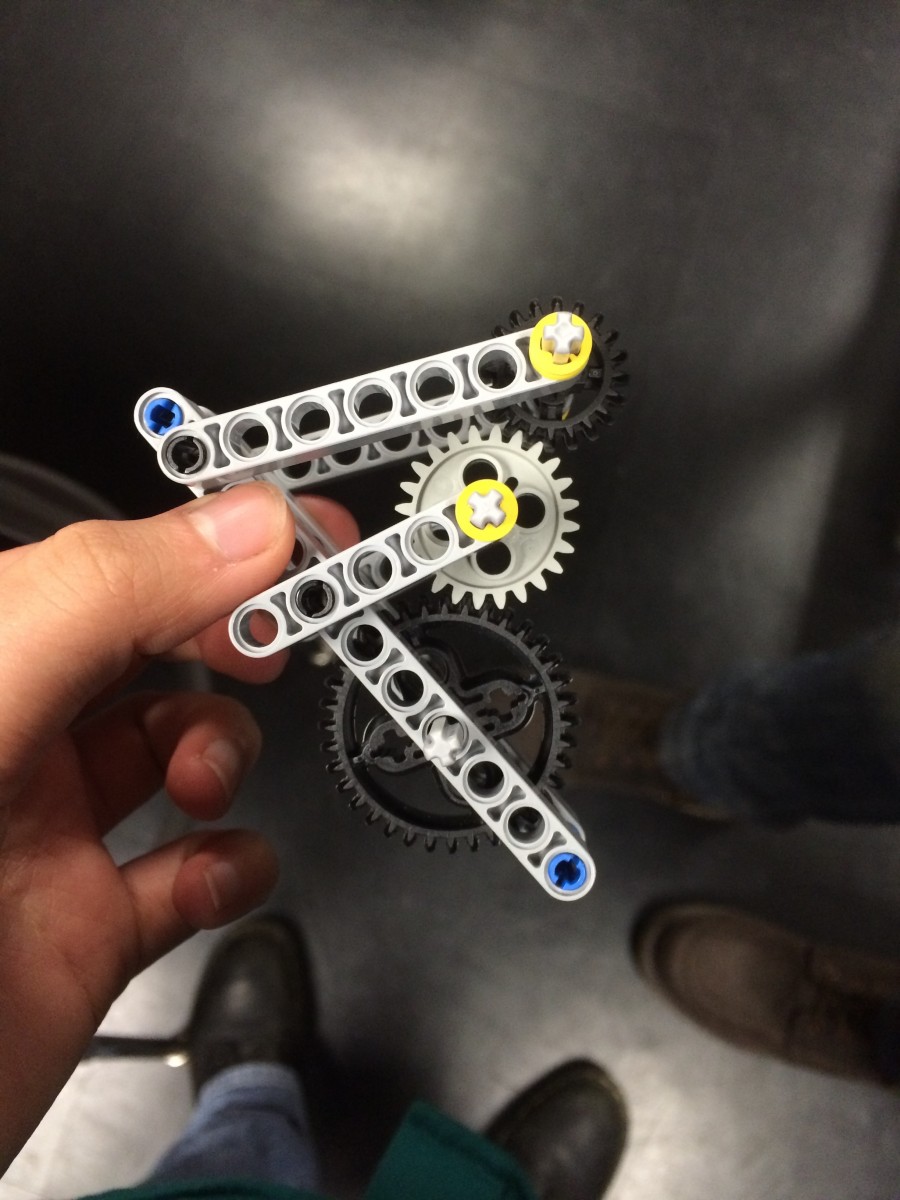
- Larger gears meshing
- Larger gears meshing
- Larger gears meshing
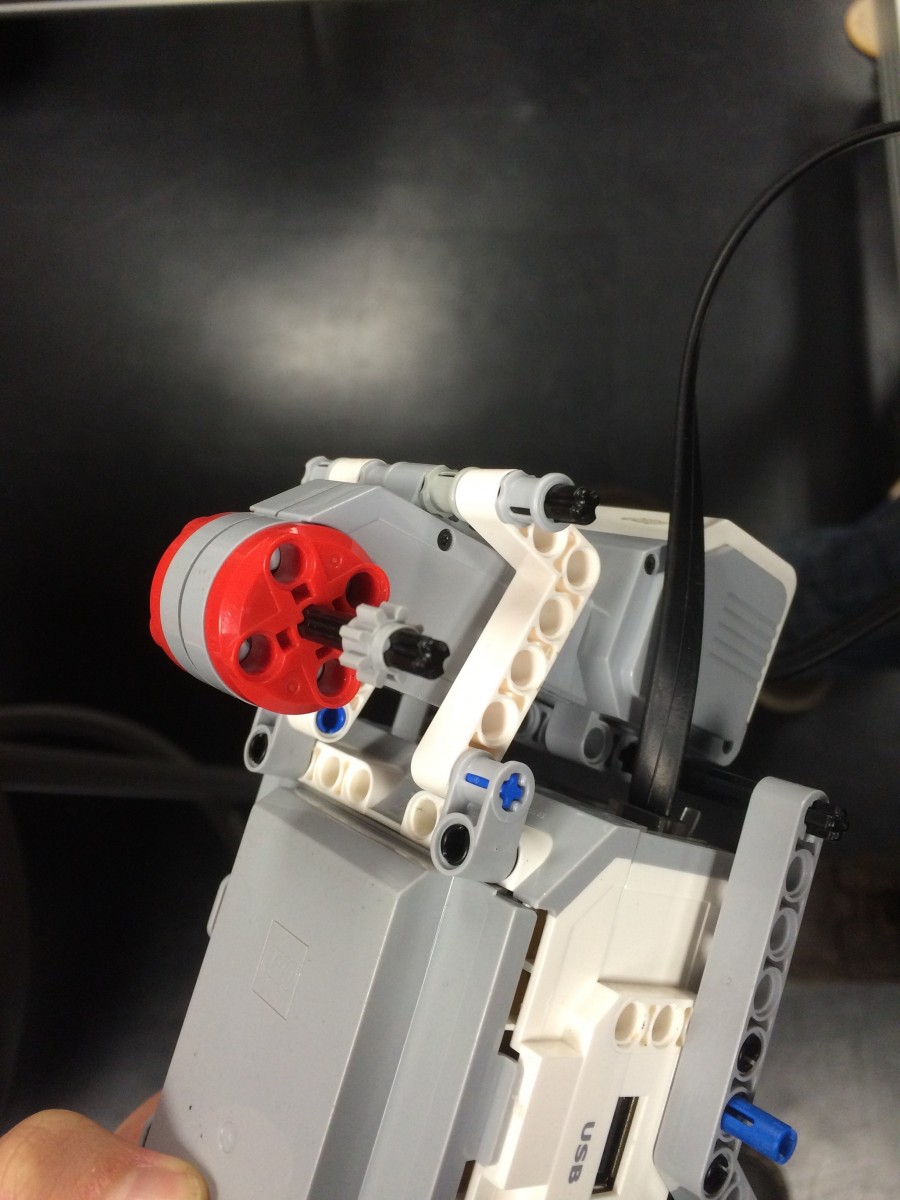
- Motor attached to brick
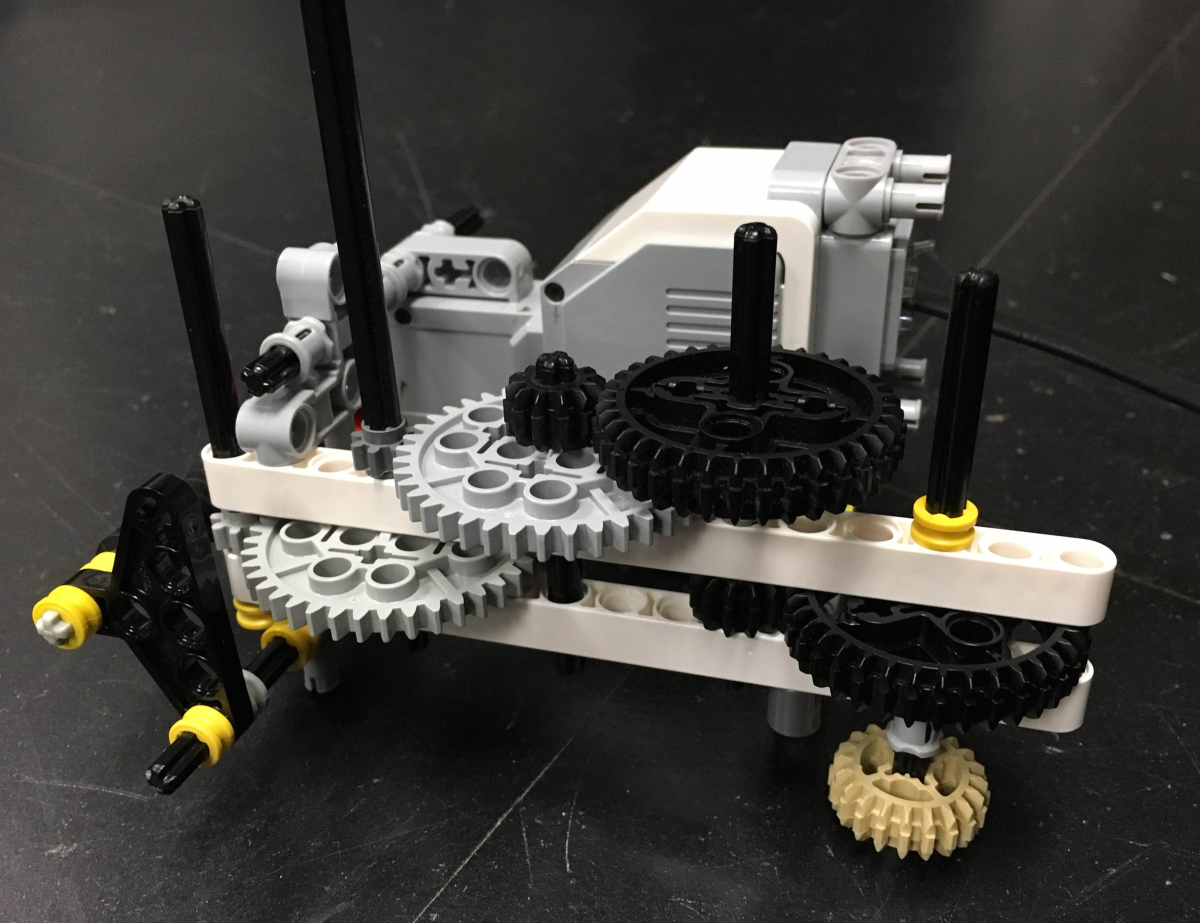
- Motor and larger gears attached to brick
- Added scaffolding for gear system
- Further scaffolding with more gears
- Final product where the gears do no fully mesh with motor