LEGO Equation Balancer
Use LEGO and a Laser Cutter to create a system of gears that help students solve and visualize chemical balancing equations.
The teacher's challenge to the student: Build a physical machine that helps explain or visualize a common problem in chemistry.
By Trang Ngo & Will Luna, Tufts University CEEO 2015
The Finished Project
Building the Final Project
This video outlines building the gears system out of LEGOs, setting up and solving the problem using wood tiles, and then applying that solution to the gear system. Instructions on using the laser cutter to create the tiles can be found below. Keep in mind that laser cutting is not necessary for this project - the tiles could be made out of paper.
The Big Idea
We gave ourselves the prompt:
Create a physical model that represents balancing chemical equations.
The report outlines how we went from brainstorming and testing a wide variety of ideas to design (without considering material constraints) to our final project (considering material constraints).
Process
You could totally build Rome in a day. It's the architects that are going to hold you up. - Julius Caesar
Below, we describe the steps we took, as students following the engineering design process, to reach our end product. That process (once again):
Ask, Brainstorm, Plan, Create, Improve
Notice how 'Create' is the fourth step? While there is a tendency to focus on the building stage of the process, as a teacher it is important to keep in mind that the students will spend the majority of their time on developing their ideas, not making them.
Ask <---> Brainstorm
As a teacher, the first part of this exercise is the most difficult to conceptualize: come up with a theoretical prompt that you could assign your students, and then try and complete the assignment to determine if the prompt has value.
Our first three prompts did not yield satisfying projects, so we determined that only the fourth (create a physical representation of the chemical balancing process) would be fitting to assign high-school students.
Putting time into an idea and then leaving it may be a big hurdle for students and teachers alike, but it is an essential part of the design thinking process.
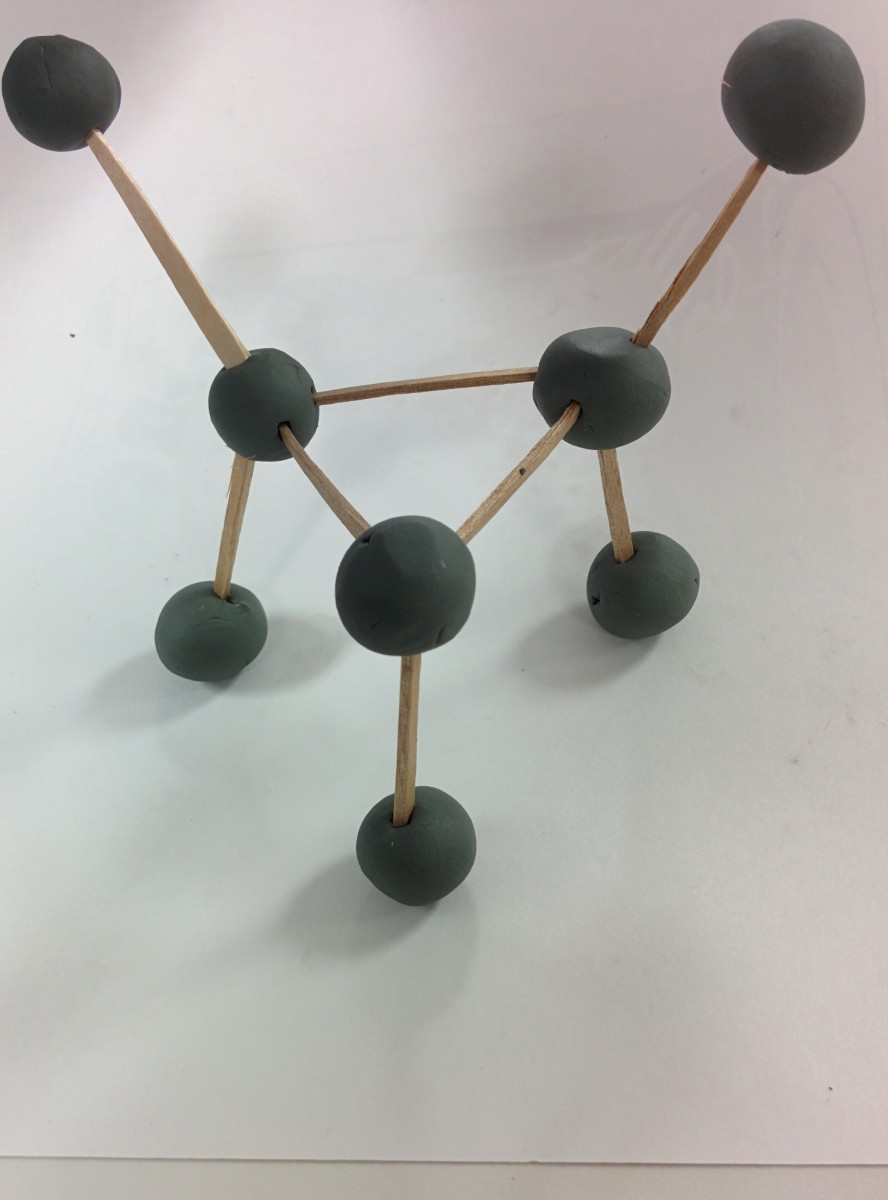
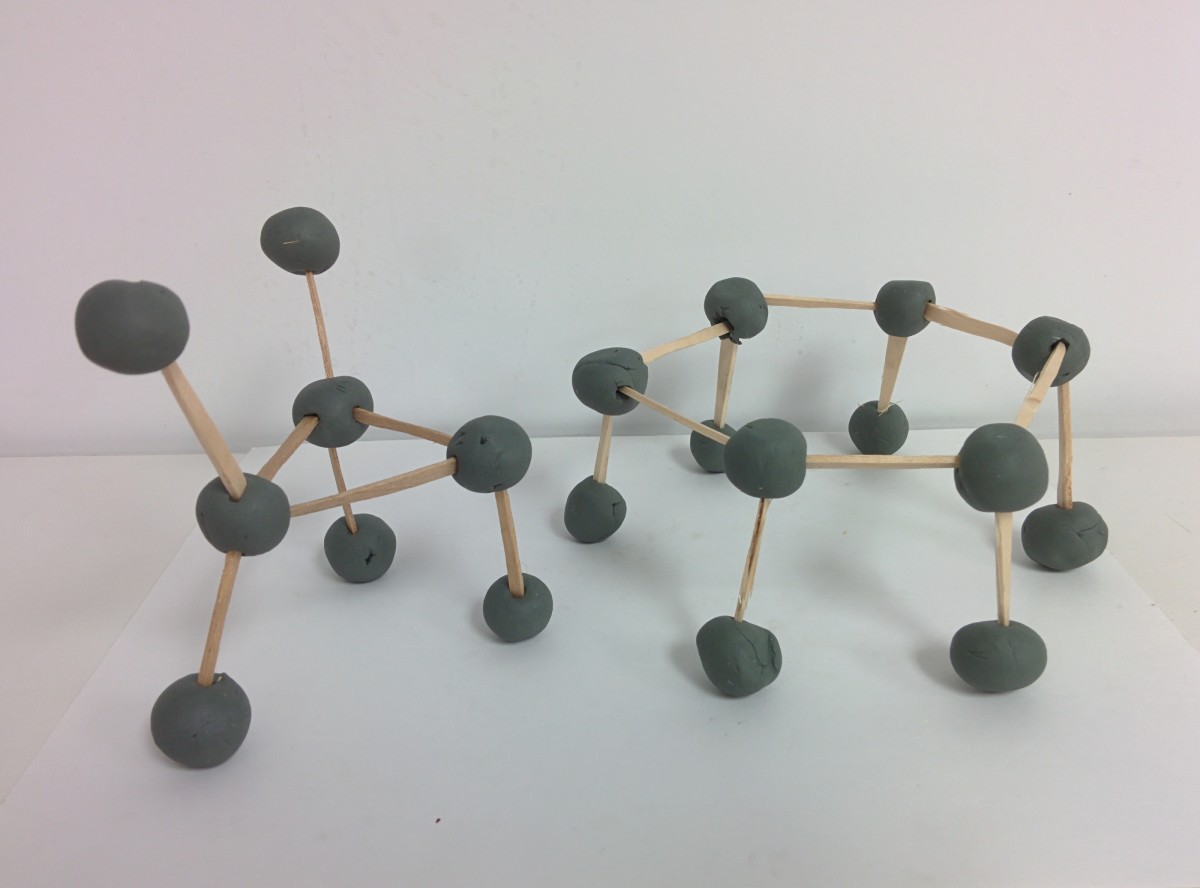
VSEPR Construction Idea
Idea: Using clay, marshmallow, or other materials, students can first create models of various VSEPR structures. Then, the students would attempt to connect various structures together to create a household object. This object will be tested to determine the strength and stability of different VSEPR structures.
Objective: familiarize the students with different VSEPR structures and allow them to analyze the stability and symmetry of such structures.
Products: We connected VSEPR structures and other simple chemistry molecules (cycloalkane, benzene, etc) to create a chair and a hexagonal table.
Problems: This idea employs the concept of VSEPR structures, which may not be taught to tenth-graders in Indonesia.


Covalence & Ionic Bonding Idea
Idea: Students must create a physical game that allows them to practice and review chemical bonding.
Objective: Give students hands-on experience creating chemical bonds in an interesting, non-traditional way.
Brainstorm: We considered 3D-Printing valence shells with the respective number of slots (for electrons) for the first three orbitals around the nucleus. Electrons could be inserted, removed, and conjoined between the valence shells to represene Ionic and Covalent Bonding.
Problems: It is difficult to create a meaningful physical model of Chemical Bonding without access to a 3D-Printer, and our design felt too sloppy.
Slow-Motion Video Idea
Idea: The students can choose a chemical process to film in time-lapse or slow-motion. Through the video footage achieved, they need to explain the chemical concept behind this process.
Examples:
Chemical processes which occur over long intervals of time, such as the three states of water or the diffusion of liquid, can be recorded through time-lapse.
Chemical processes which occur over extremely short periods of time, such as the Tie Dye Milk experiment, can be filmed in slow-motion.
Objective: By recording such chemical processes and observing the footage, students can gain better understanding of the related chemical concepts. In this project, they can also learn to explain chemical concepts through concrete observation.
Equation Balancer Idea
Idea: Students must create a physical model that represents and/or teaches the concept of balancing chemical equations.
Objective: Allow students to review a concept in chemistry (balancing equations) through analytical and design thinking skills.
Products: See below (since this is the project we went with), a system of gears and wooden tiles that represent the relationships between the coefficients of a given equation.
Problems: See below. The interval markings beneath the gears are imprecise - using differently sized gears would have made a better final project.
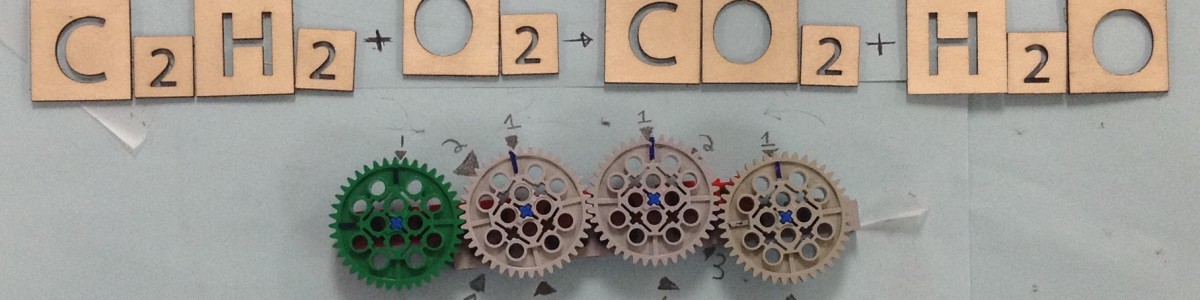
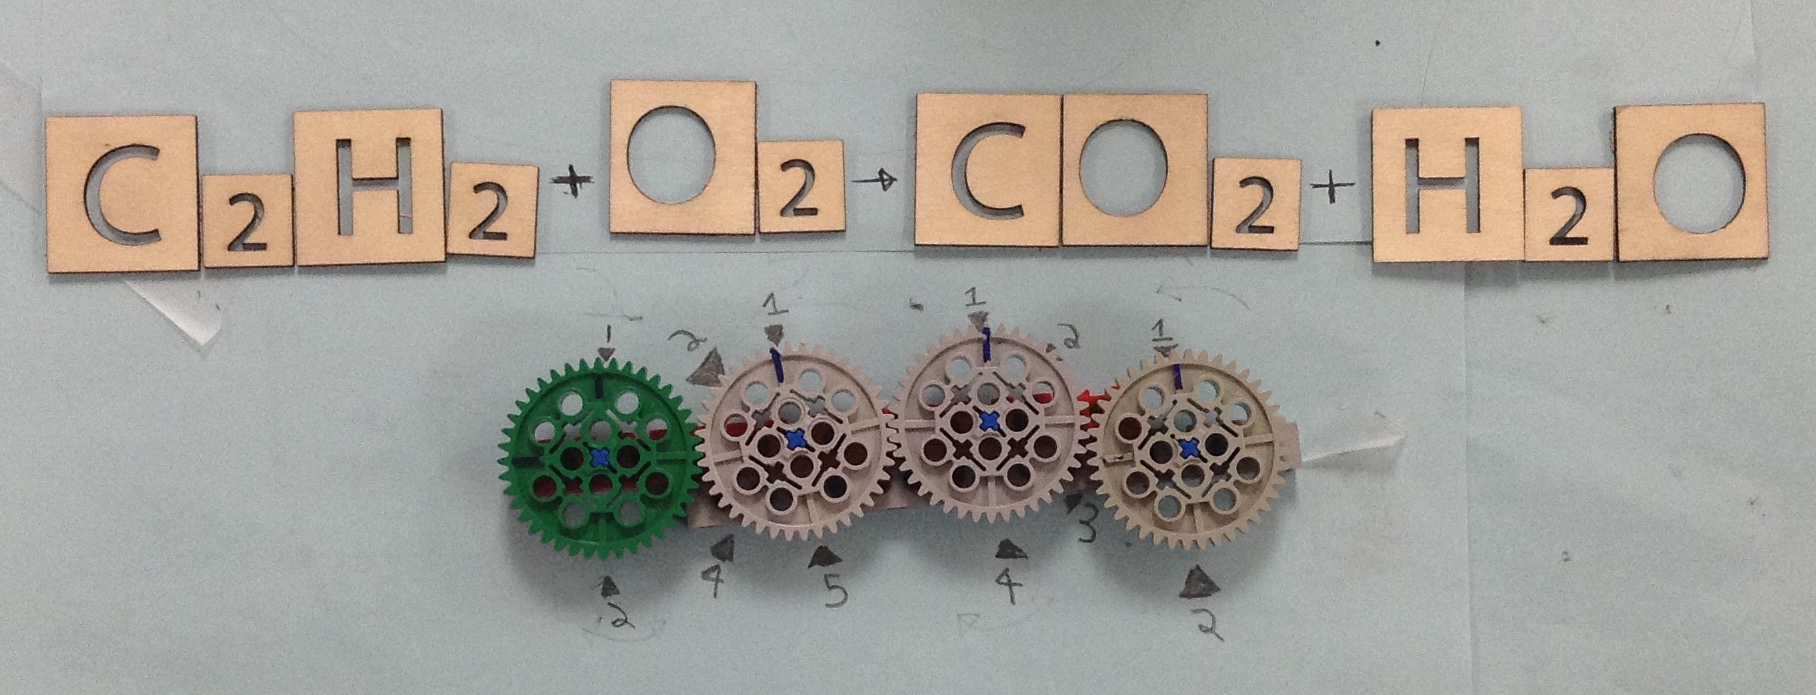
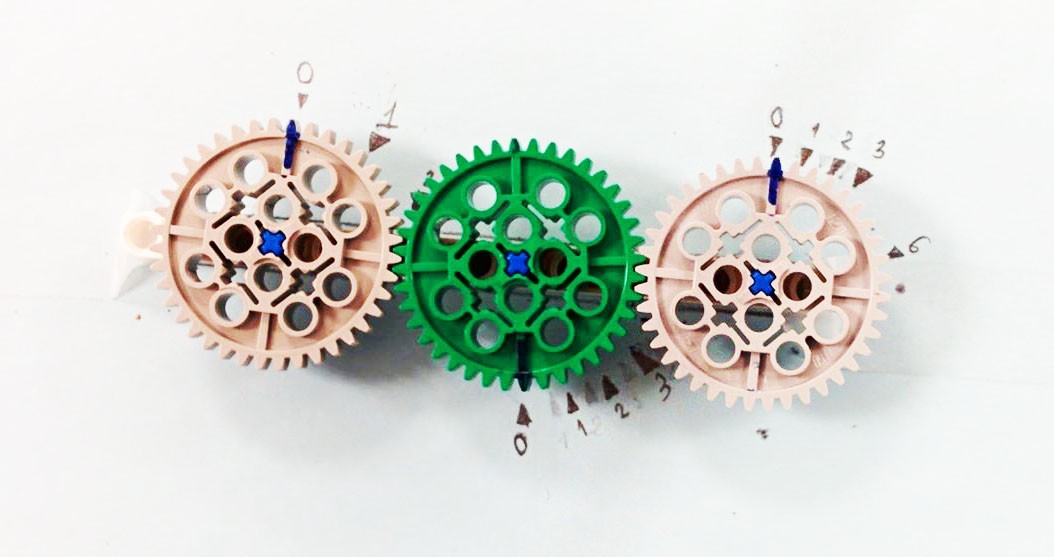
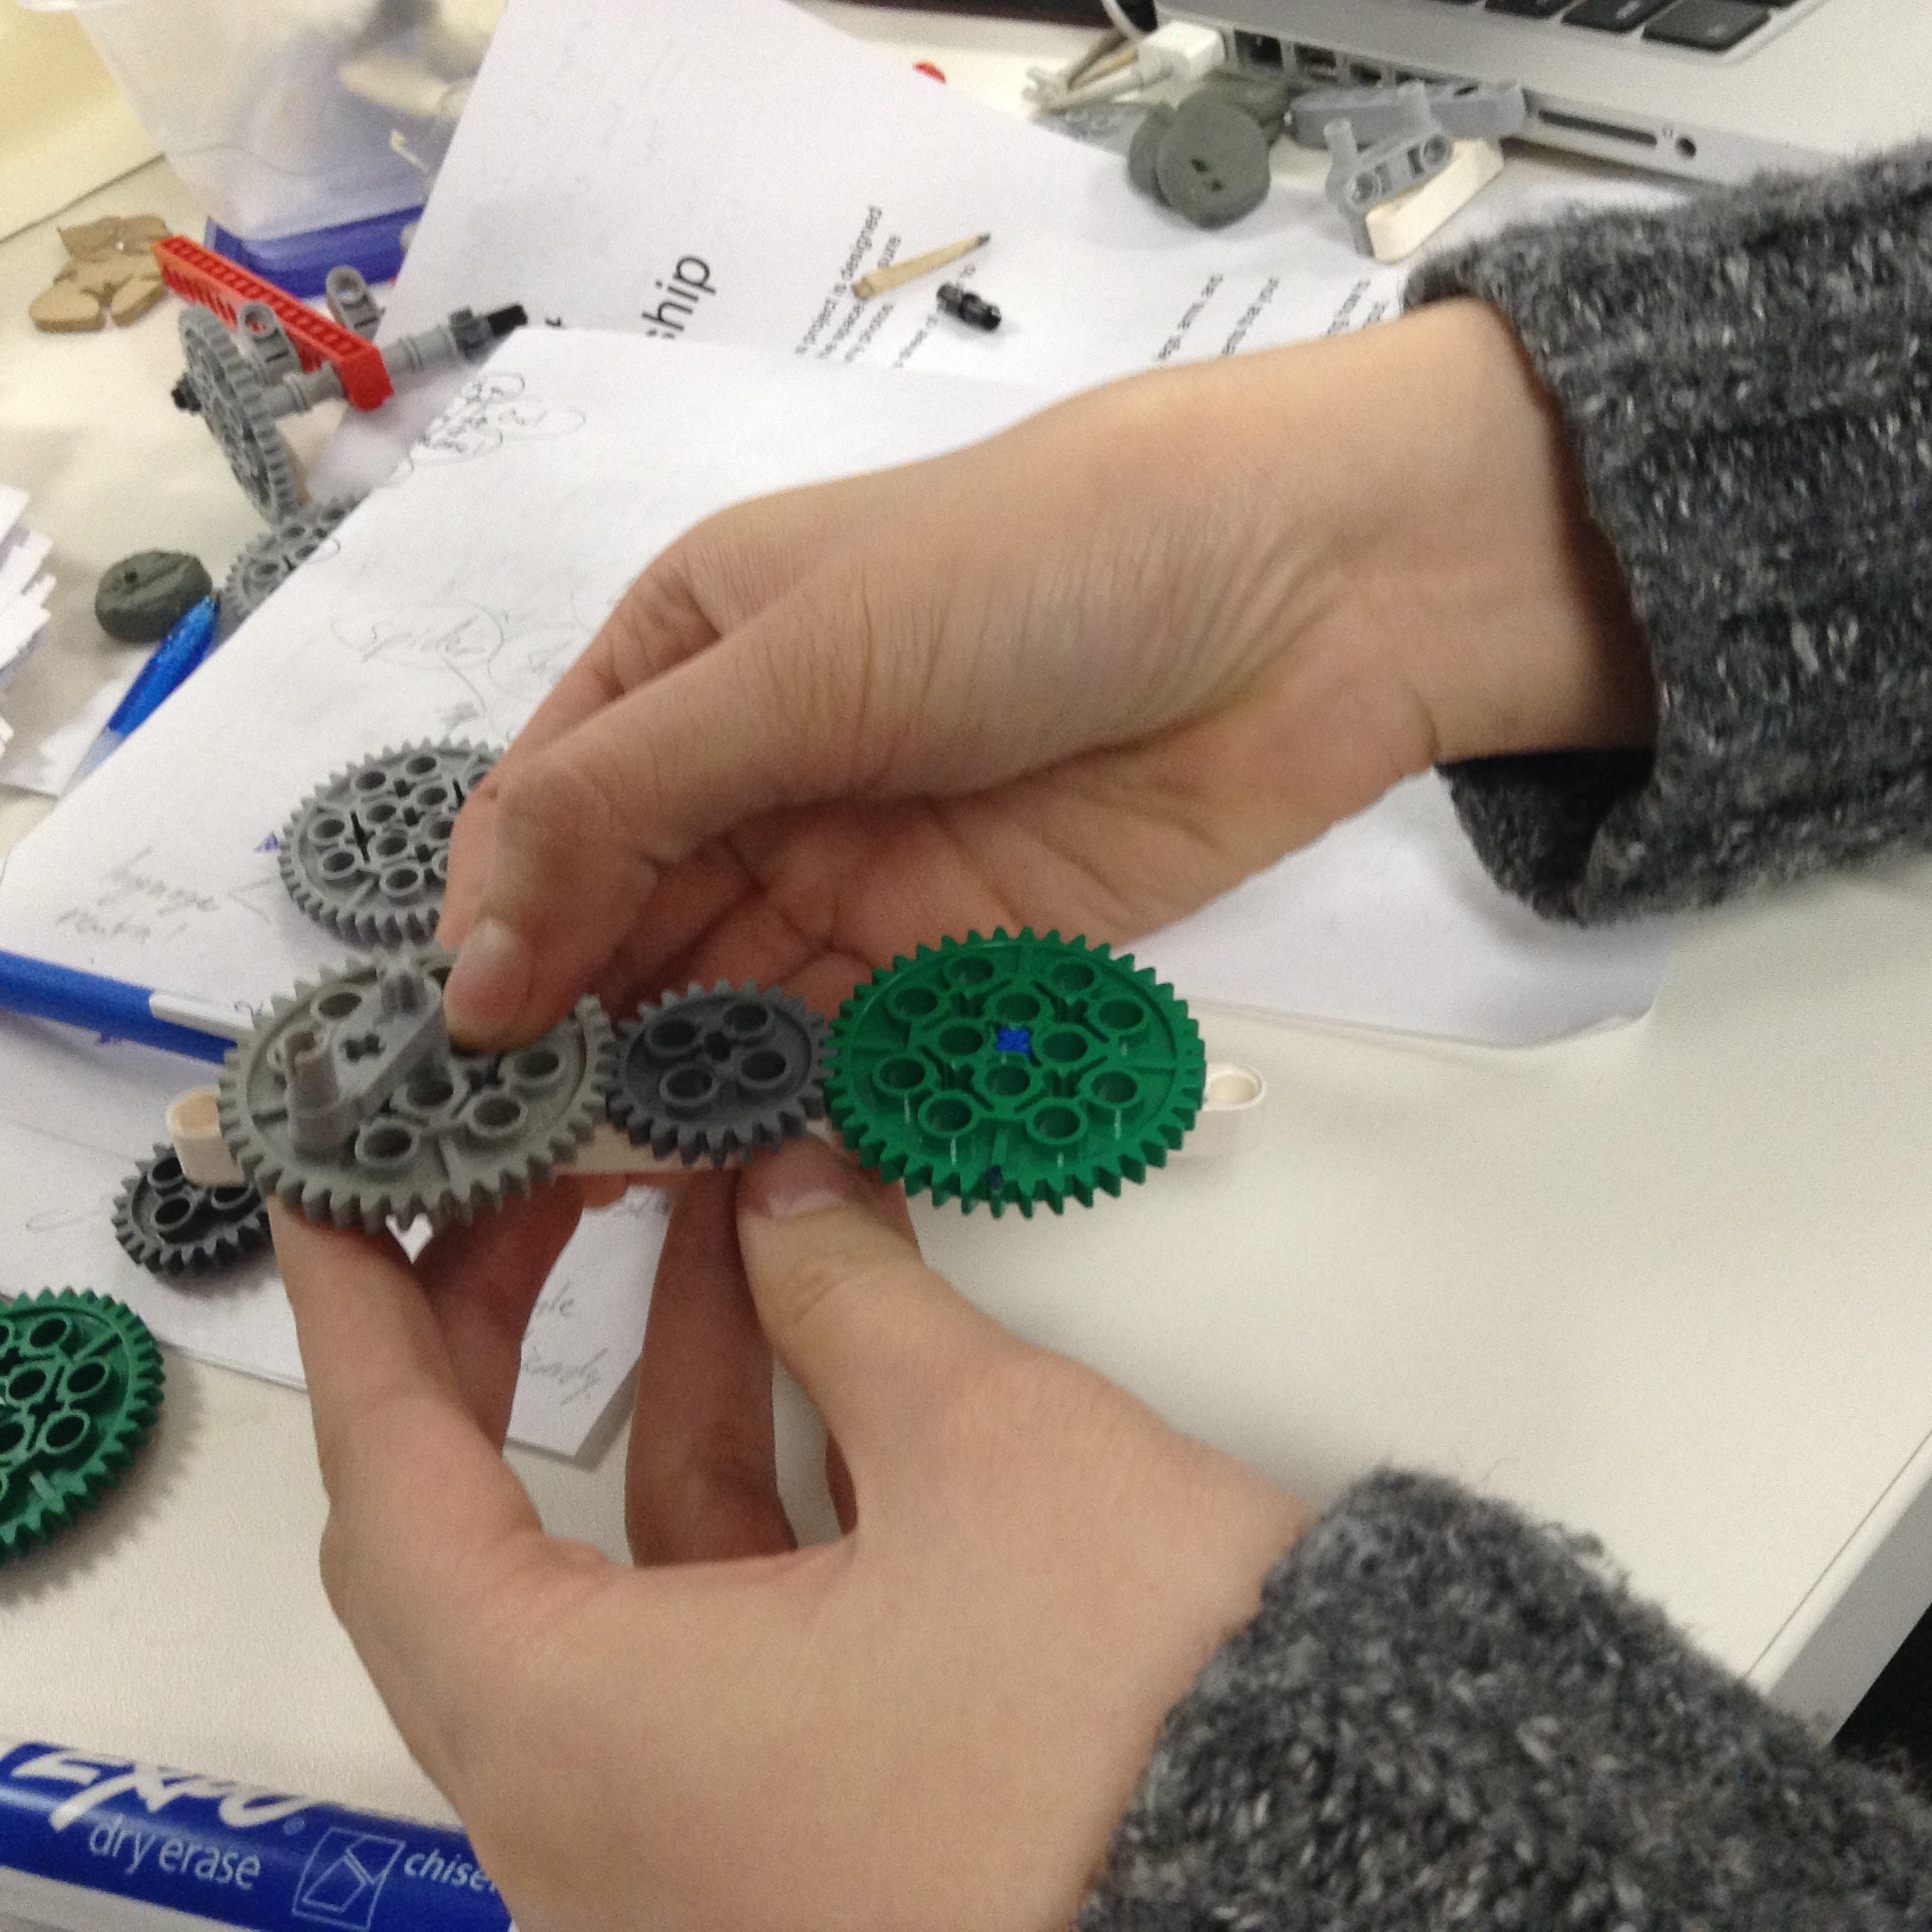
The Gear System
The spacing between the markings represent the rate of change between the coefficients in the equation.
The Planning Process
Photos of our planning to create the physical equations balancer out of an abstract concept.
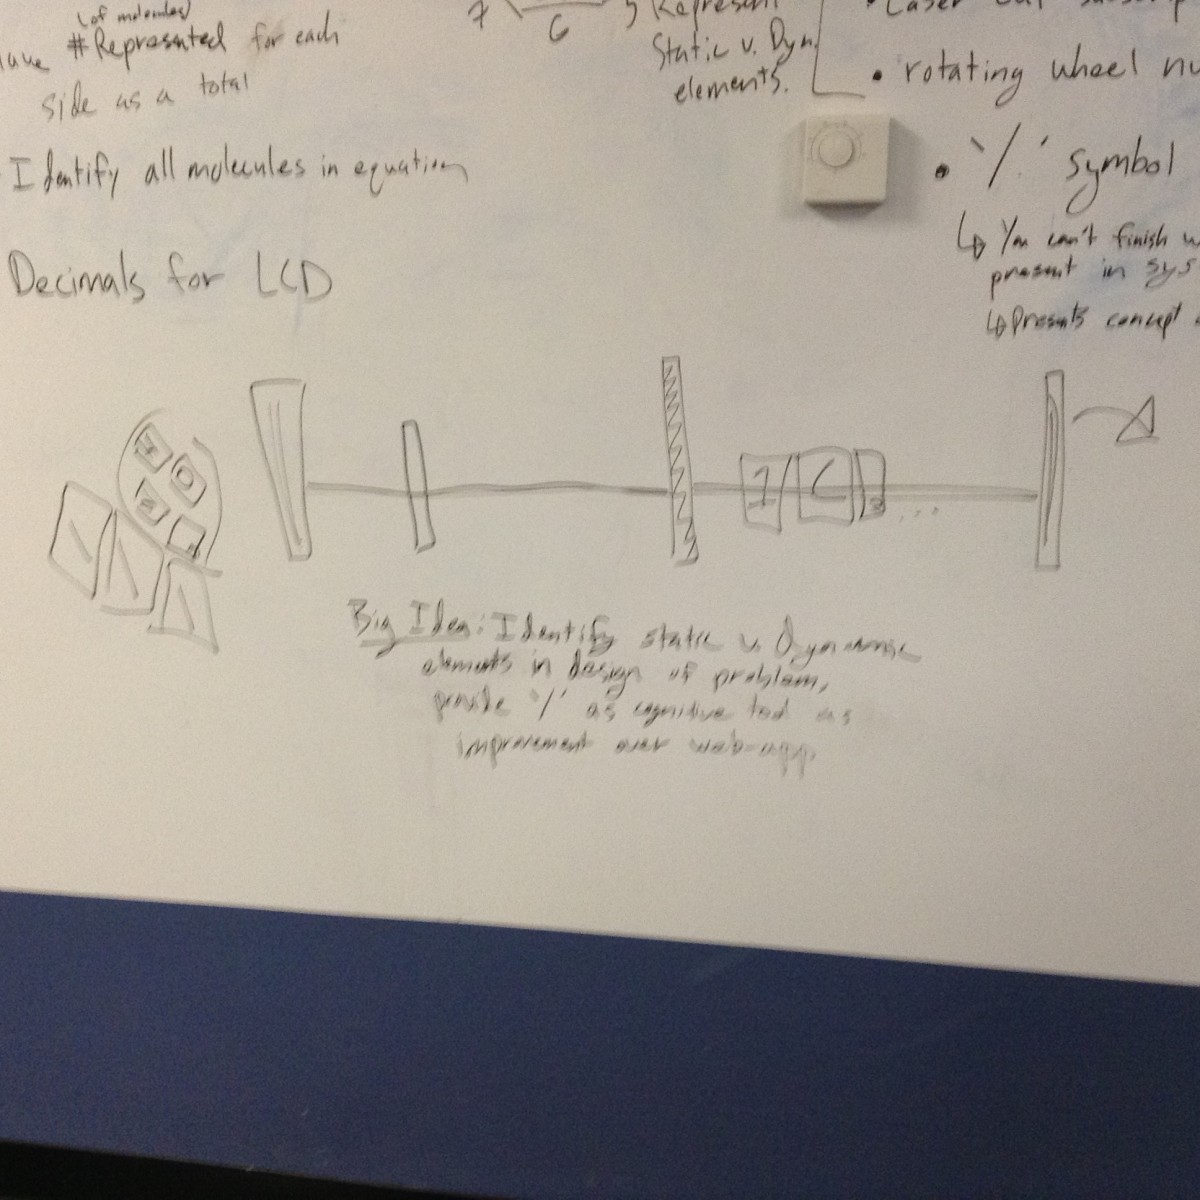
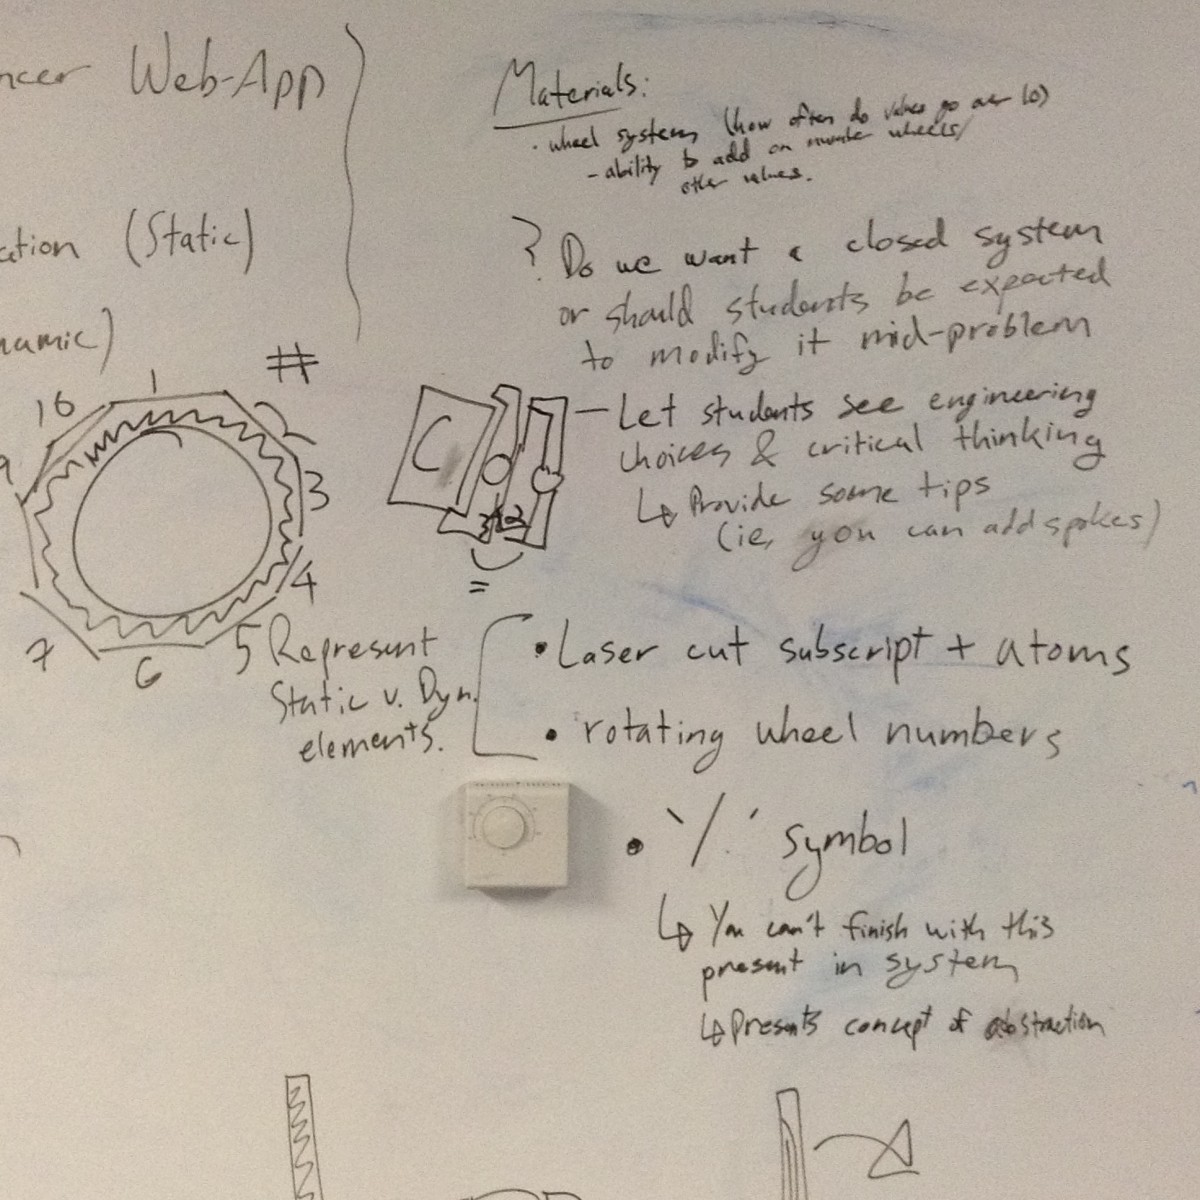
Create
We tried to figure out a method to show the coefficients in accordance with the stoichiometric relationships between the products and reactants.
At first, a peg was inserted into one hole on each gear to track the gear's movement while being rotated. However, the numerical values of different coefficients cannot be determined in this case. In the end, we decided to position the balancer on a piece of paper and mark different intervals.
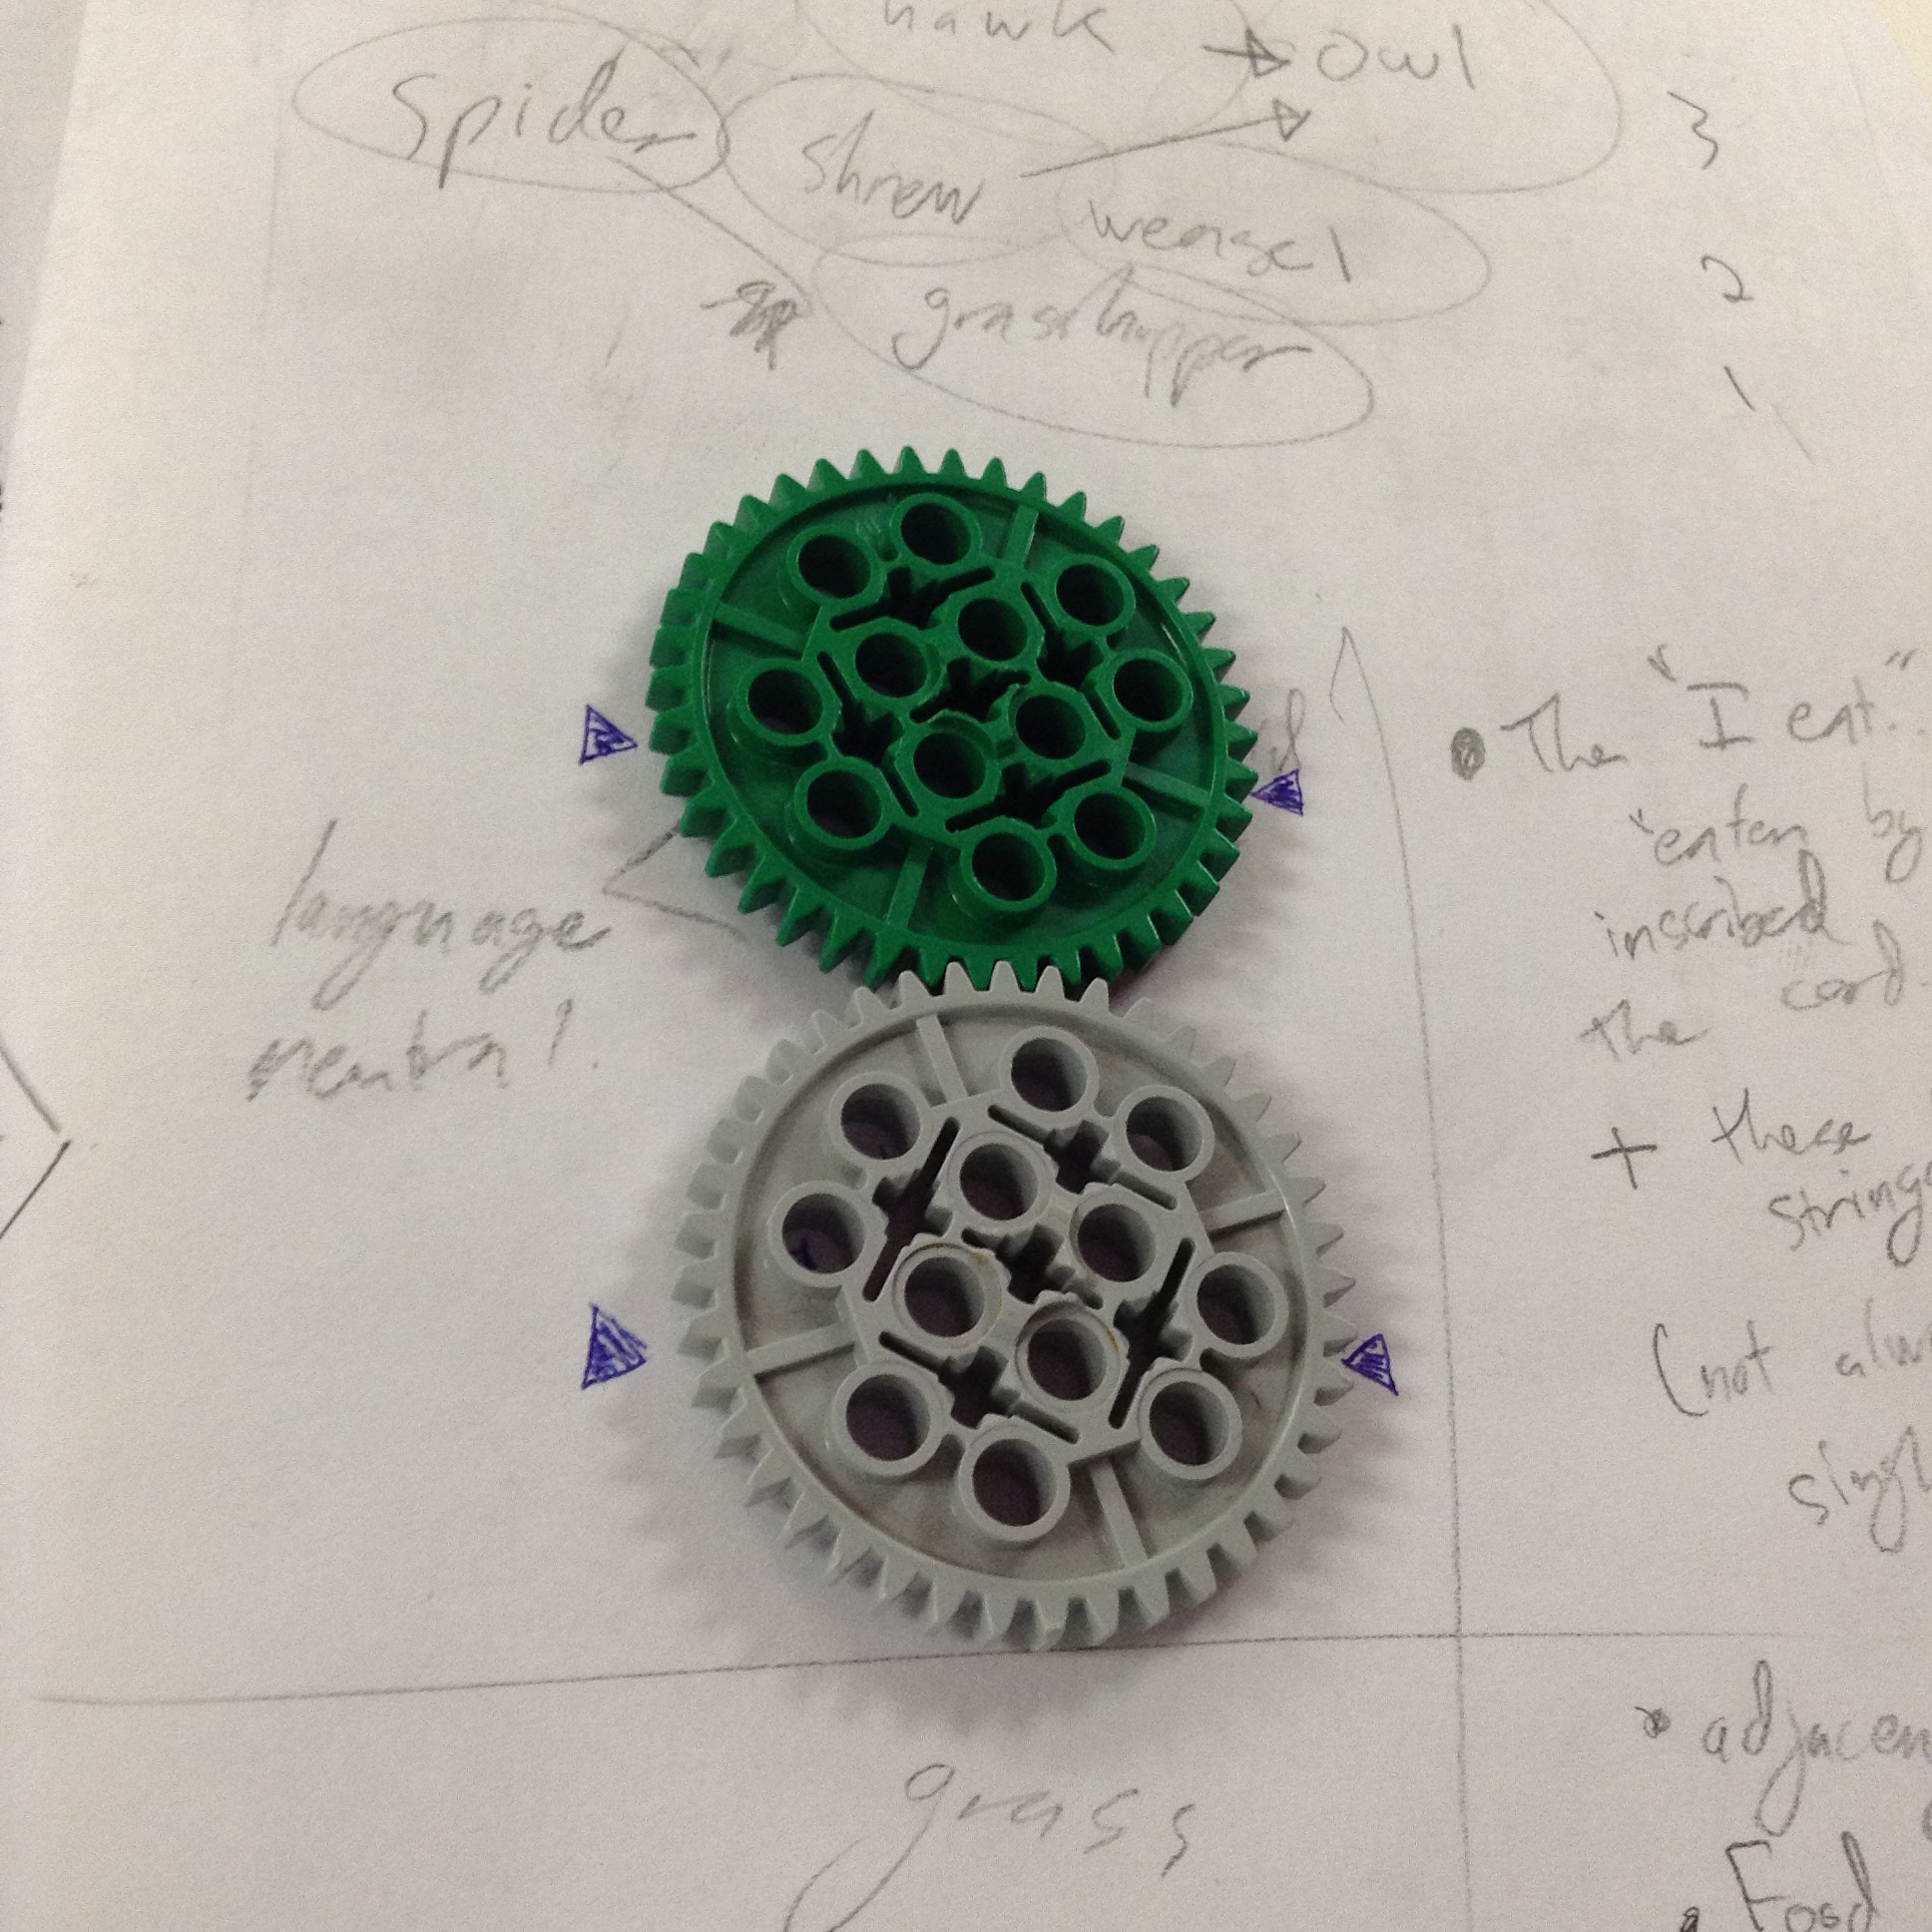
Experimenting with smaller gears
Smaller gears were used to illustrate the different rates of changes in a chemical equation. In other words, smaller gears can represent a component with higher coefficient, turning faster than larger gears. However, because only 40-teeth and 24-teeth gears were available, we could not use them to accurately represent different coefficients in an equation.
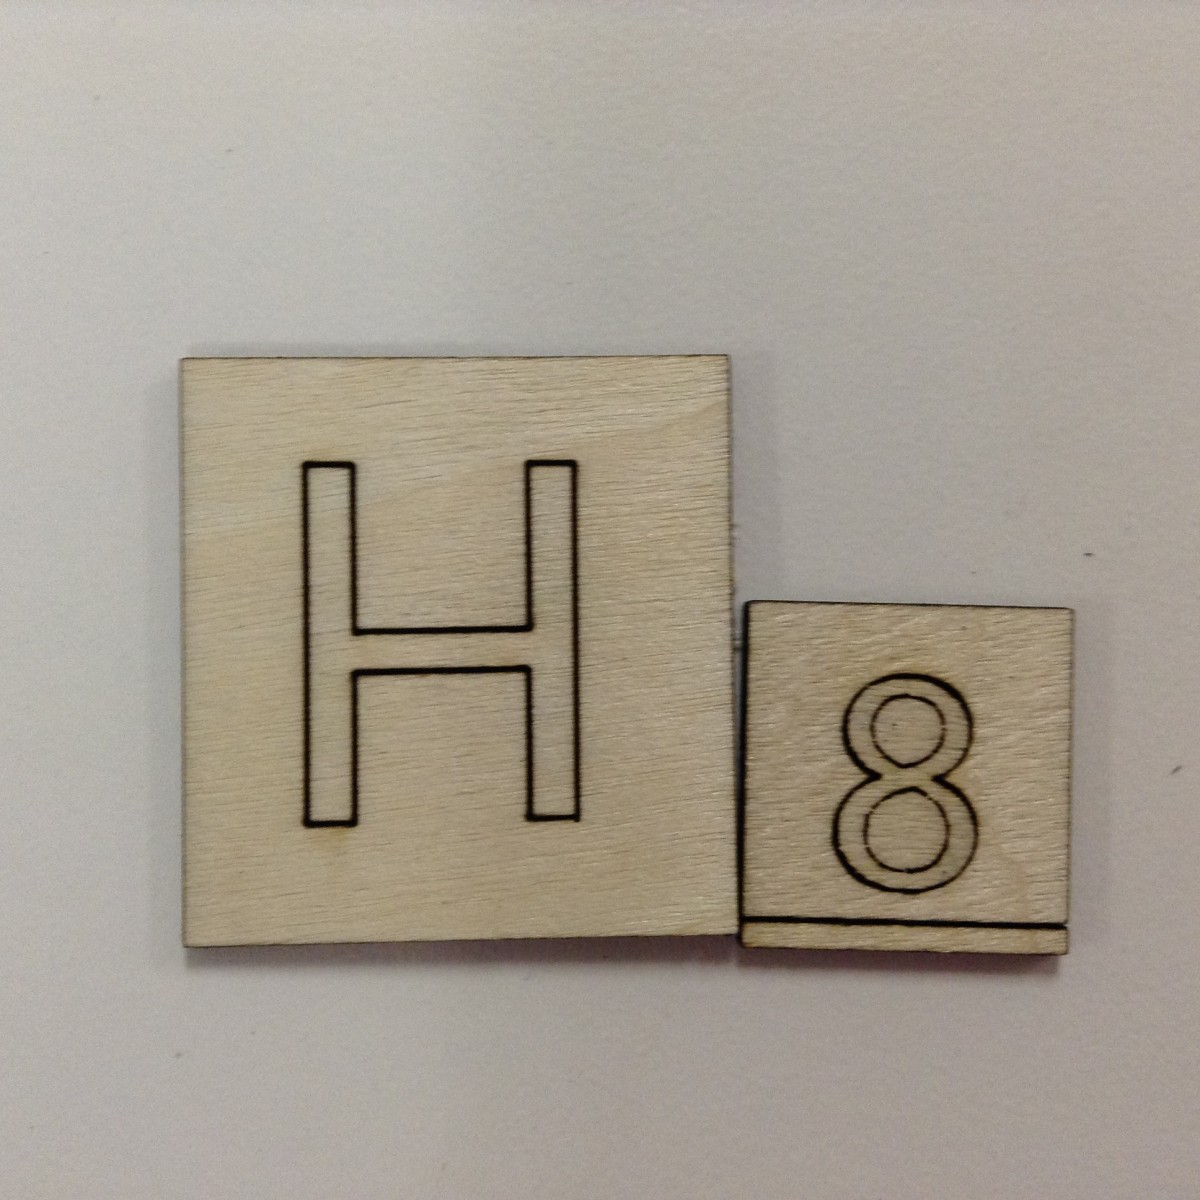
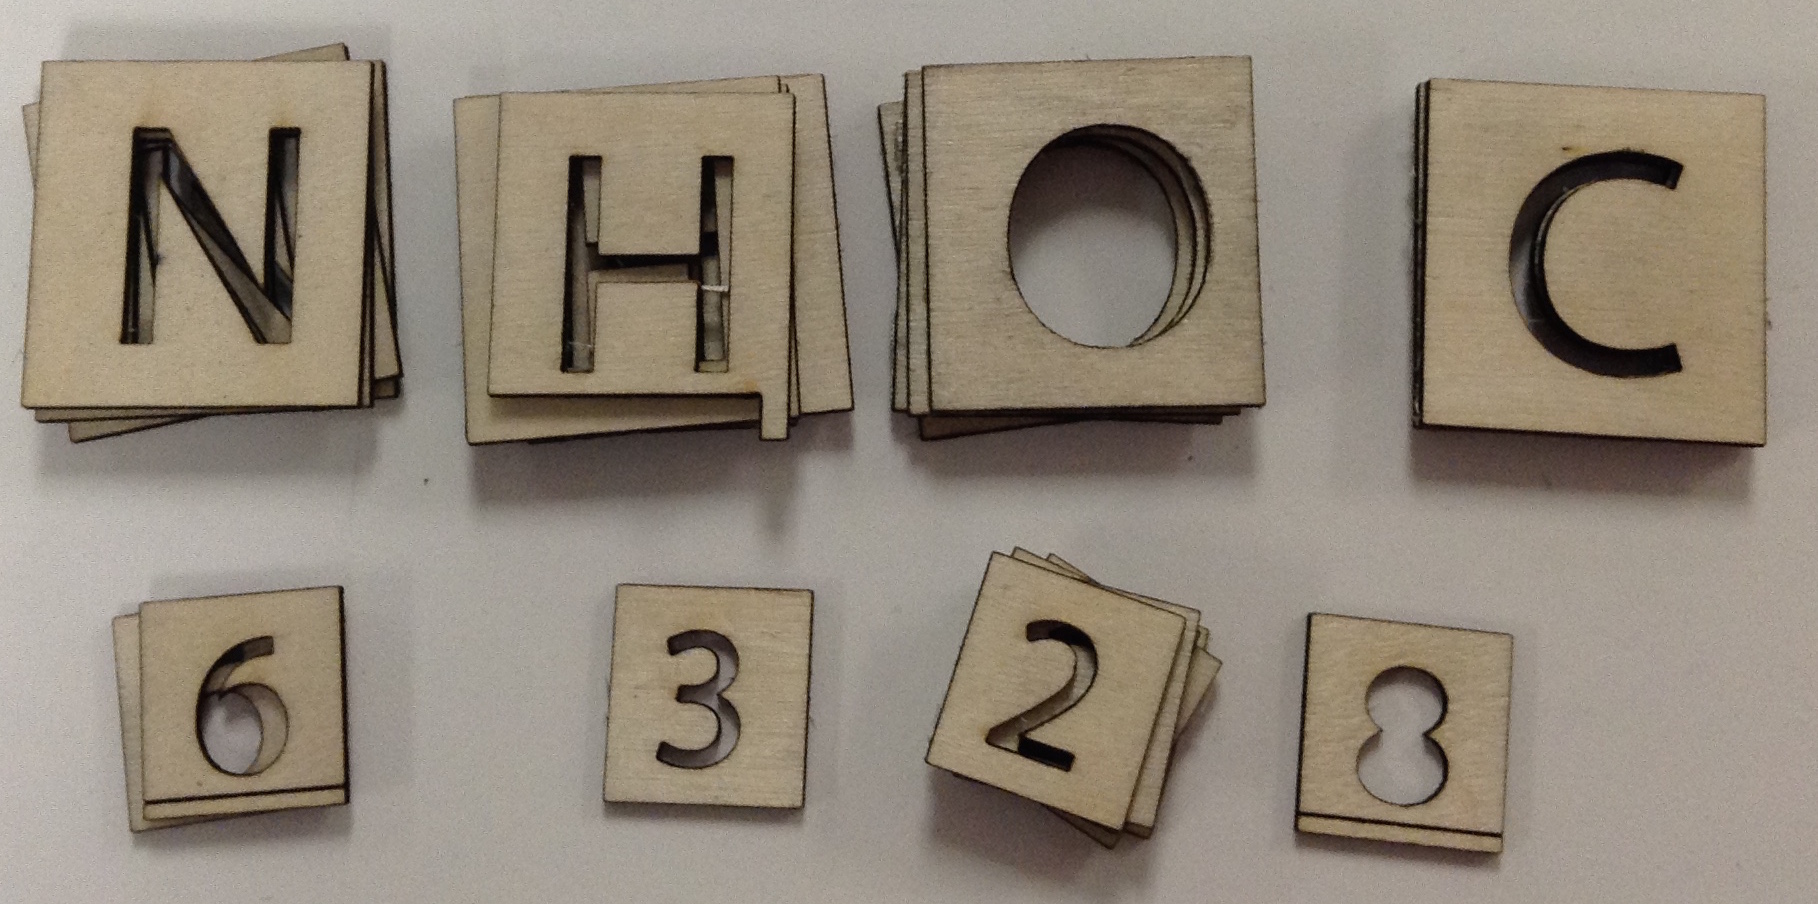
Creating the Equation Tiles
Note: While we used a laser to cut these tiles out of wood, students could make the same letters and numbers with just pen and paper.
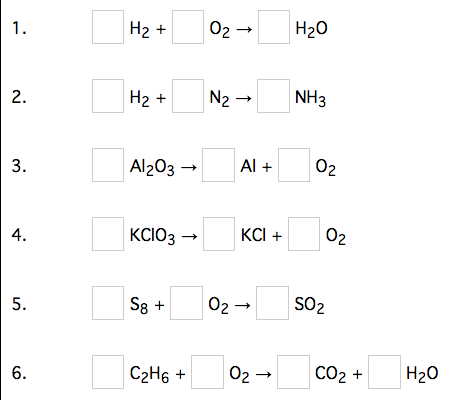
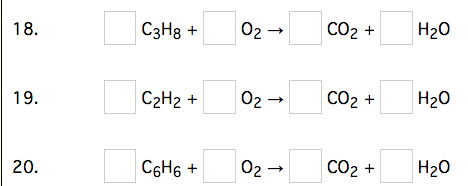
We looked at practice exercises from the web site sciencegeek.net to determine which atoms (letters and subscript numbers) were used the most in simple chemical equations. We found that hydrogen, carbon, oxygen, and nitrogen appeared frequently, and with the subscript number 2, 3, 6 and 8, there would be a number of equations available.
The laser cutter did not cut all the way through many of the tiles, but by using a pen or knife, it was possible to remove center space. Notice in the last slide how the entire figure of number eight was removed, appearing only as a silhouette after being cut.


The Finished Tiles
While we used a laser cutter, these tiles could be created using only pencil and paper!
LEGO Gear
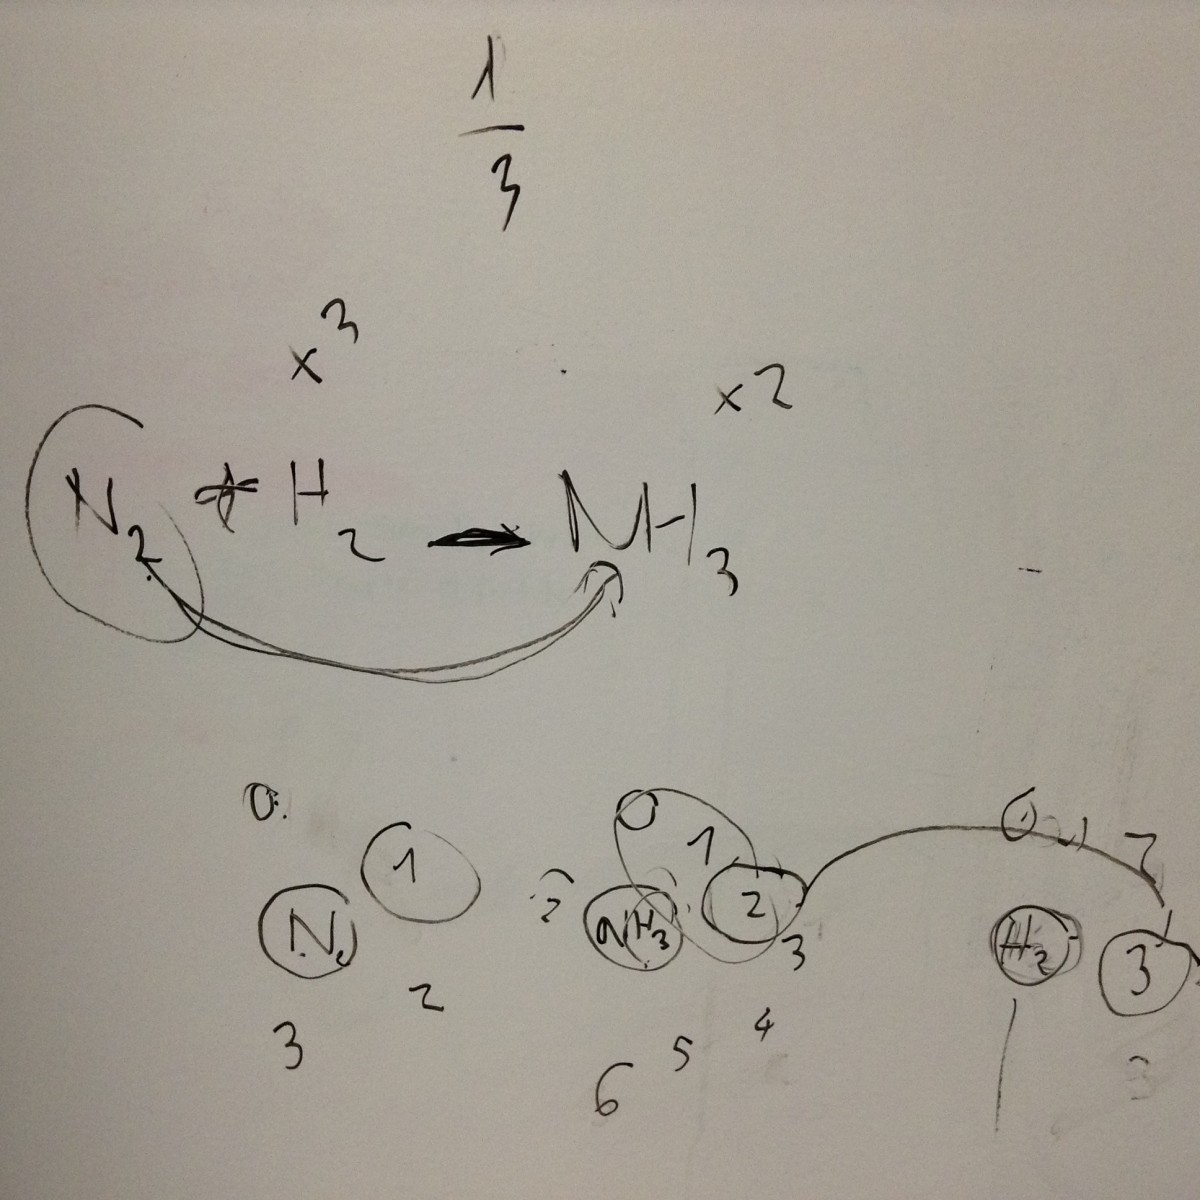
Sample equation to balance: N2 + H2 -> NH3
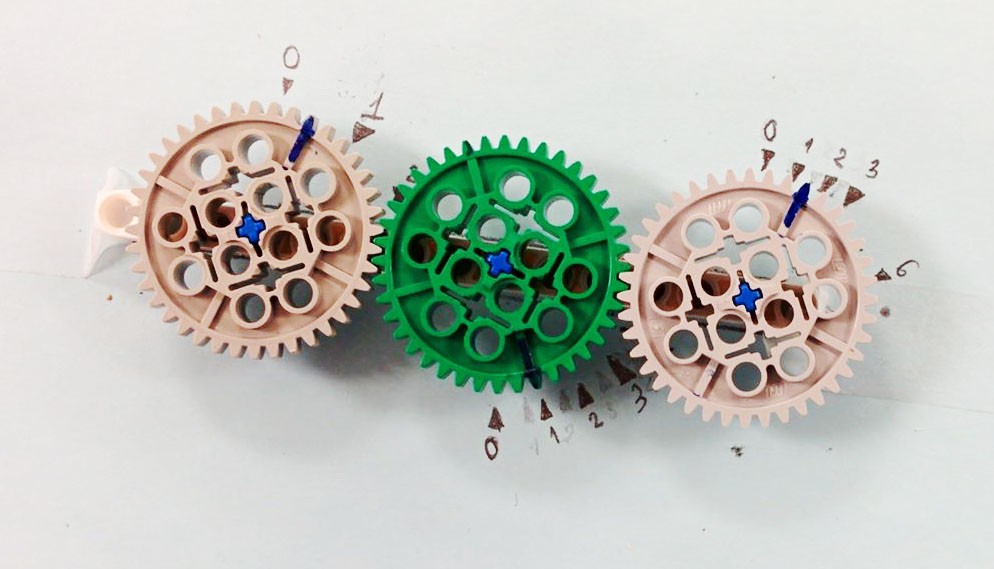
The wheels, from left to right, represent the stoichiometry coefficients of N2, NH3, and H2. The LEGO balancer is a visual representation of the thinking process while solving a simple stoichiometry problem.
For this equation, one efficient way of thinking and solving would be to initially put the coefficient for N2 as 1. Then, from the subscript of NH3, in this case, the coefficient of NH3 would be 2. Then the coefficient of H2 can be determined to be 3. The main gist of this thinking process would be establishing the stoichiometry relationship between a reaction and a corresponding product in the equation. Then, students can trace back and establish connections between this product and the other reactants. By going over this process, the connections between all the components of an equation can be logically established.
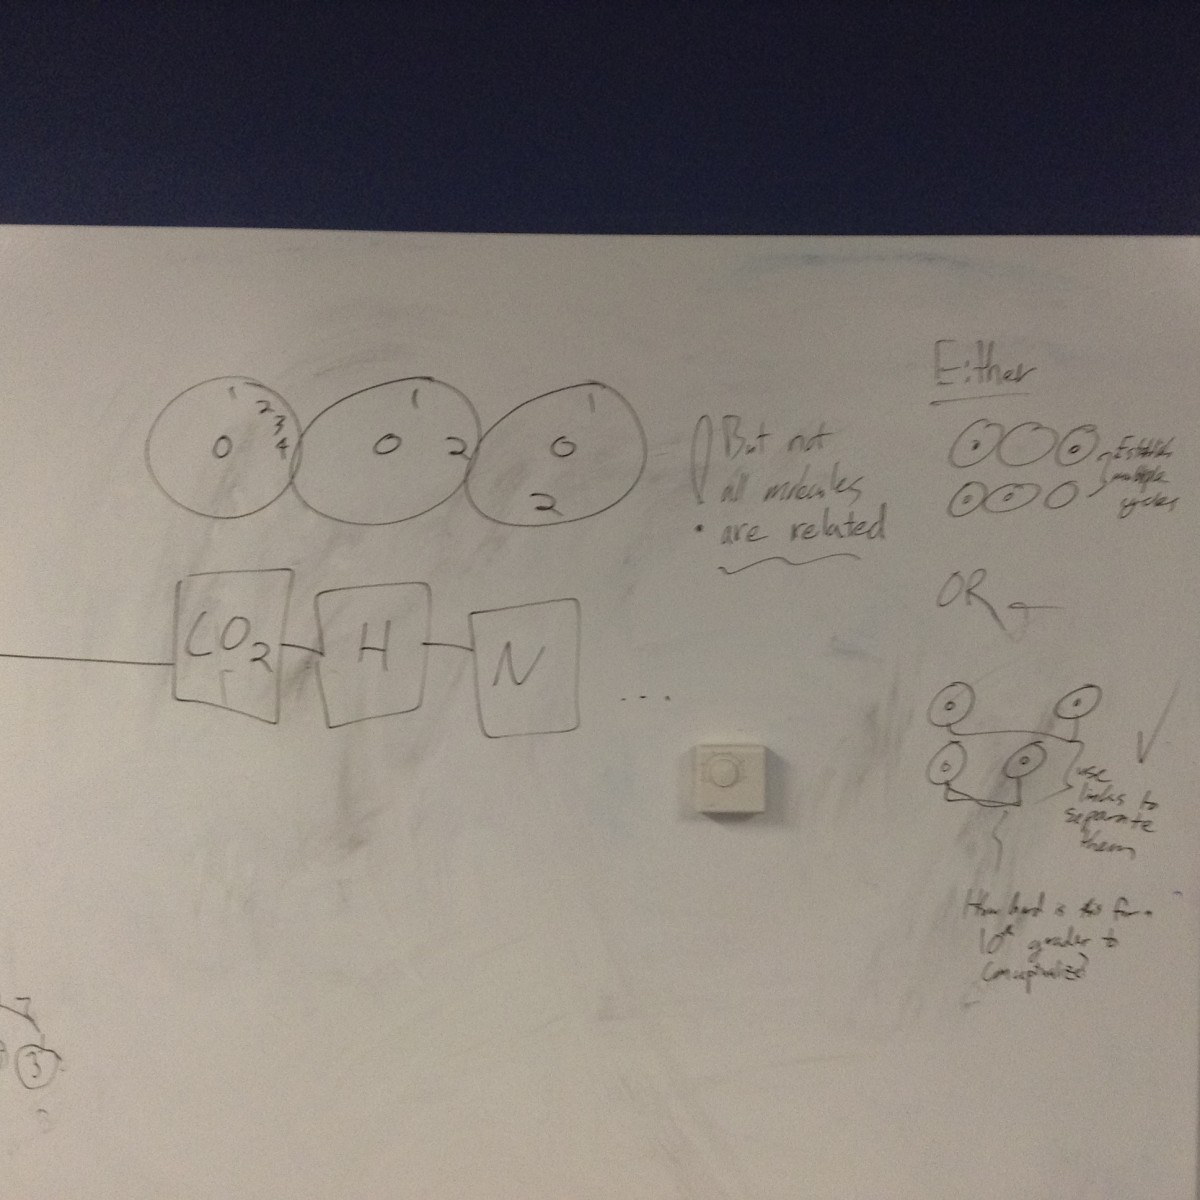
To assemble this physical representation by using LEGO gear, the students have to go over the same process. The gears are put in the order of N2 - H2 - NH3 because the thinking process would be establishing a connection between N2 and NH3, and then making the connection between NH3 and the remaining reactant, H2. In a complex problem with more components, the students would have to establish the same order of making stoichiometric connections between components. By establishing the marking coefficient in accordance with the LEGO turning gears, the students can also learn how to determine the coefficients.
Objective: encourage students to think about the stoichiometry process in a logical way and to solve engineering problems by finding a method to represent their thought process visually and physically.
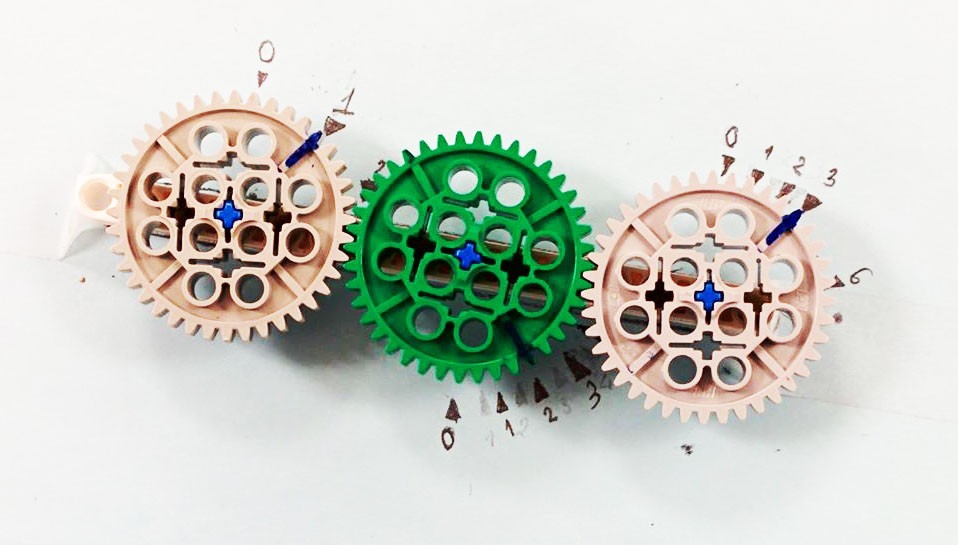
Products achieved: When the coefficient of N2 is turned to 1/2, the blue marks indicate that the coefficient of NH3 and H2 would then be 1 and 3/2. Turning the gear would help to show the relationship between coefficients.
Improve (Additional Suggestions)
- The gears can be chosen among cogwheels of varying sizes- with 48, 24, and 12 teeth- to represent the stoichiometric relationship between different components in an equation.
- The gears can be color-coded to differentiate between reactants and products.
- Students can experiment with more complex equations by adding or changing the configuration of the gears in this LEGO balancer.