
Missile Launch
Students will be asked to launch a marble through a ring at a given height and to land in a specfied location. Students need to design and build a device to shoot their marble and to use physics equations to determine the trajectory of its motion. Students are given complete control over what type of device they want to design, what exit velocity they will shoot the marble at, the distance of the device from the landing poisiton, and the angle of launch. Based on the given constraints students will have to complete the physics equations associated with parabolic motion to properly set up their device to go successfully go through the ring and land at the final destination.
Authors: Rose Solow and Orian Sneor
Final Project
We built a small crossbow to shoot a marble using stretched rubber bands. The crossbow was built to launch the marble at a 30 degree angle from the horizontal. The initial velocity of the marble could be controlled by how much you pulled back on the rubber bands. We marked tallies every quarter inch on the crossbow so that we could control for and standardize how far the rubber bands were pulled for each shot.

Big Idea
During the execution of this project students will:
- Apply physics concepts to a real-world device
- Build a device using the materials available to them
- Solve the equations of motion for parabolic trajectory
- Know how to solve a physics problem with given consraints
- Know how to measure velocity
Ask
We wanted a project where the students would be challenged to build a device that would launch some object. Launching objects and analyzing their motion is one of the most engaging ways to teach students about the physics of kinematics. We needed to set a series of constraints within our project that would challenge the students to complete the projectile motion equations and try to build a device that would launch an object accurately. We decided to set two points that the projectile would pass through, the destination landing point and a point mid-air. The mid-air point would be a ring at a specified height above the ground and distance from the landing point that the projectile would have to shoot through. With these given constraints the students would be challenged to create their own devices that would successfully launch an object through these points.
Key questions:
- What kind of launch device?
- How do we build the device?
- How do we determine the launch velocity?
- How do we determine the launch angle?
- How do we determine the launch distance?
Brainstorm
We considered many different devices before deciding which to make. We thought of making a ramp, a trebuchet, and a catapult. We decided on a crossbow style device powered by a rubberband because we thought it would be easy to aim and we had more control over our launch velocity by determining how far back we pulled the rubberband. Also, crossbows look really cool.
Plan
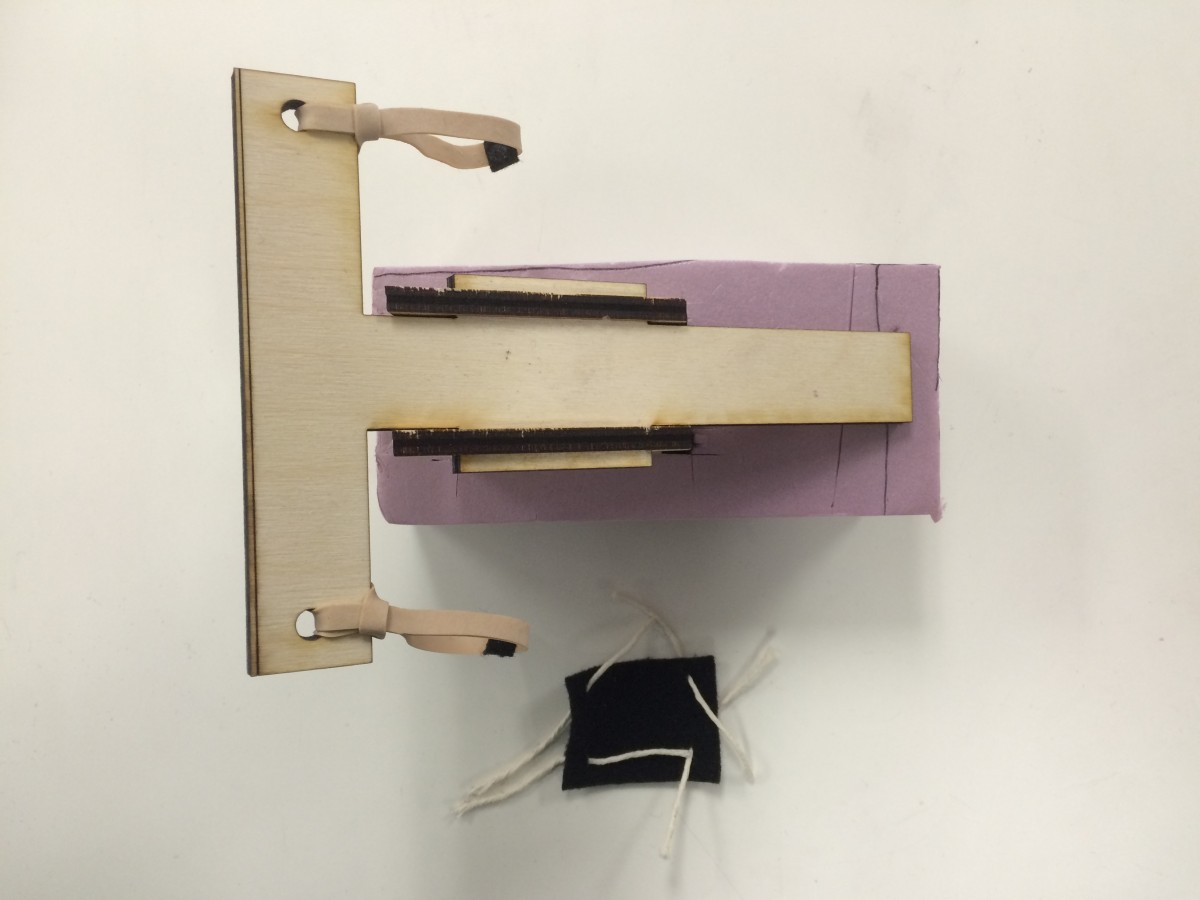
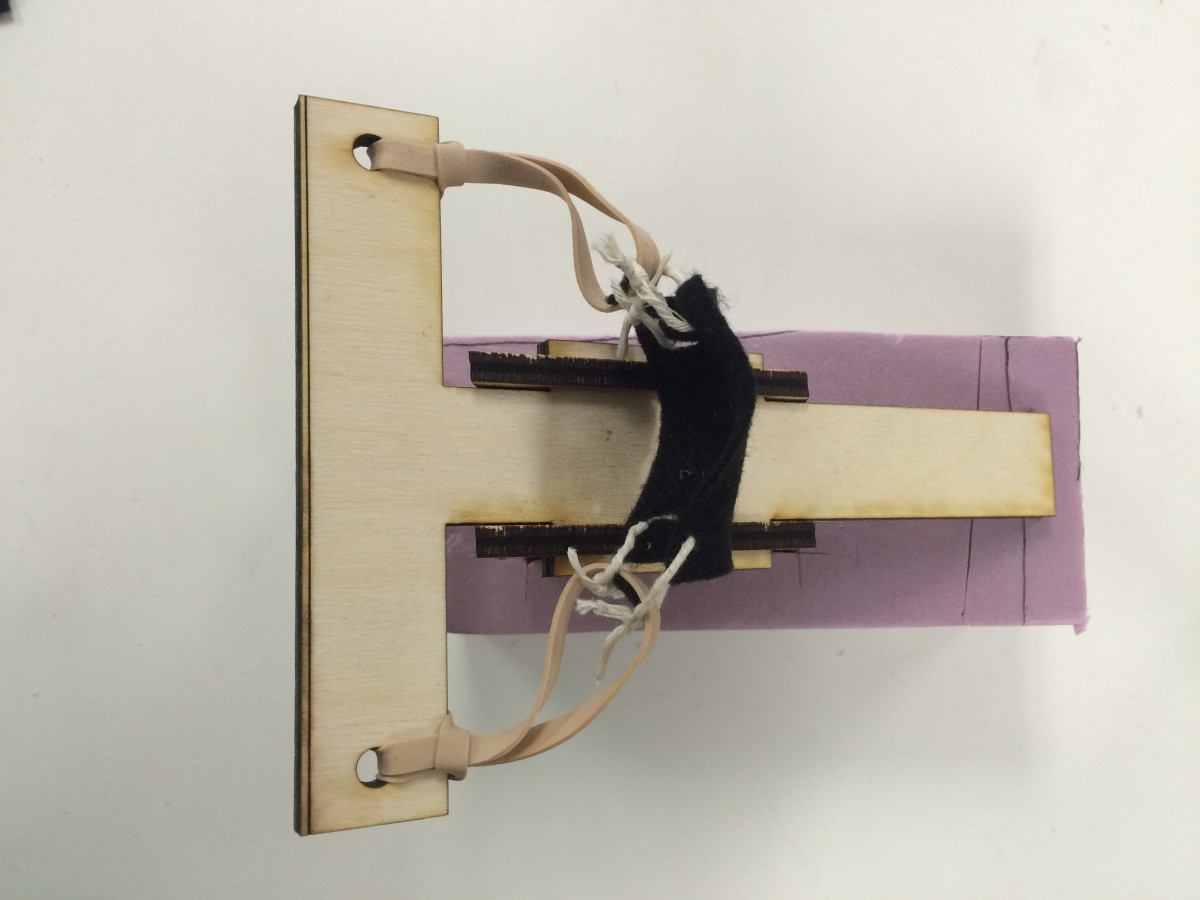
Our final design was for a crossbow style, miniature ballista launcher that would use the energy from a stretched rubberband to shoot the marble. The crossbow would be designed in 123D or SolidWorks and 3D printed. The main aspect of the crossbow would be a T-shape with the main shaft acting as a guide for the marble release and the lateral cross-piece would be where the rubberband would be attached across.

Create
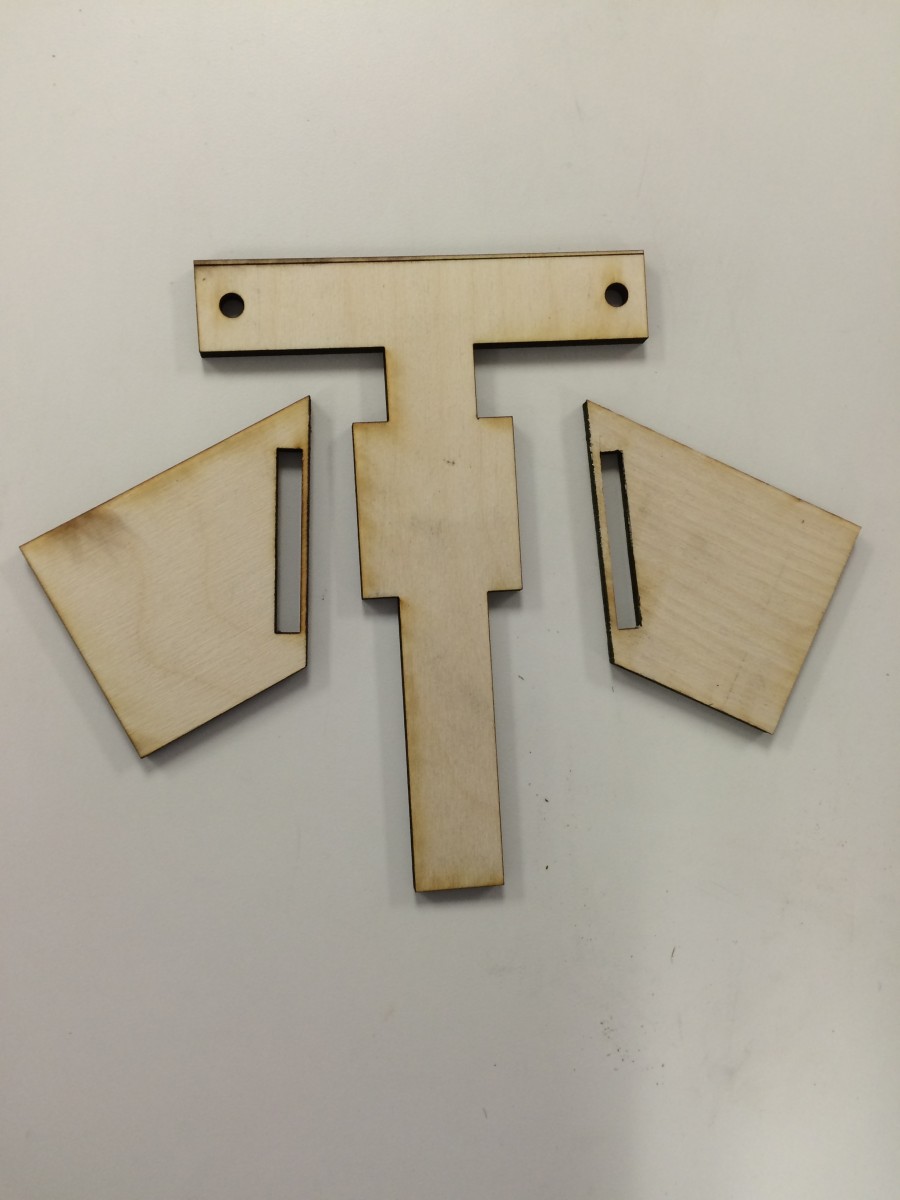
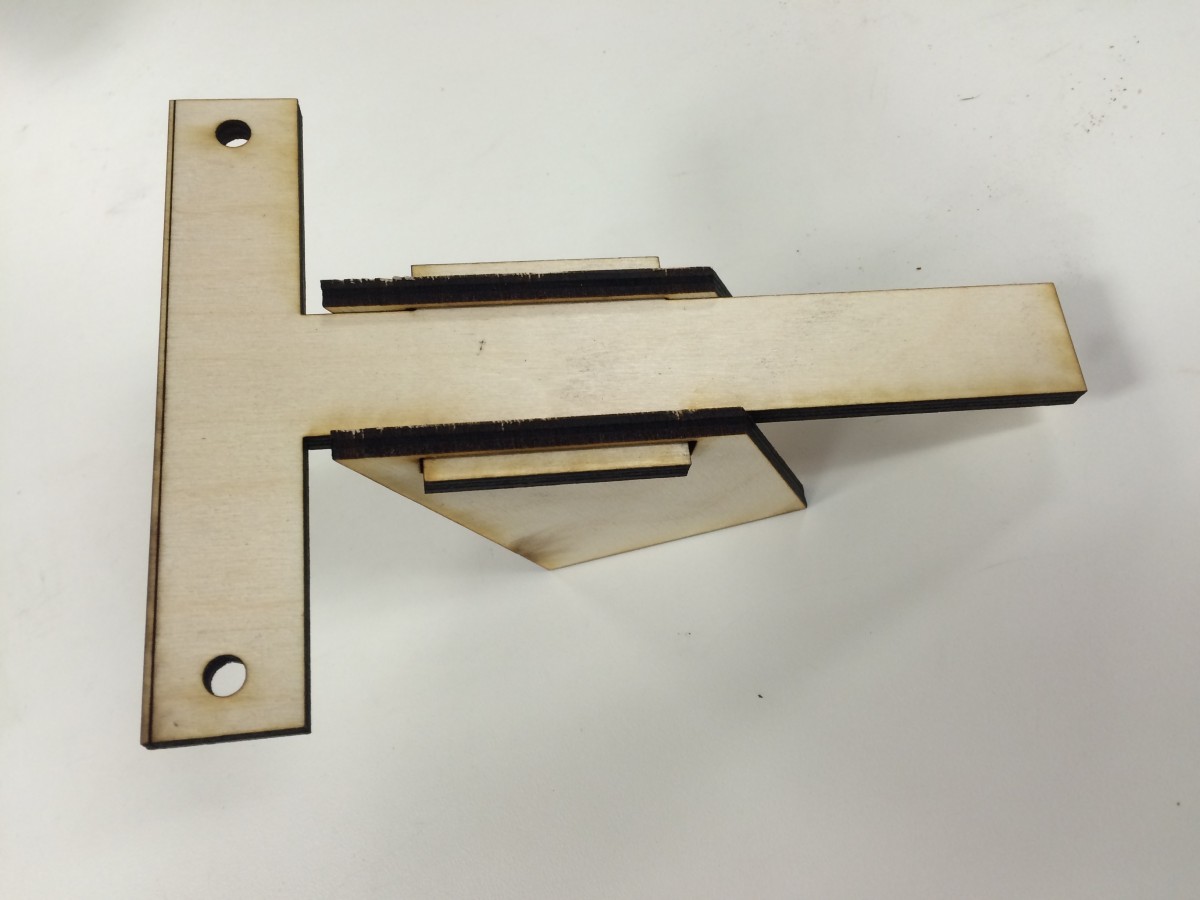
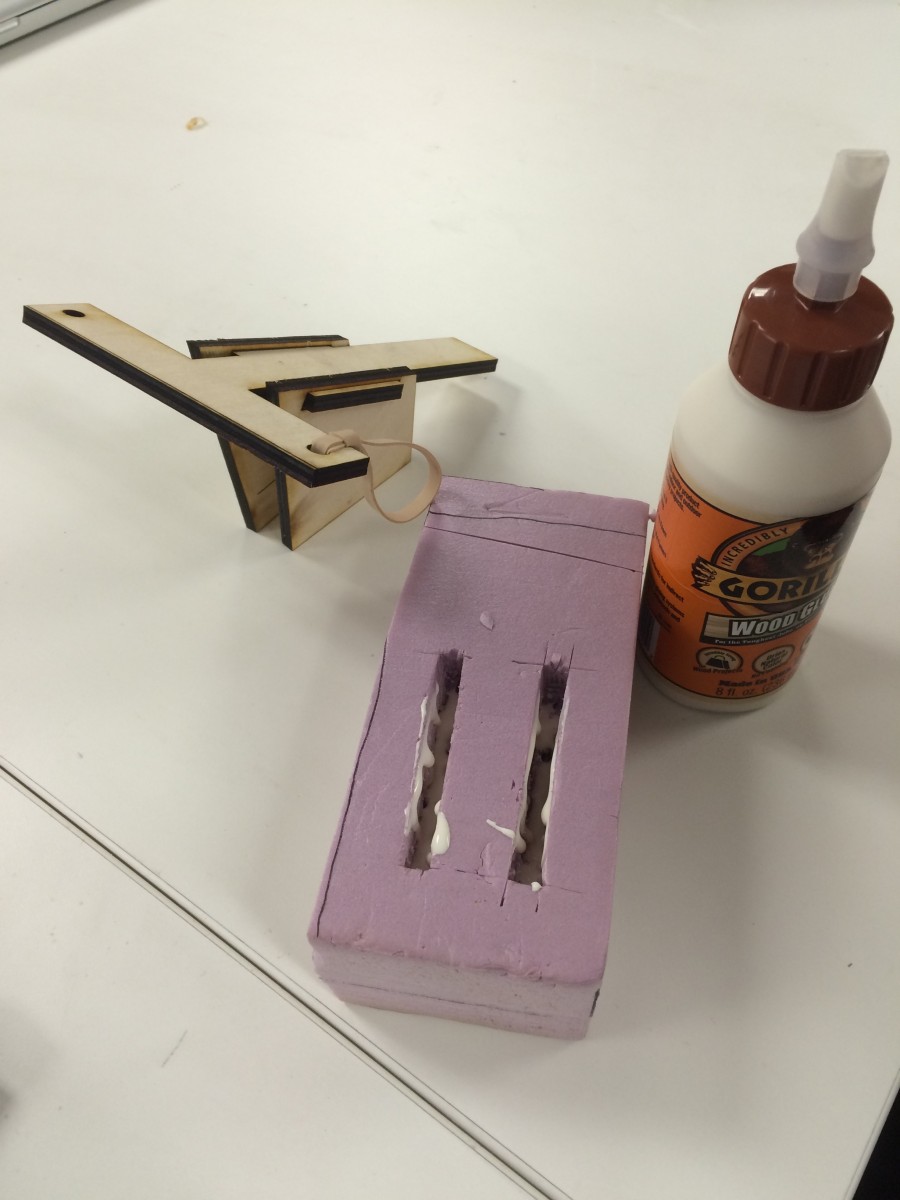
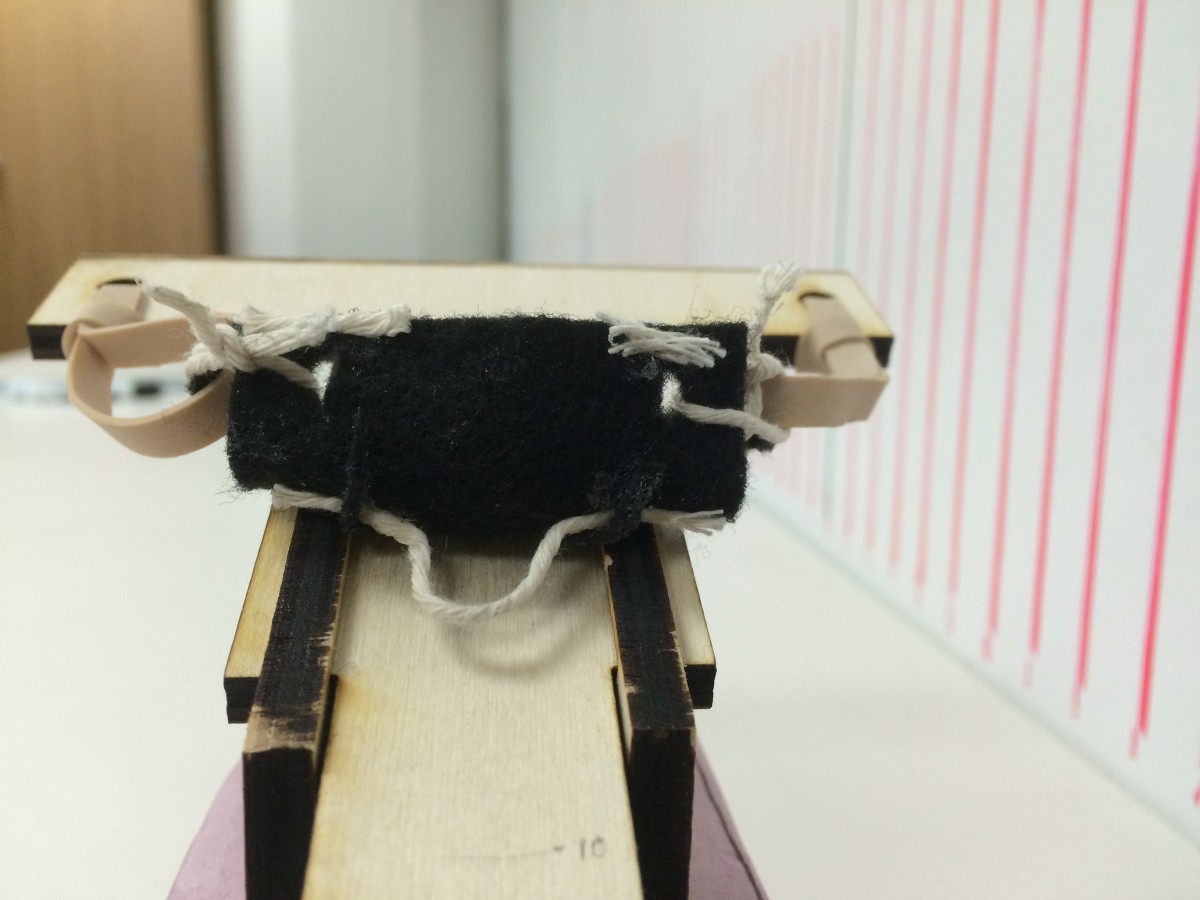
As we began the designing the crossbow in 123D design we realized it would be easier to create using laser cut parts that would slot together. The laser cutter afforded a greater size for our ballista as opposed to the limited tray size of the 3D printer. The design for the laser cut pieces was also simpler, stronger, and used less material. The crossbow was made of three parts: the T-shape piece, and two support pieces. The crossbow was built to shoot at a 30 degree angle. The wood pieces were then glued into a foam base to add stability. Rubber bands were threaded through the holes and a felt and string carriage was fitted to the rubber bands to hold the marble.


Launch
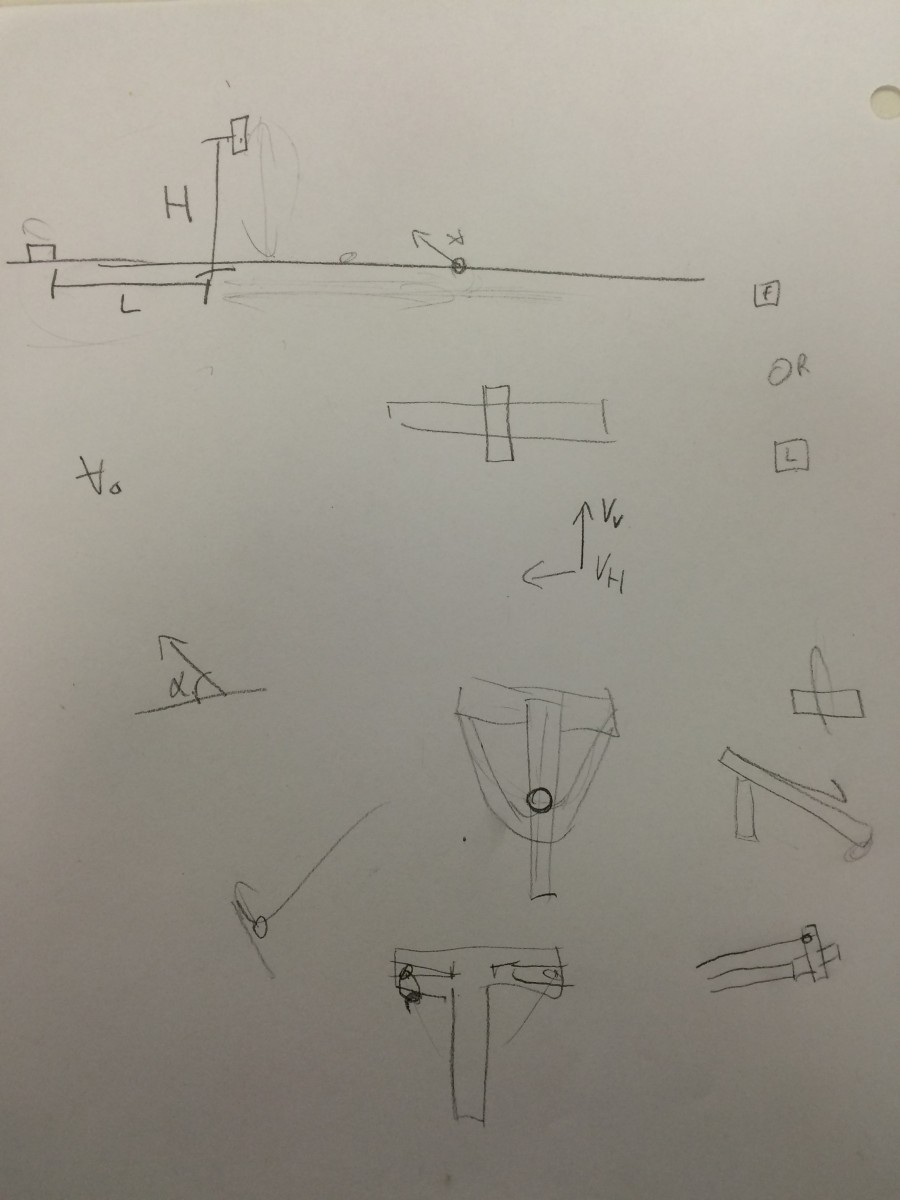
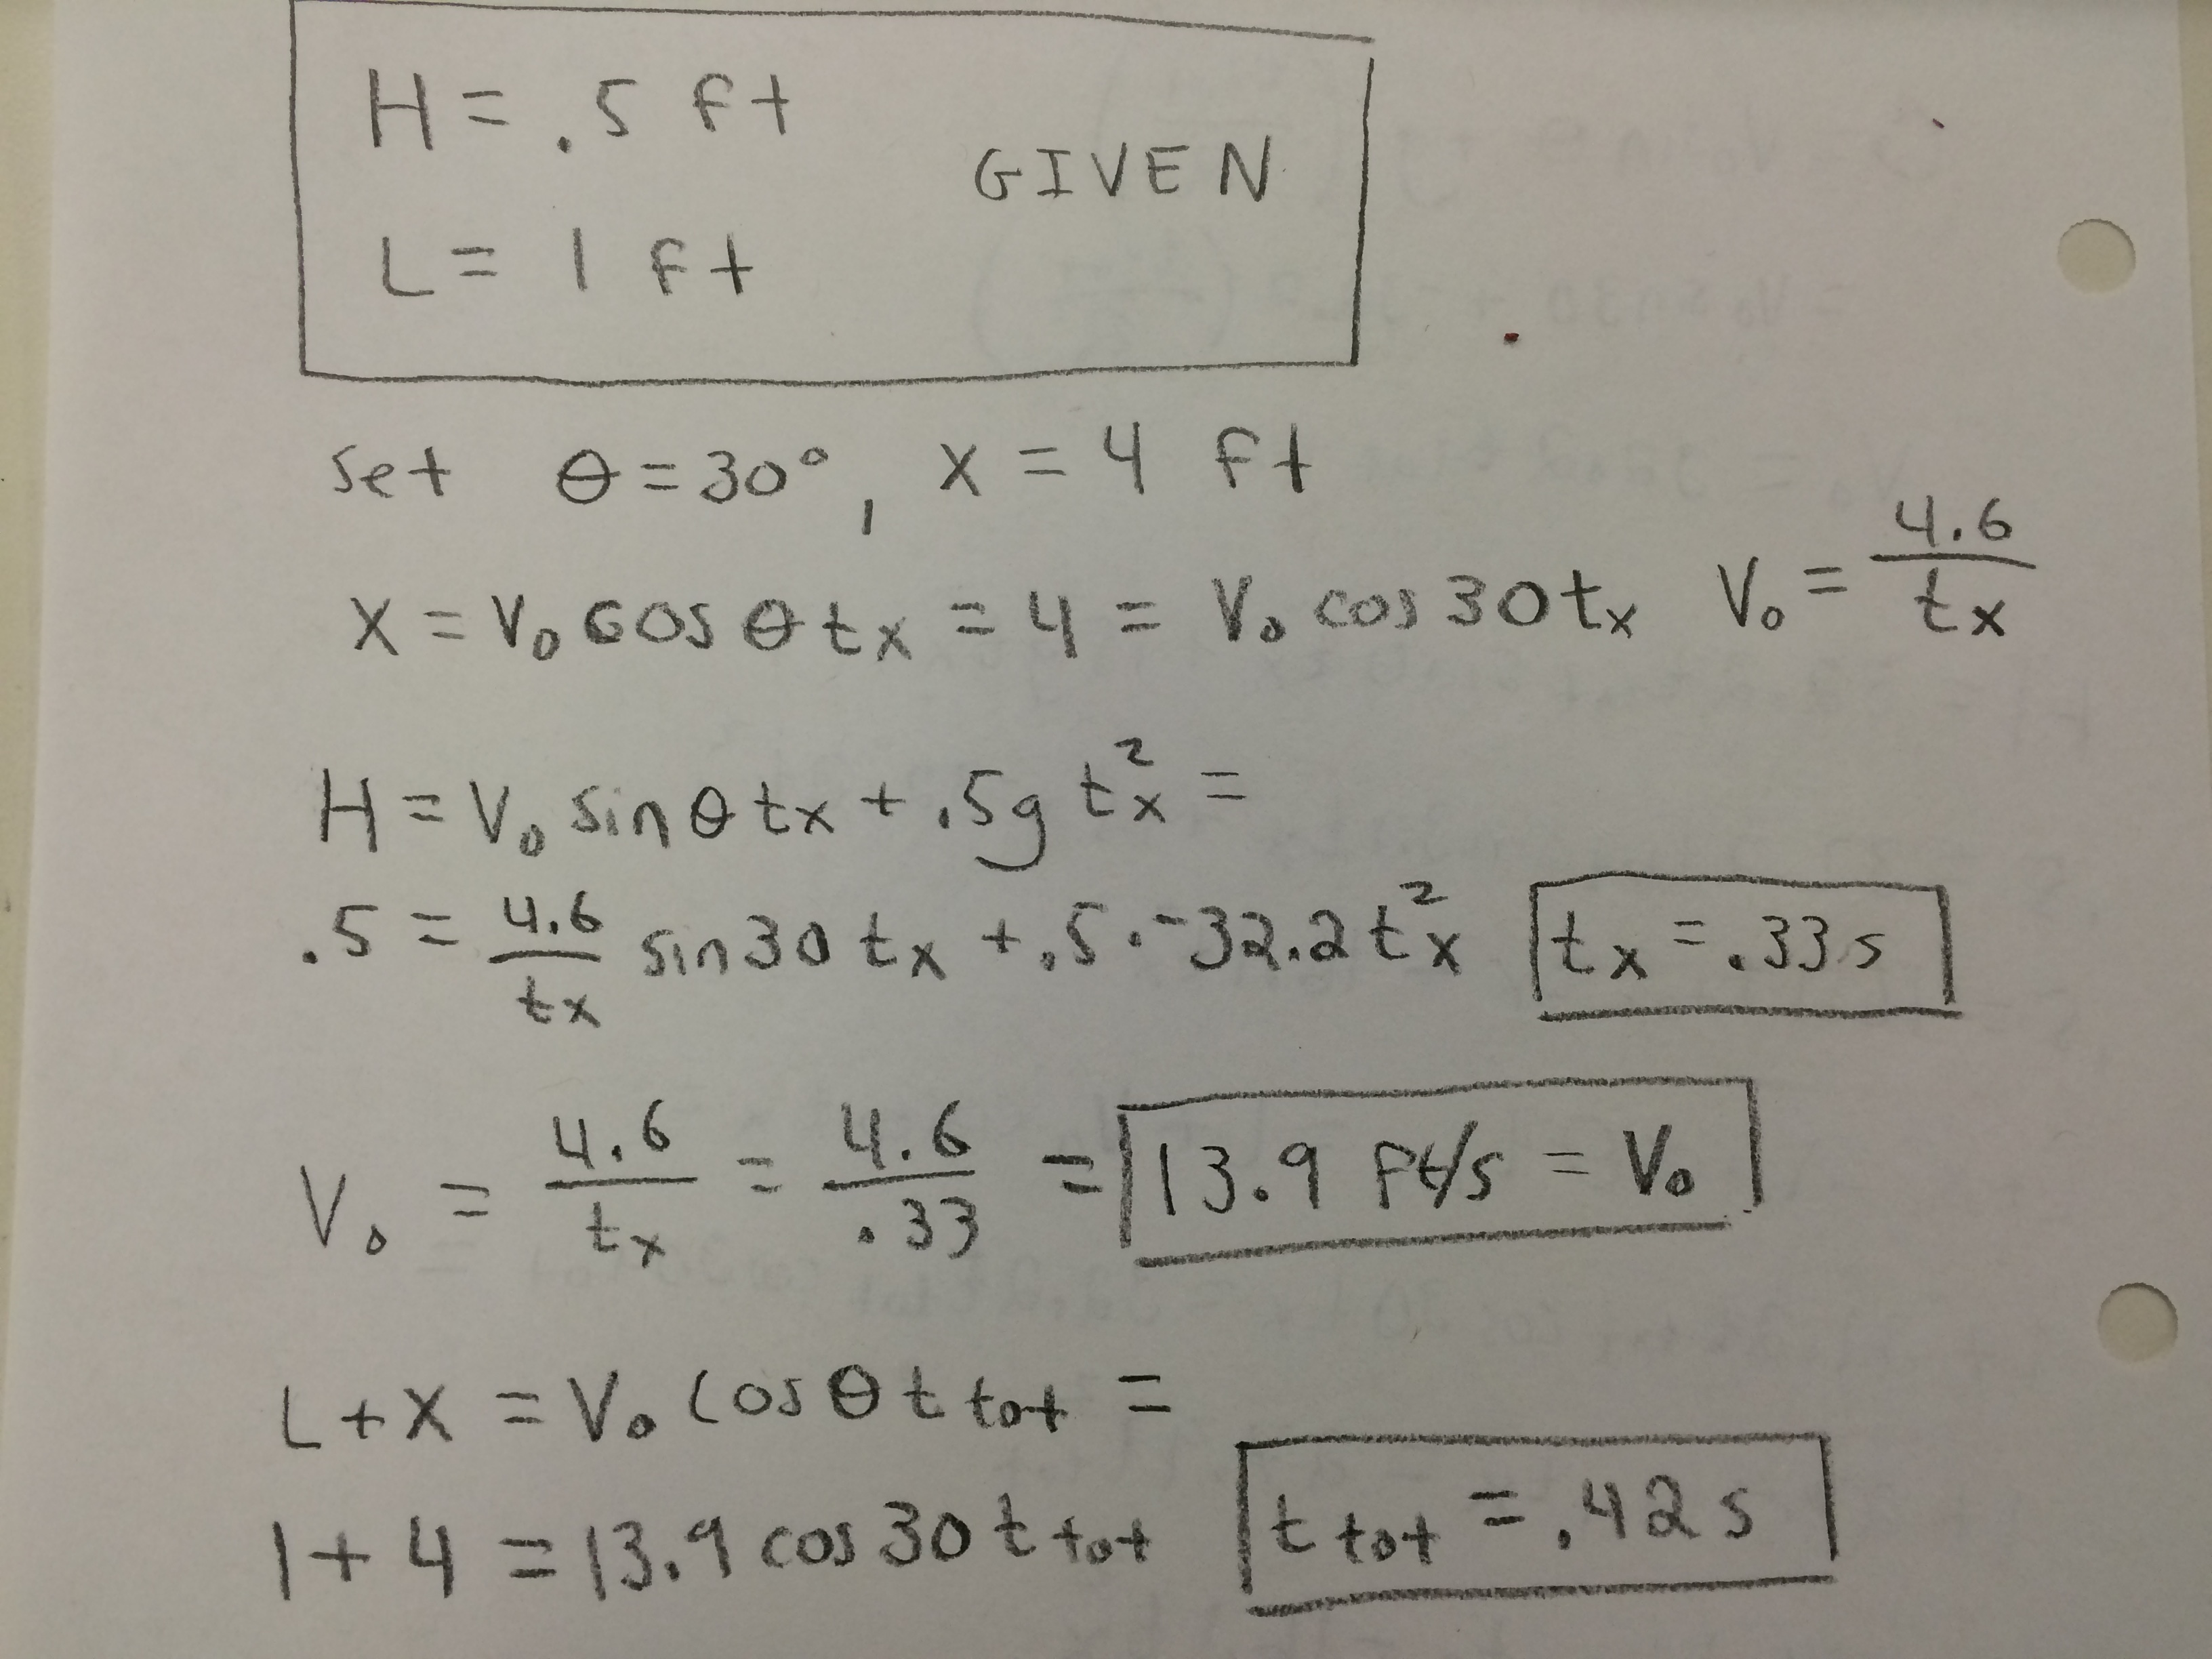
We decided to set H = .5 ft and L = 1 ft. Based on tests we did with our device, we decided to set x = 4 ft. With those numbers set, we determined the best length to pull back on the rubber bands to give us the desired initial velocity that would pass through the two points. The destination point and the pass through point are marked with x's on the board behind the marble shoot.
The Math behind the Motion
There are many ways to work out the physics equations associated with this project. What we did is set the angle of launch and the distance of launch and from there determined the flight time and the launch velocity. Depending on how you build your project, your approach to these equations could be different.
Improve
H and L could be adjusted for class preferences and are completely up to the discretion of the teacher. We don't suggest anything too large so as to make the devices easier and smaller to build. Other devices could be ramps, catapults, trebuchets, slingshots, springshots, and air pumps.