Origami Geometry
Use congruency, trigonometry, and proofs to calculate the surface area of your origami creations!
For more ideas, see:
Geometric Exercises in Paper Folding, T. Sundara Row
Project Origami, Thomas Hull
Authored by
Trang Ngo & Will Luna, Tufts University CEEO 2016
Final Project
Video of solution for calculating the surface area on an origami fold.
Big Idea
Teachers have been using Origami to explain geometric concepts for over a hundred years. However, it is usually used to teach concepts that are too simple (basic spatial reasoning) or too complex (advanced mathematical proofs) for a high school classroom.
The assignment is simple: students will make one of their favorite origami modules, and then they have to calculate the surface area of the 2D module made.
Ask
Our task was to successfully fold an origami figure while using geometry to calculate the surface area of the finished product.
We worked in teams of two, but it is possible to have students work individually. This assignment only requires pencil and paper.
Brainstorm
Our first task was to choose a figure that we felt was cool yet simple enough to calculate the surface area of mathematically.
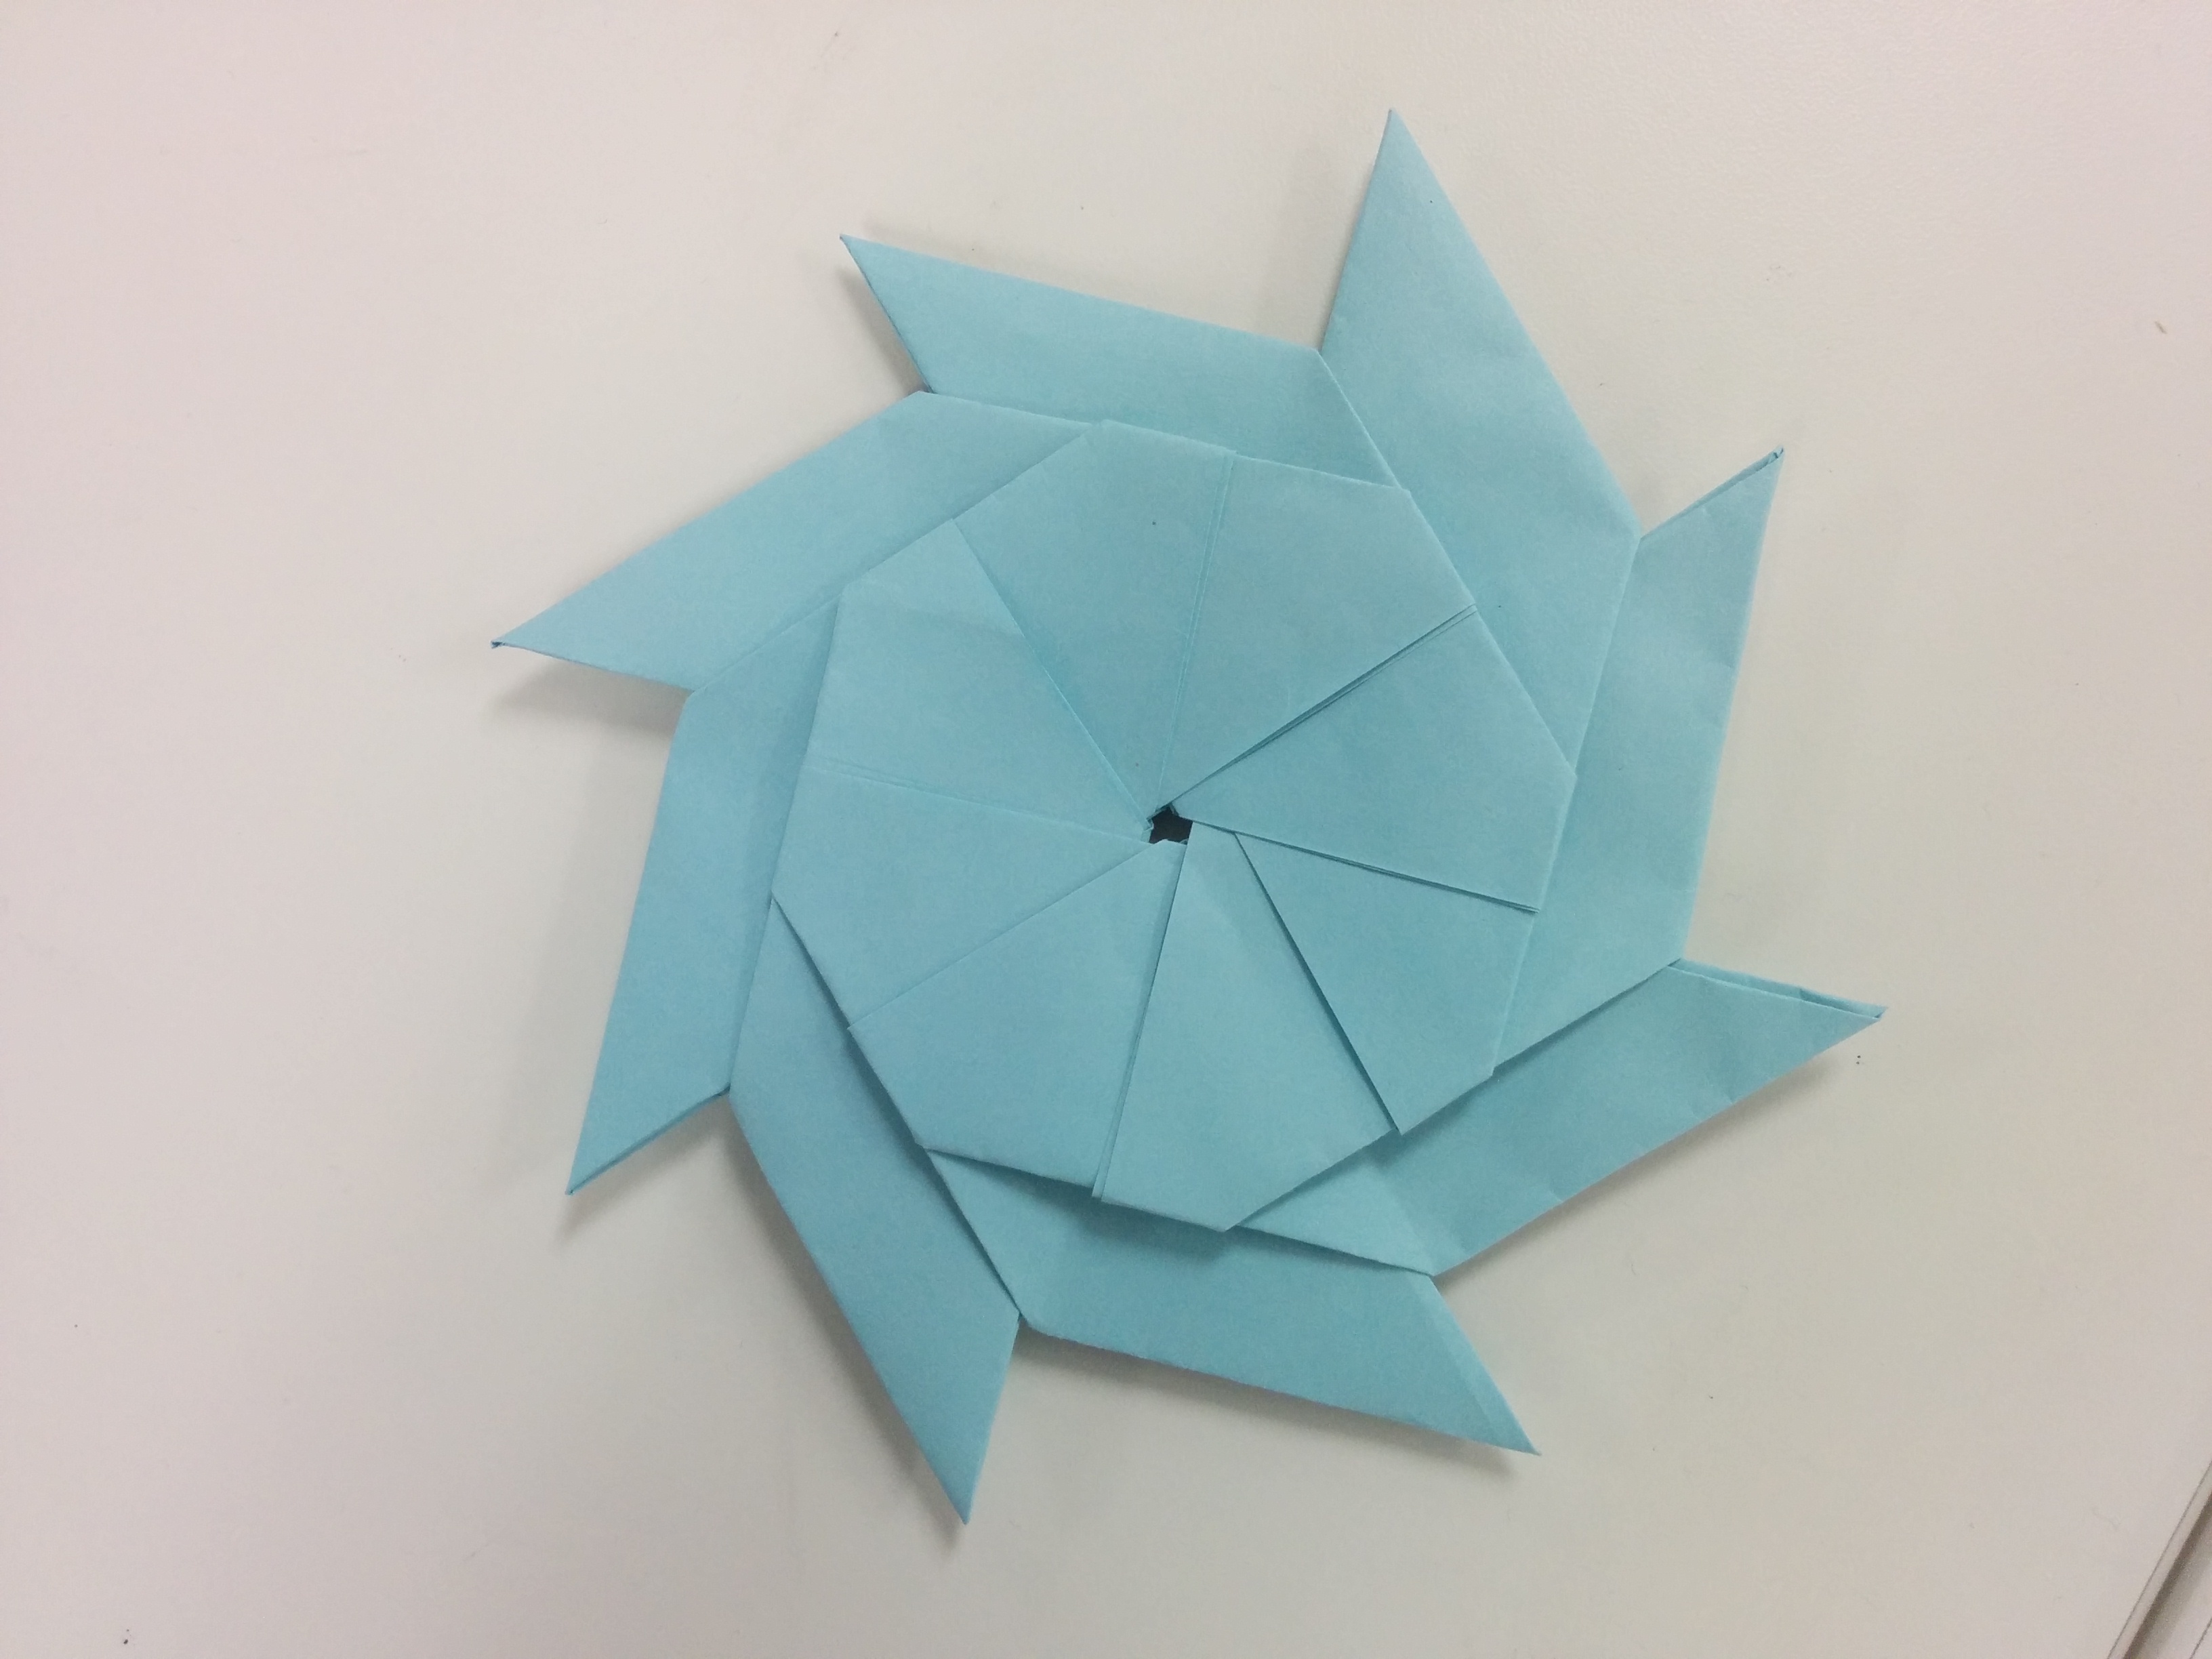
We went with an 8-pointed star. Composed of eight separate folded parts, it would be difficult to build, but we recognized that this actually made the calculations easier. As soon as we found the surface area of a single portion (only two distinct geometric shapes), we could simply multiply by eight to find the total surface area.
Plan
If the teachers want to choose an origami module to assign to students, it would be ideal to select a module in which many concepts of geometry can be practiced.
In our example project, we choose a module in which several units have to be assembled together. This is because then, the students would be able to practice geometric concepts and to study the geometric relations between different units.
We made an elephant and a 8-pointed star. These two examples can create great projects because they make uses of various geometric concepts.

Create
In this part, we will focus on the process of calculating the surface area of this 8-pointed star. In class, the students are free to choose whichever origami module they want to make, and the surface area can still be easily calculated through the following steps.
(these steps are explained in the video)
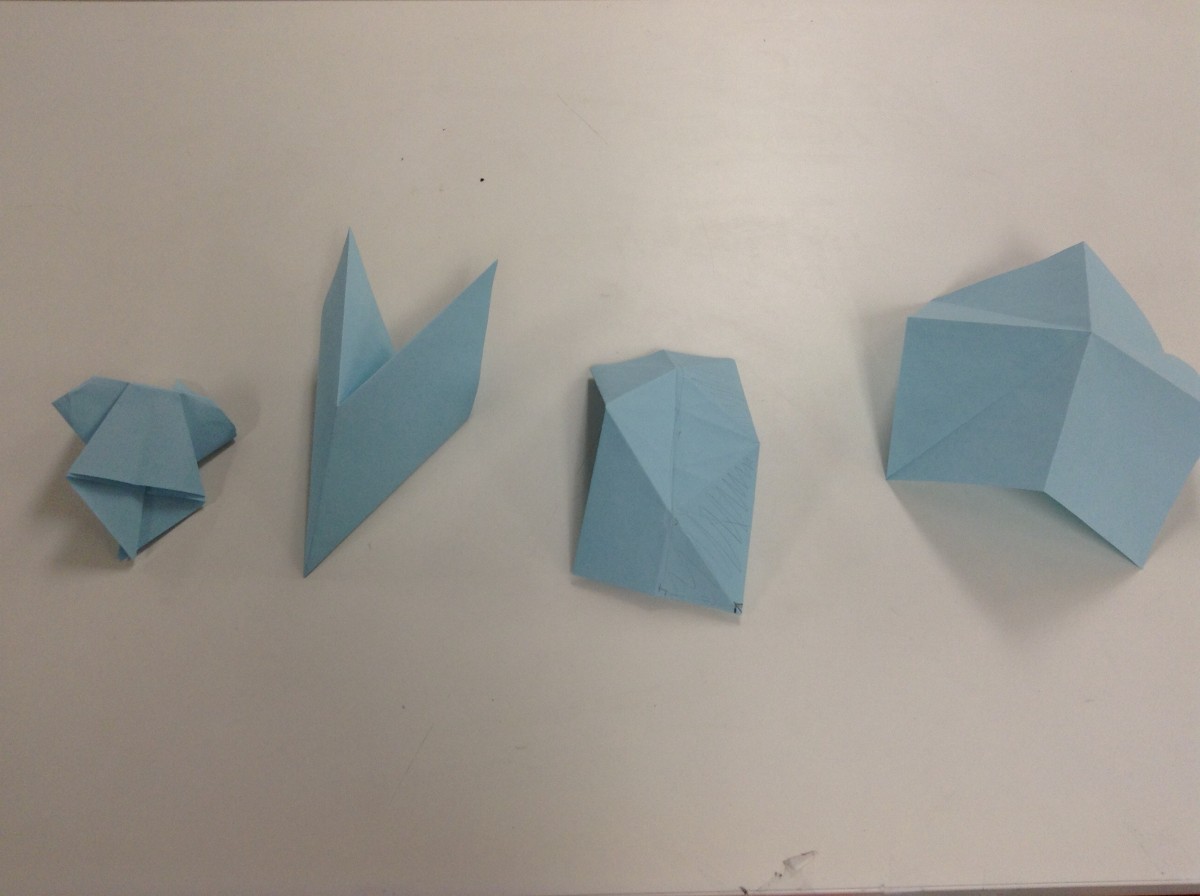
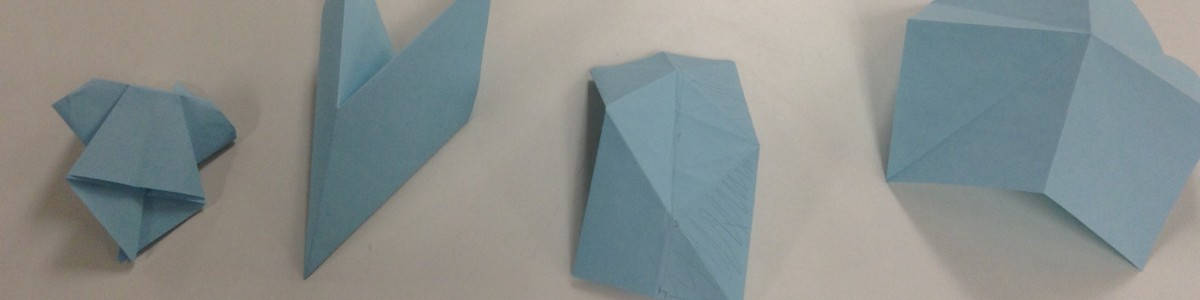
- Look up a tutorial on the Internet and make the parts. Assemble some parts together.
- Look at the overall shape of the origami module made. Shade the exposed parts, which make up the surface area of the main module.
- Unfold the folded unit back into the original piece of paper.
- Using the given dimension of this piece of paper (in the video the paper is 9 inches x 9 inches), determine the dimensions of the shaded regions. The dimensions can be calculated using various geometric concepts such as congruency, similar triangles, trigonometric identities, and Pythagorean theorem. In cases where the chosen origami module consists of an angle other than 90 or 180 degrees, students can also learn the Law of Sines and Cosines while calculating different lengths of the shaded regions. Students can also practice calculating the area of many different geometric shapes in this origami project.
- This 8-pointed star is created from 8 units. Therefore, the calculated area is multiplied eightfold for the final area of the origami module.
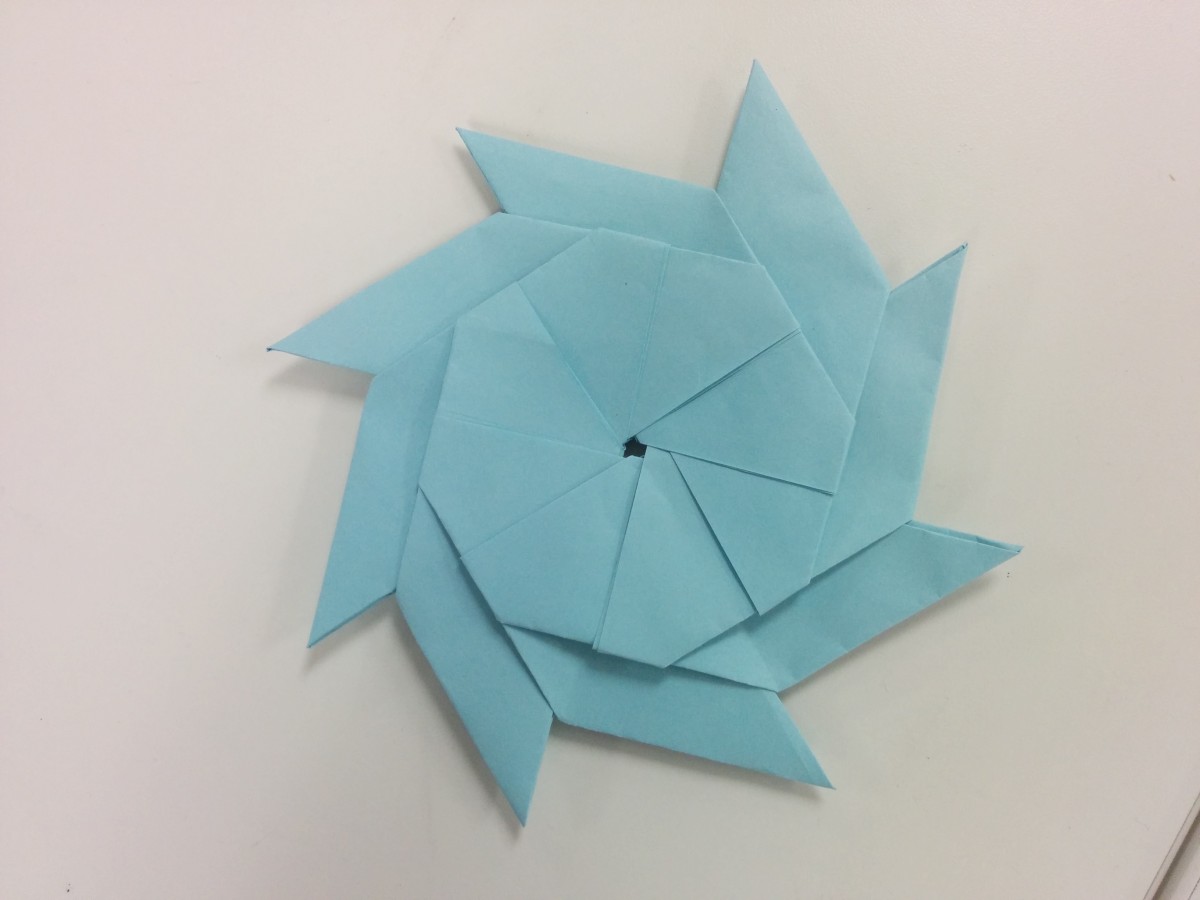
The Finished Star
Without folding the shape first, it is extremely difficult to determine which parts of the shape are a part of the surface area.
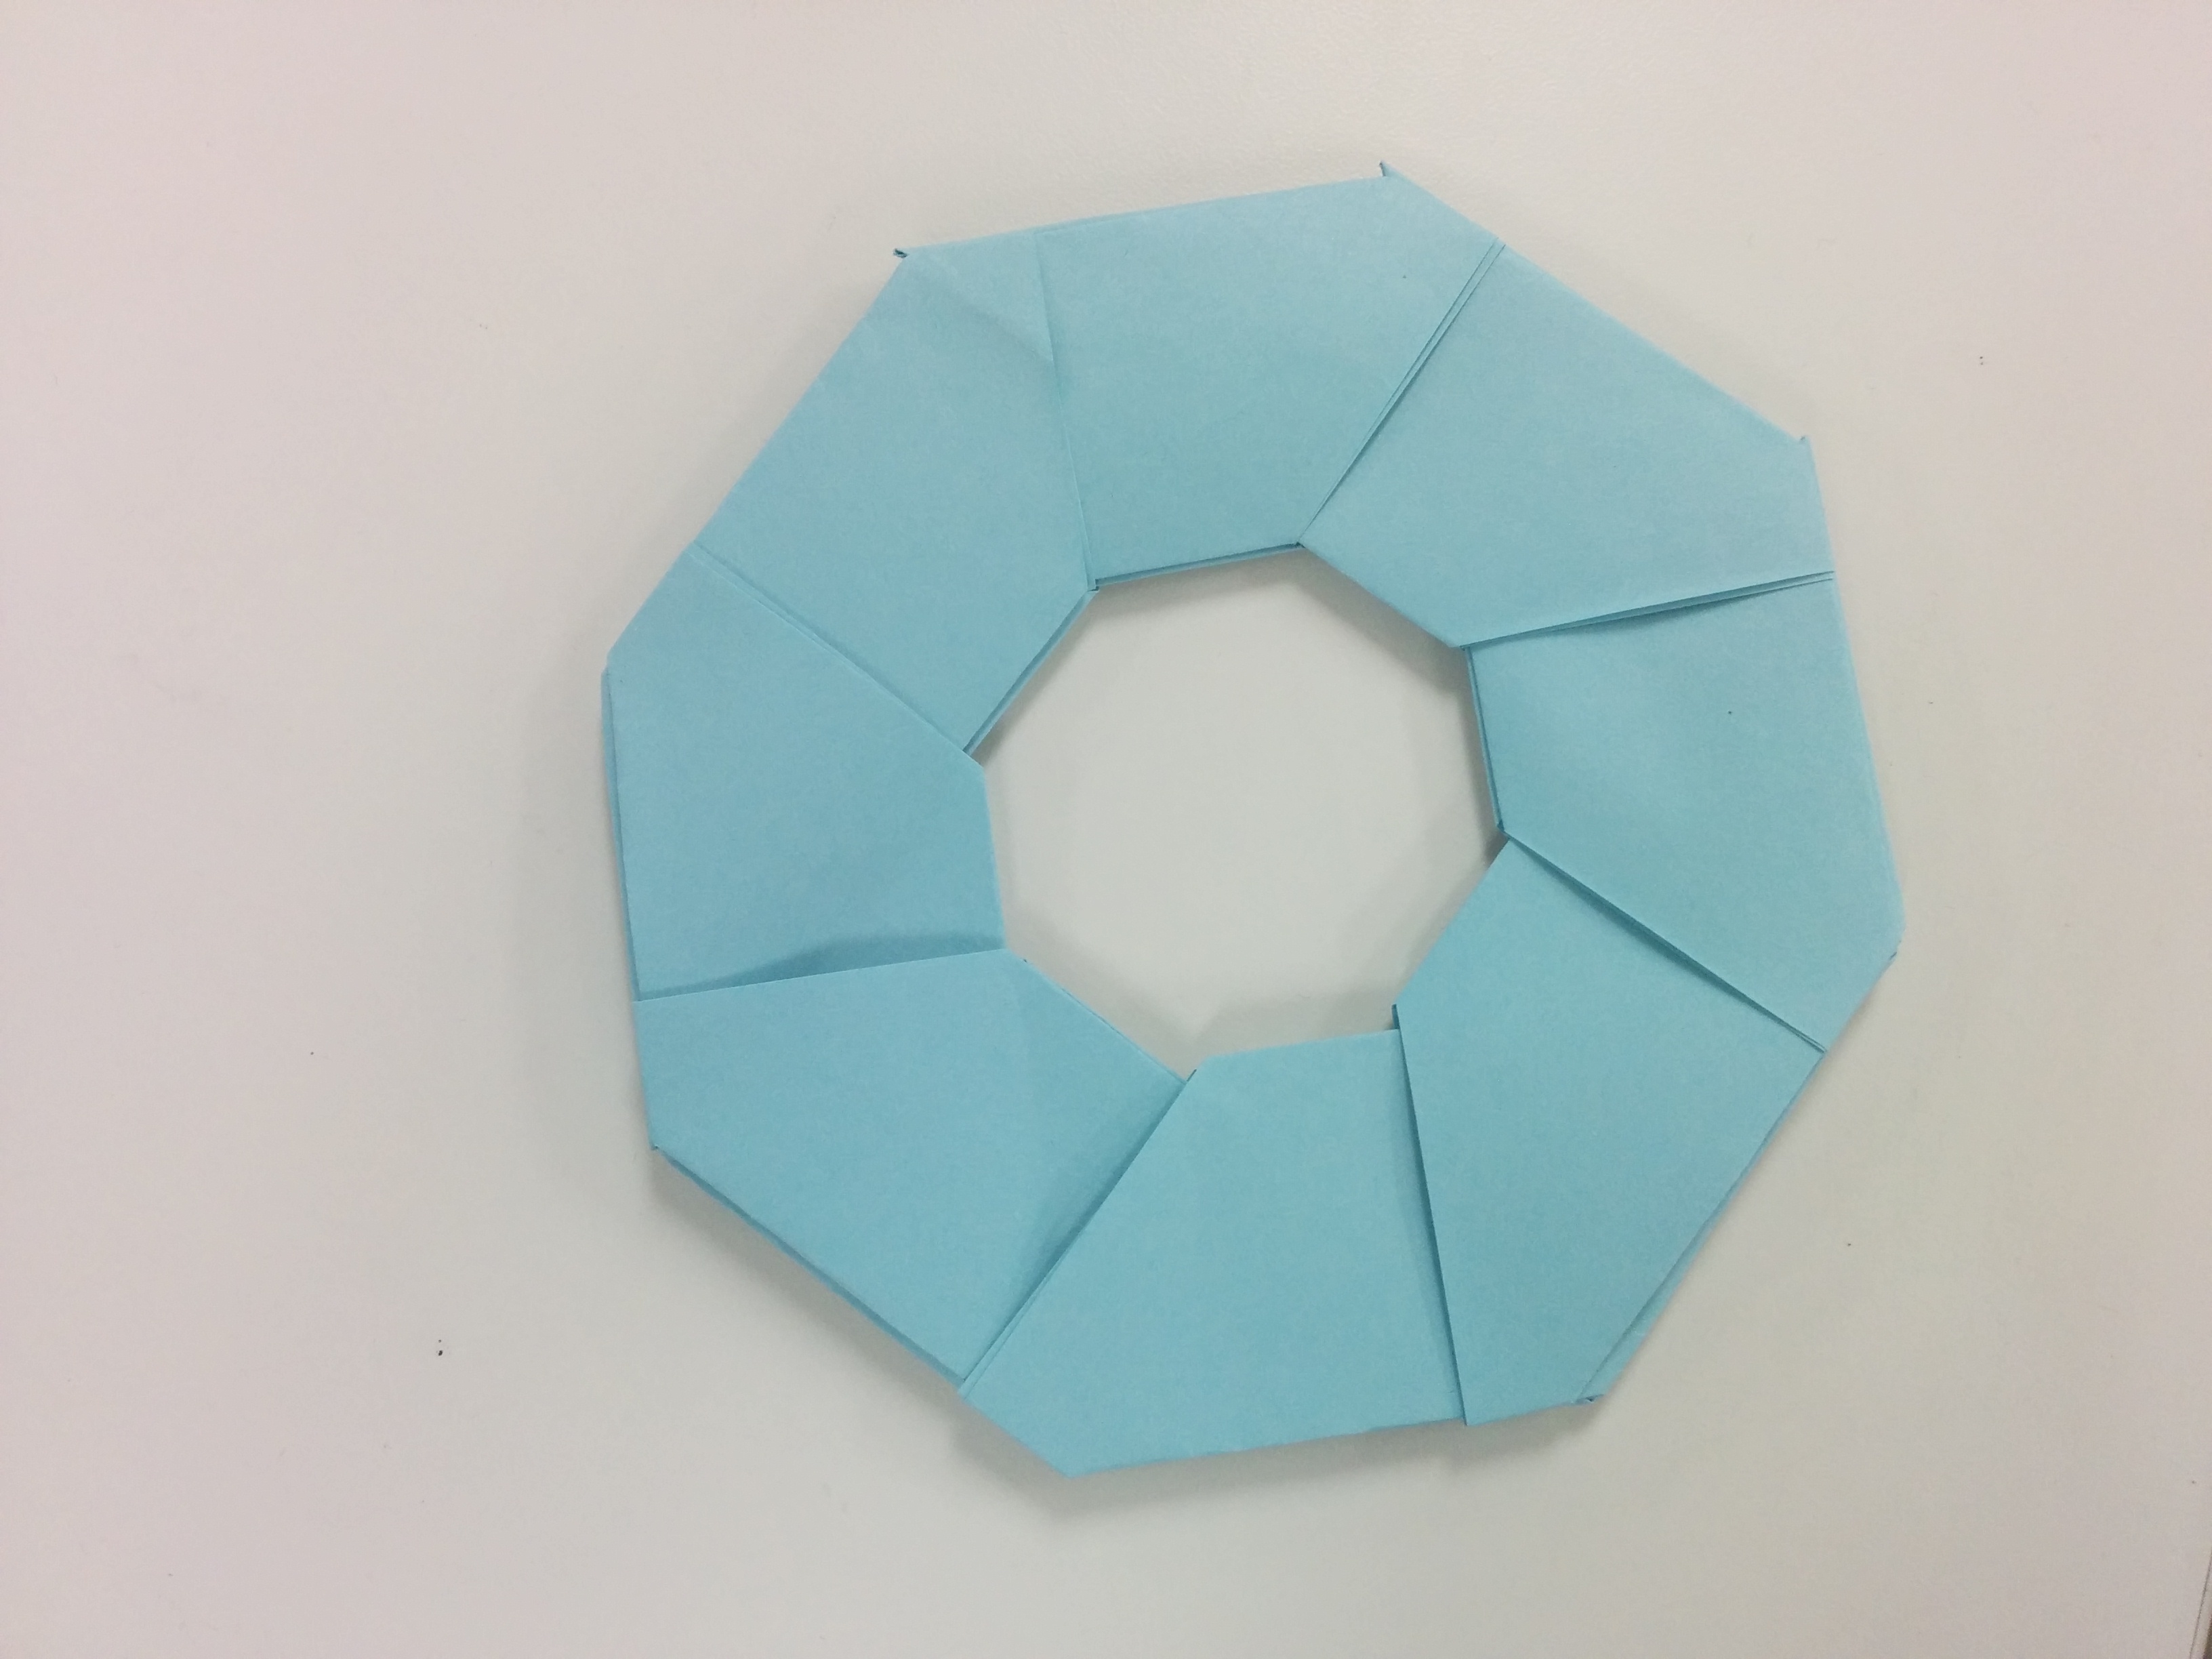
A Cool Trick
If you (carefully) pull on the points of the star, it transforms into this donut-shaped figure!
Improve
If you think this assignment will be too difficult for your students, limit their options to simpler shapes instead of letting them choose from anything online. This will prevent them from picking cool but overly ambitious projects.
The origami project can also be used to teach 3D geometry using available 3D origami modules. Using 3D modules would allow students to practice calculating volume of different 3D shapes.
If some students finish early, have them trade shapes with another student, and see if they come up with the same answer.
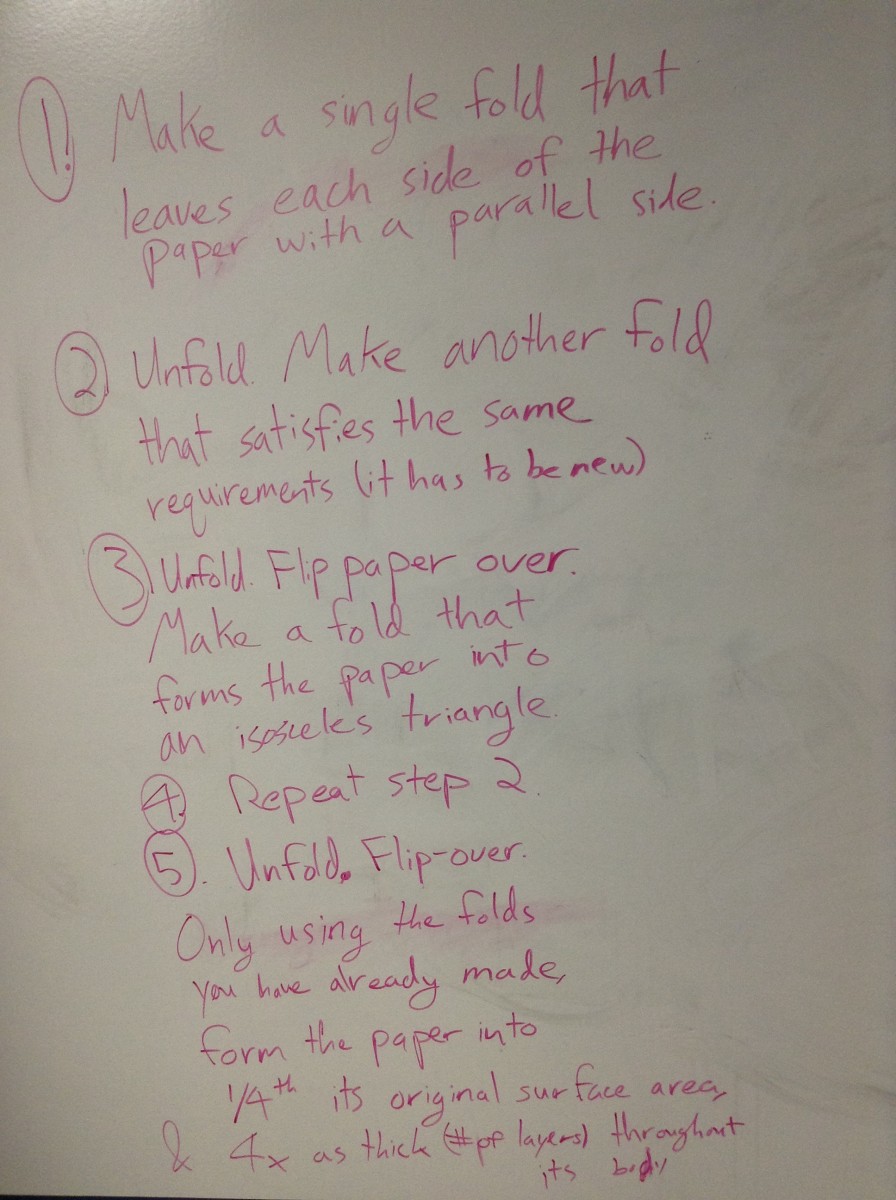
Refining the Challenge
We initially wanted students to come up with sets of geometric rules that their classmates could use to fold certain origami shapes. On paper, it seemed great - make students use mathematical language to convey a highly visual task (paper-folding). However, it simply proved too difficult. Unless the rules were incredibly complicated, it was possible to fold multiple correct solutions.