Stages of Mitosis
For this project, we were tasked with creating a visual representation of a biological process using the equipment available in the lab.
After a brainstorming session, we decided to make a HUE animation of the process of mitosis. For this project, we decided to use the 3D printers, the laser cutter, a white board, manila papers and marker pens.
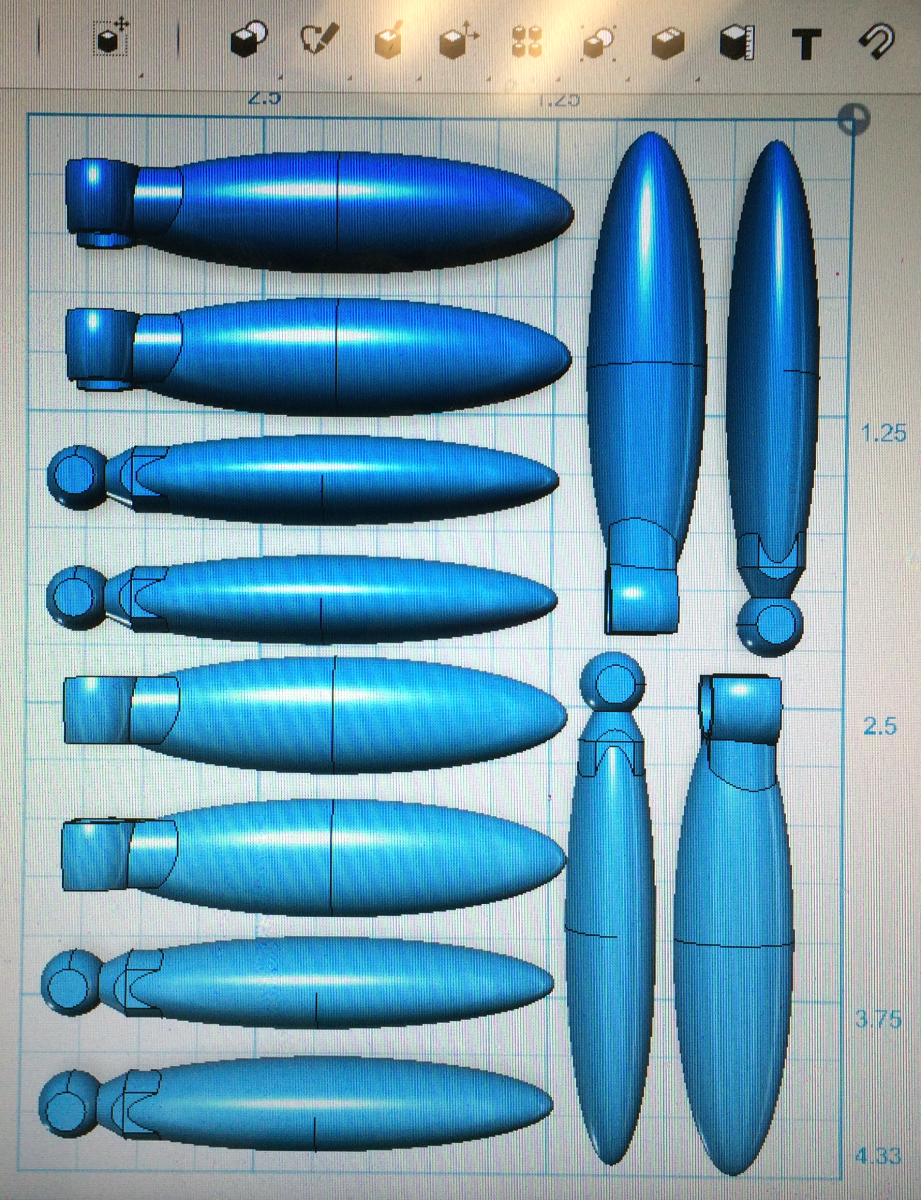
We used 123D design to design the shape of the chromatids. We used a series of stretched out spheres and joints (ball and socket) to create interlocking chromatids.
We then used both the AFINIA and the BUKITO 3D printers to print our models. You could also use clay to model the chromosomes, as this saves both time and energy.
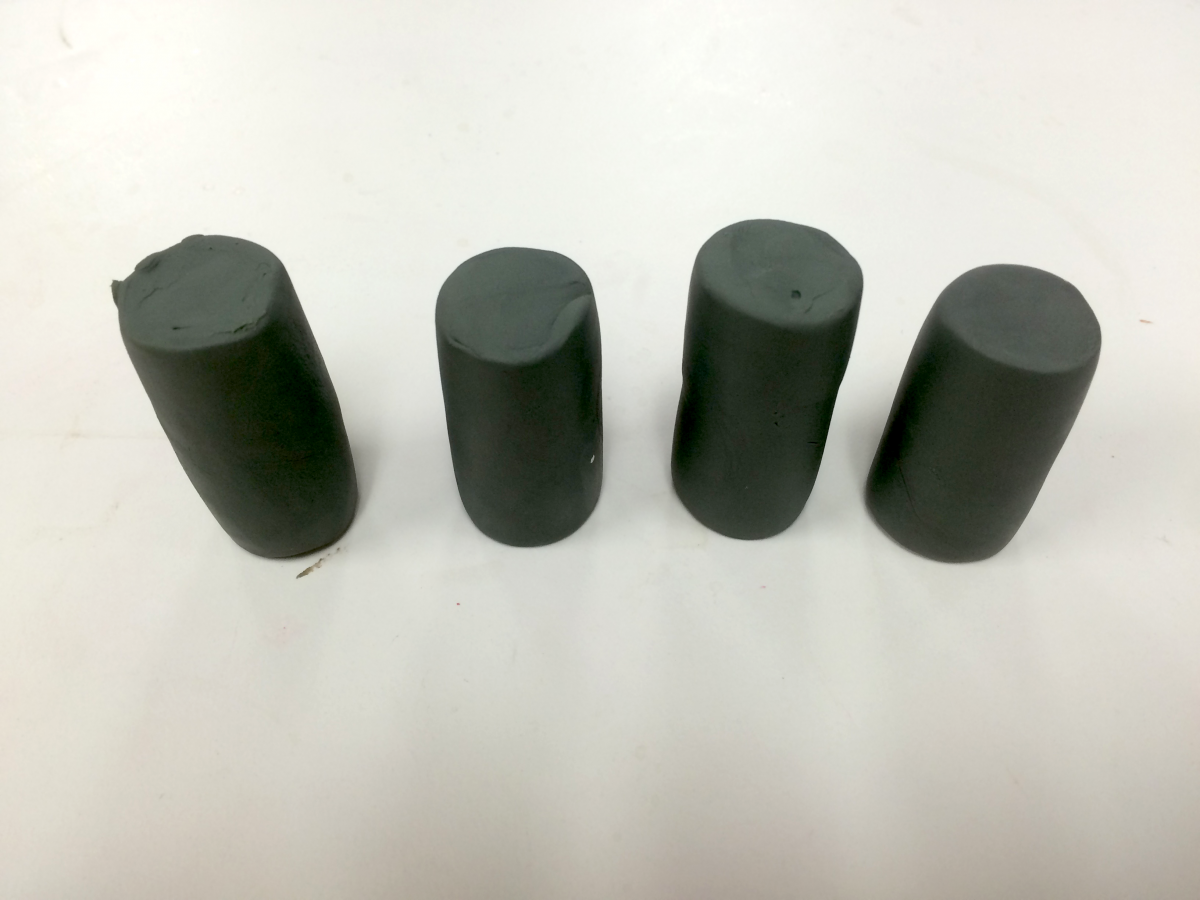
Since the 3D printer couldn’t print a good quality model of the centrioles, we modeled them using clay.
We also laser cut letters to use in the animation to show the different stages of mitosis. Here you could also cut out letters from manila paper for the same function.
After all out props were ready, we used markers to draw a cell on a whiteboard and started filming the process of mitosis using HUE animation. Later, we added the soundtrack to the motion picture animation and made some edits to come up with the final video.
Challenges encountered:
- The 3D printer is so slow. To save on time, we suggest using clay.
- Glare on the whiteboard. Eliminate any overhead light sources that shine light directly onto the white board.
Authors.
Project by:
Luke Hanley, Vincent Bett, and Nico Lusardo.
Finished Animation Video
(The soundtrack was downloaded from freemusicarchive.org)
Mitosis is the cellular process of nuclear division that includes cytokinesis, resulting on the production of two identical daughter cells
The phases of mitosis include:
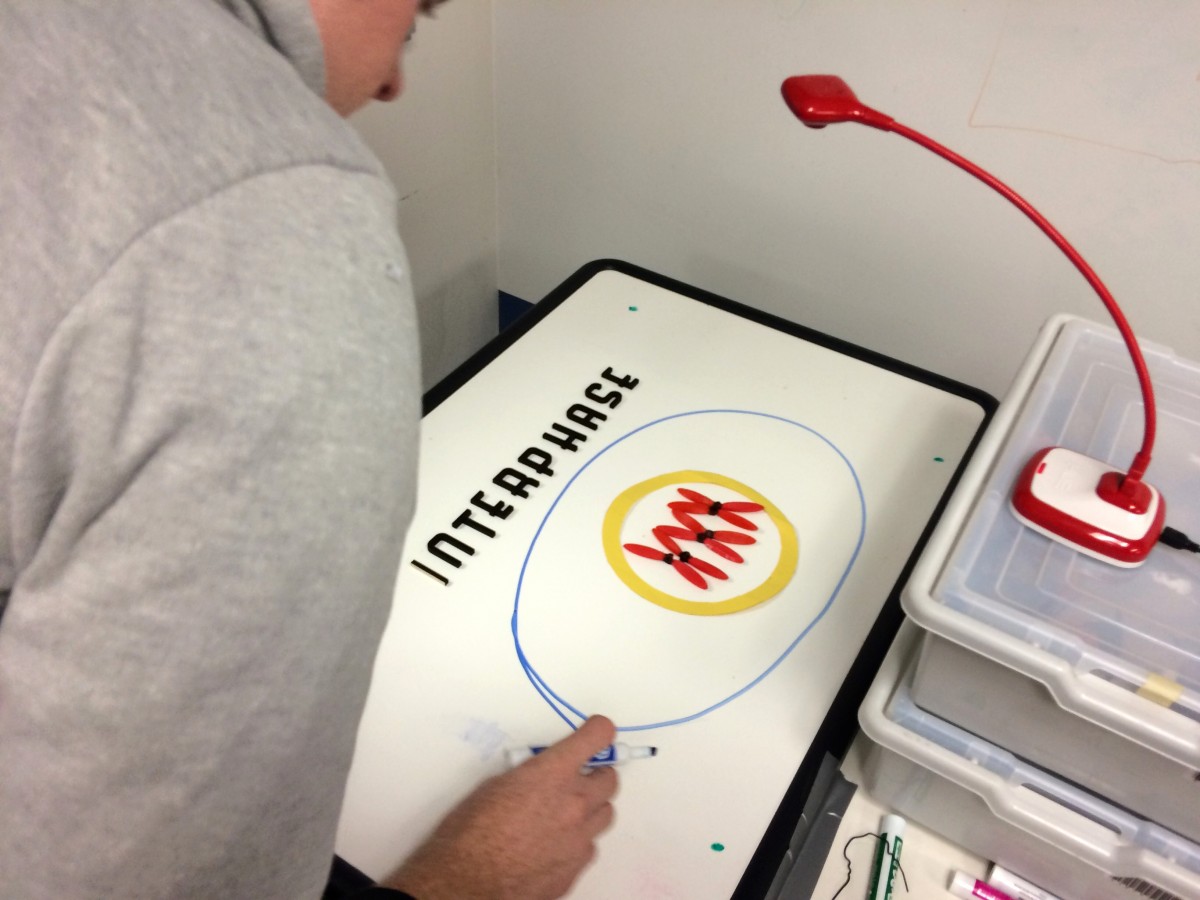
Interphase: a relatively short period of the cell cycle where the cell prepares itself for the process of cell division by copying its DNA in preparation for mitosis.
Prophase: the cell continues to prepare for division by condensing its recently duplicated chromatin into chromosomes; these copies are known as sister chromatids and are attached to each other at the centromere. Centrioles begin migrating to opposite ends of the cell nucleus during this stage.
Prometaphase: the nuclear membrane begins to disintegrate as the chromosomes move towards the center of the cell to attach to spindle fibers (specialized tubules).
Metaphase: now all of the pieces are aligning themselves for the "big split." The chromosomes line up along an imaginary central plane called the metaphase plate and the centrioles send out spindle fibers that connect to the chromosomes. The tubules actually connect to the centromere.
Anaphase: Here we go! The separation begins. Half of the chromosomes are pulled to one side of the cell; half go the other way. When the chromosomes get to the side of the cell, it's time to move on to telophase.
Telophase: Now the division is finishing up. This is the time when the cell membrane closes in and splits the cell into two pieces. You have two separate cells each with half the number of the original chromosomes
Cytokinesis divides the cytoplasm of the parental cell into two daughter cells.
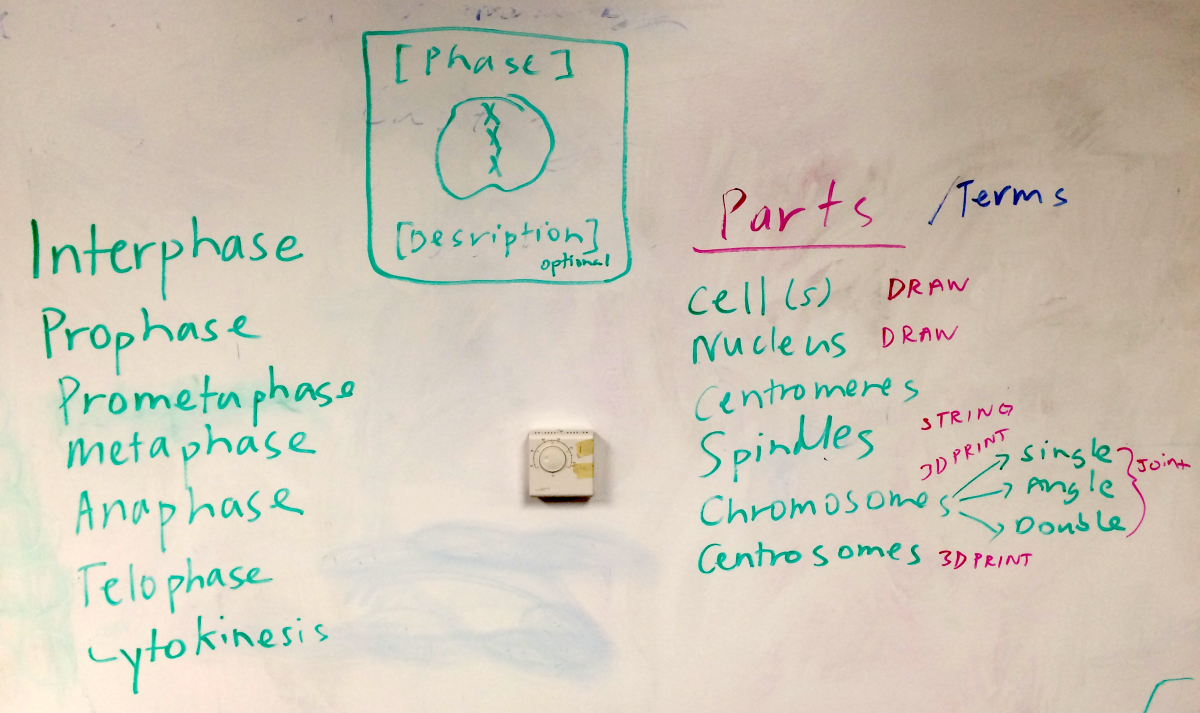
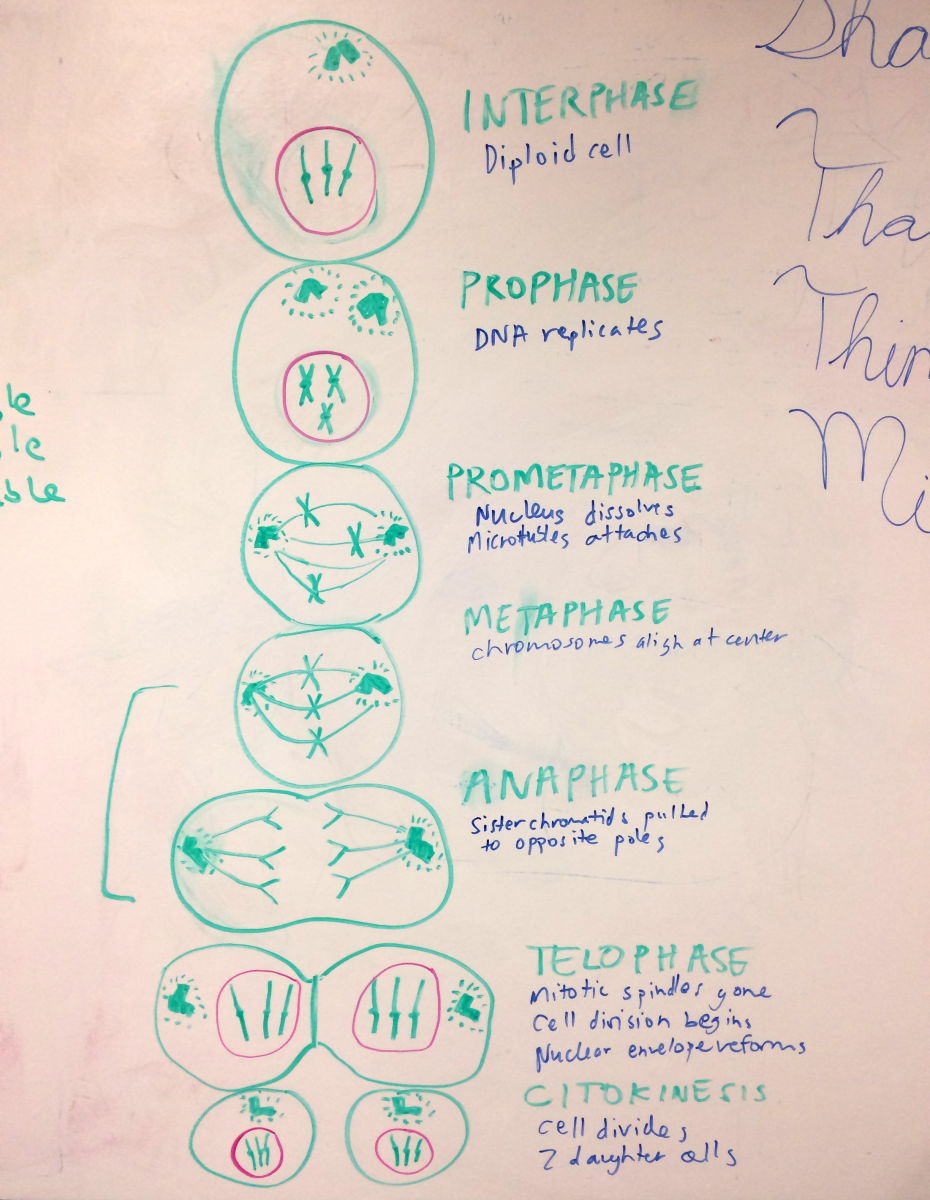
Initial Project Planning on White Board
Using a white board, we began by listing out the different phases of mitosis that we wanted to make sure to include in the animation, as well as the most important events that happen in each stage. We also listed the different parts of the cell found in each stage and determined through which method each of these parts would be constructed.
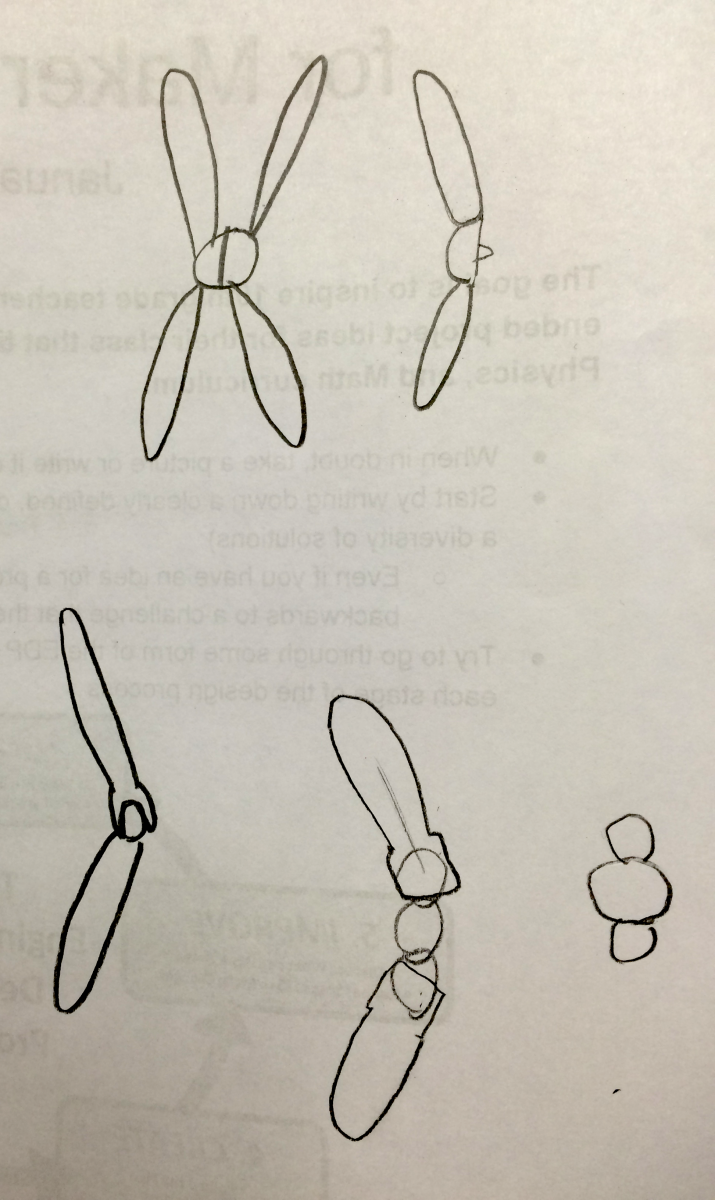
Chromosome Design Process
Firstly, one way we decided to construct the chromosomes with a 3D printer. We sketched up a few designs and modeled the best design using 123D Design.
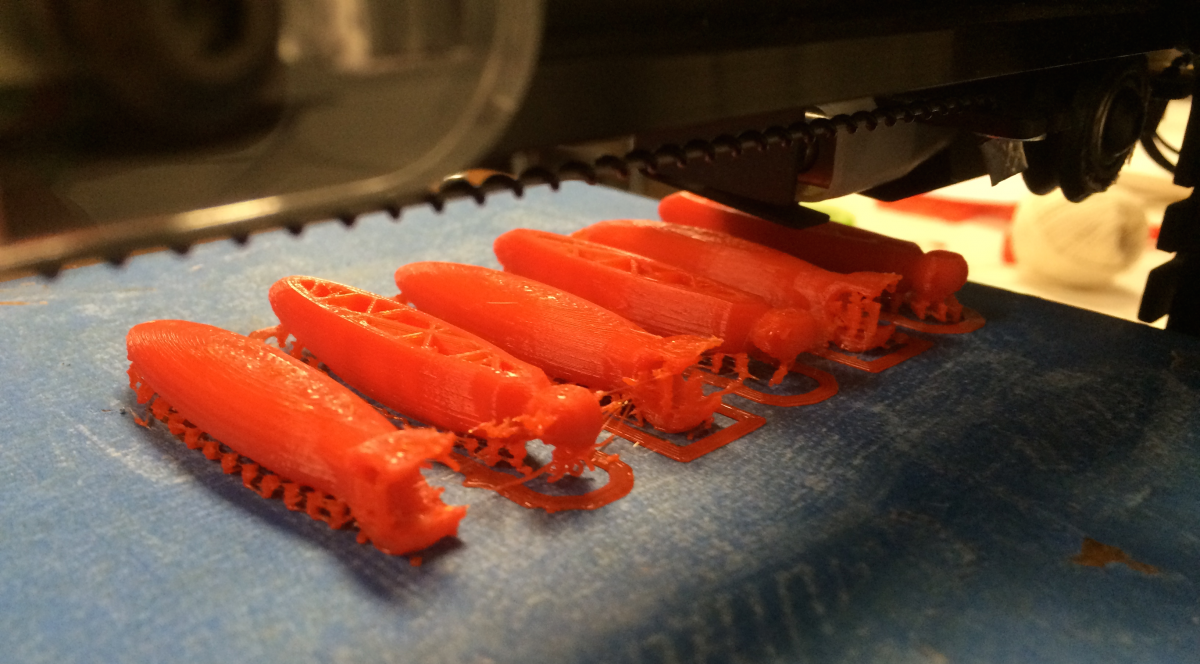
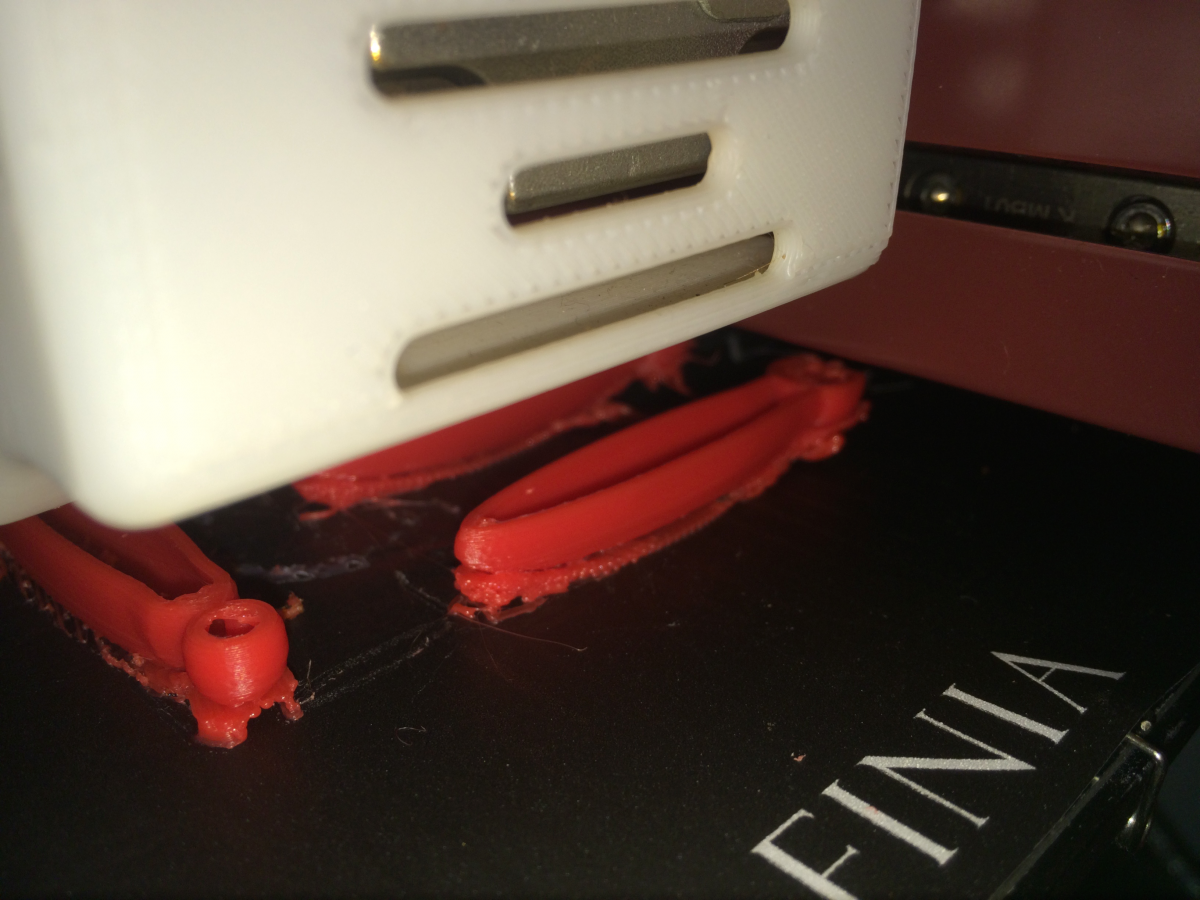
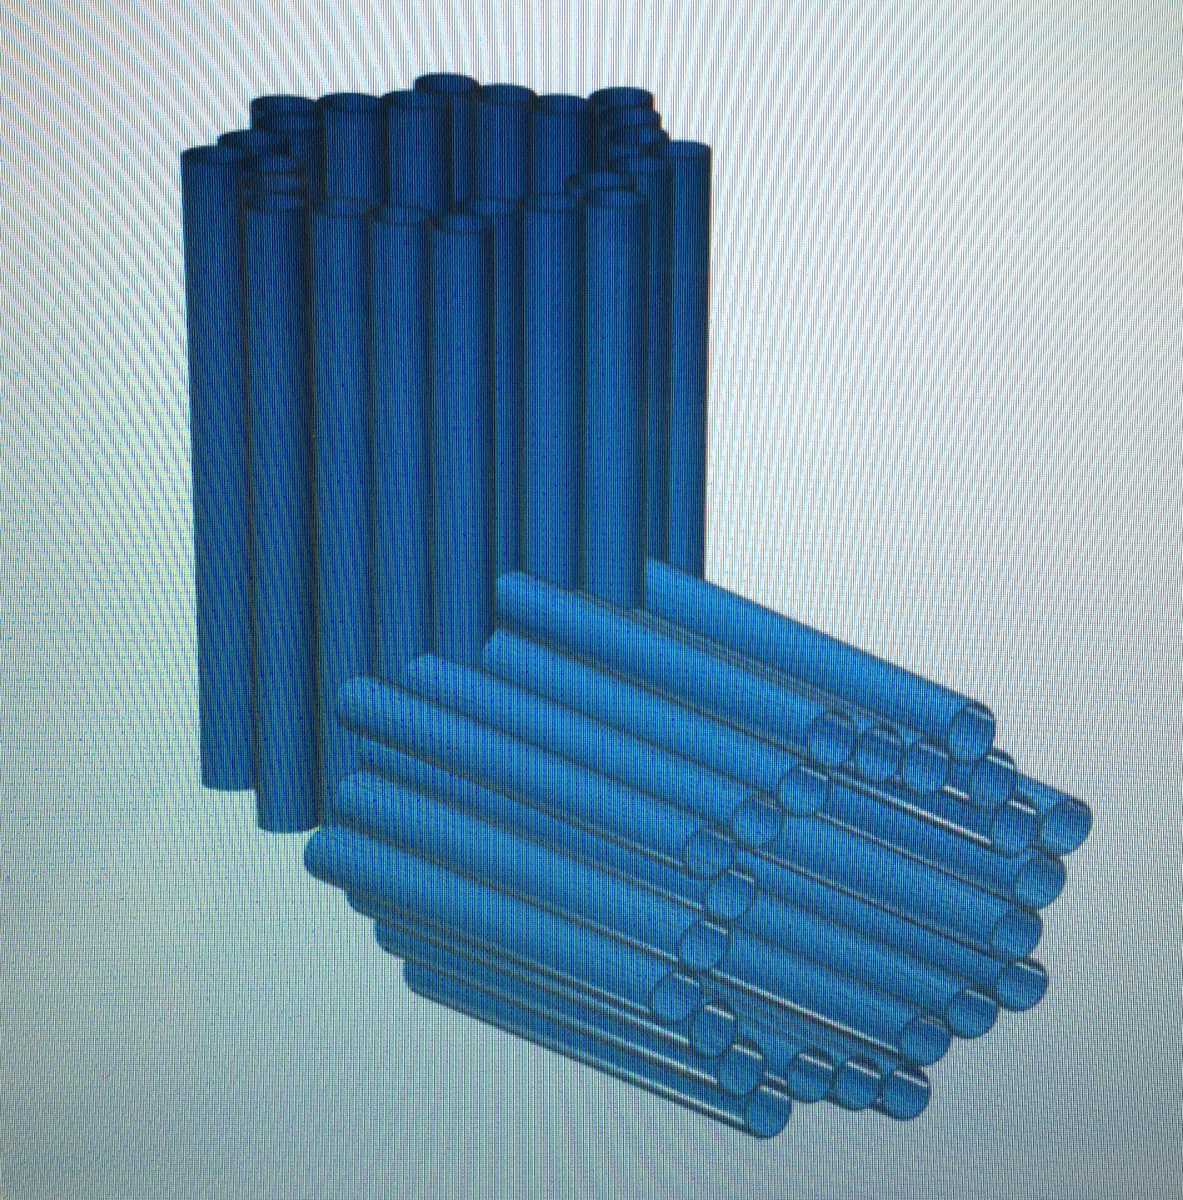
Chromosome 3D Printing
Using the Bokito 3D printer (on the left), we oriented the chromosomes such that their sockets required supporting material from the printer in order to be constructed, not resulting in a great print. However, using the Afinia 3D printer (on the right), we oriented the chromosomes so that their sockets required less supporting material, resulting in a great print.
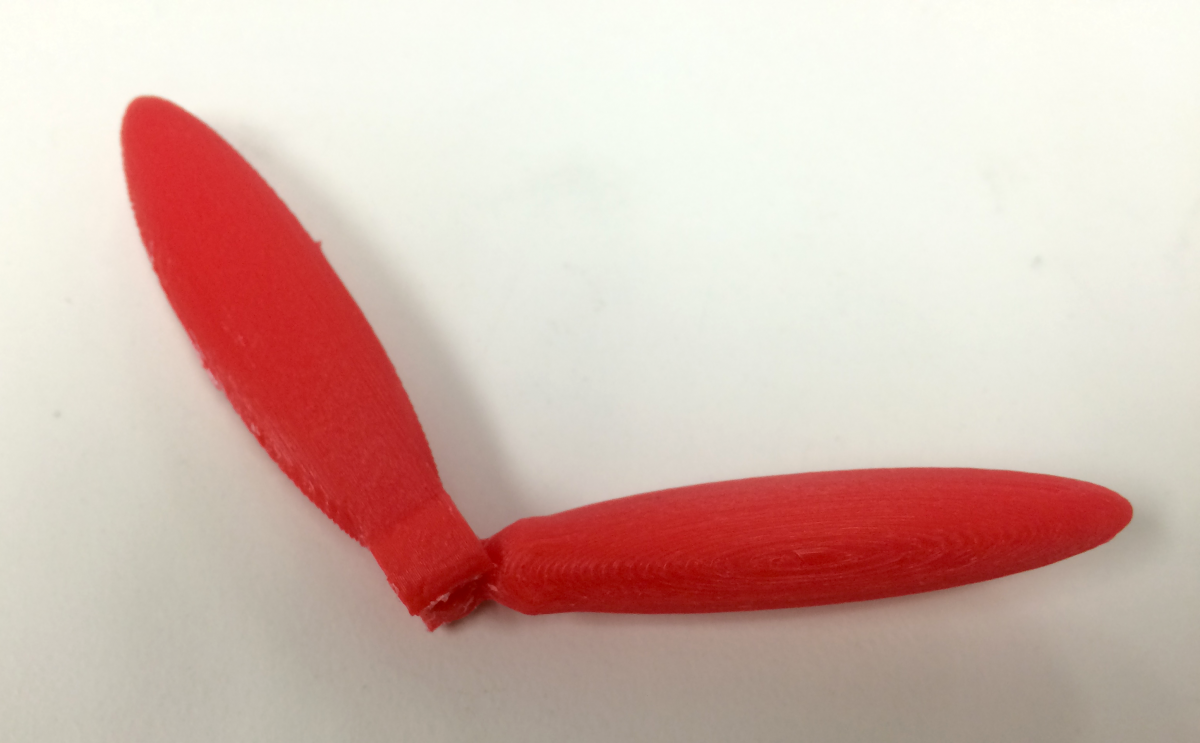
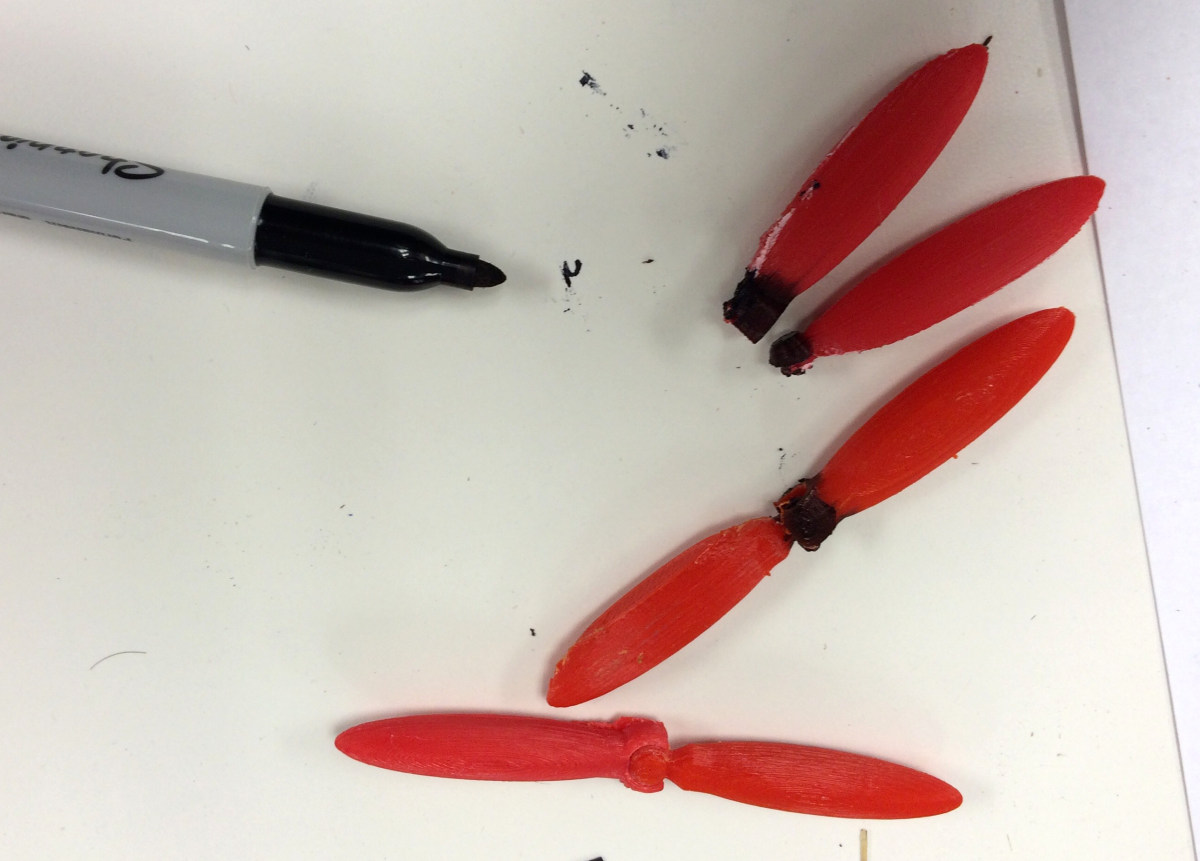
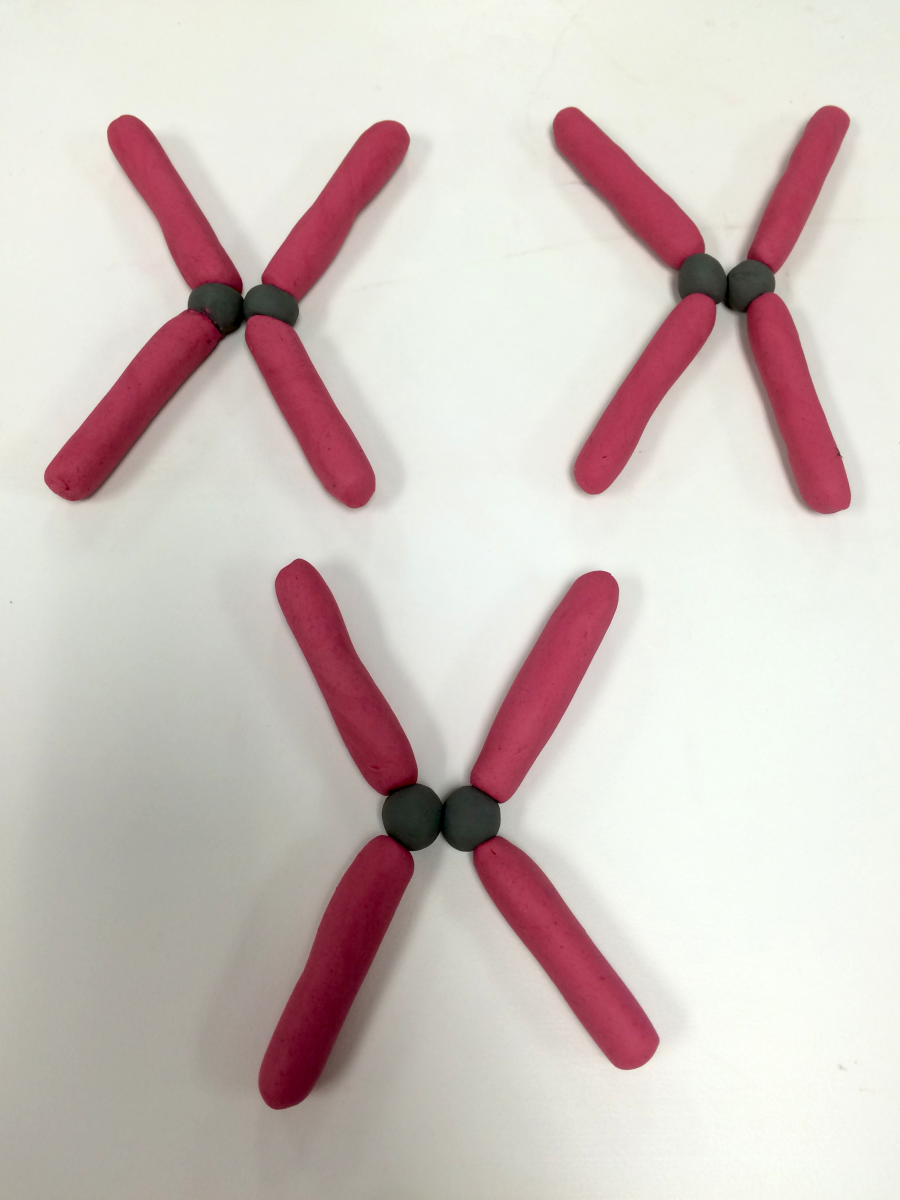
Chromosome Assembly
After the chromosomes were printed, the excess plastic was removed with pliers, and the ball and socket joints were inserted, providing a hinging action we were hoping to achieve for the animation. We used a permanent marker to color the centromeres black.
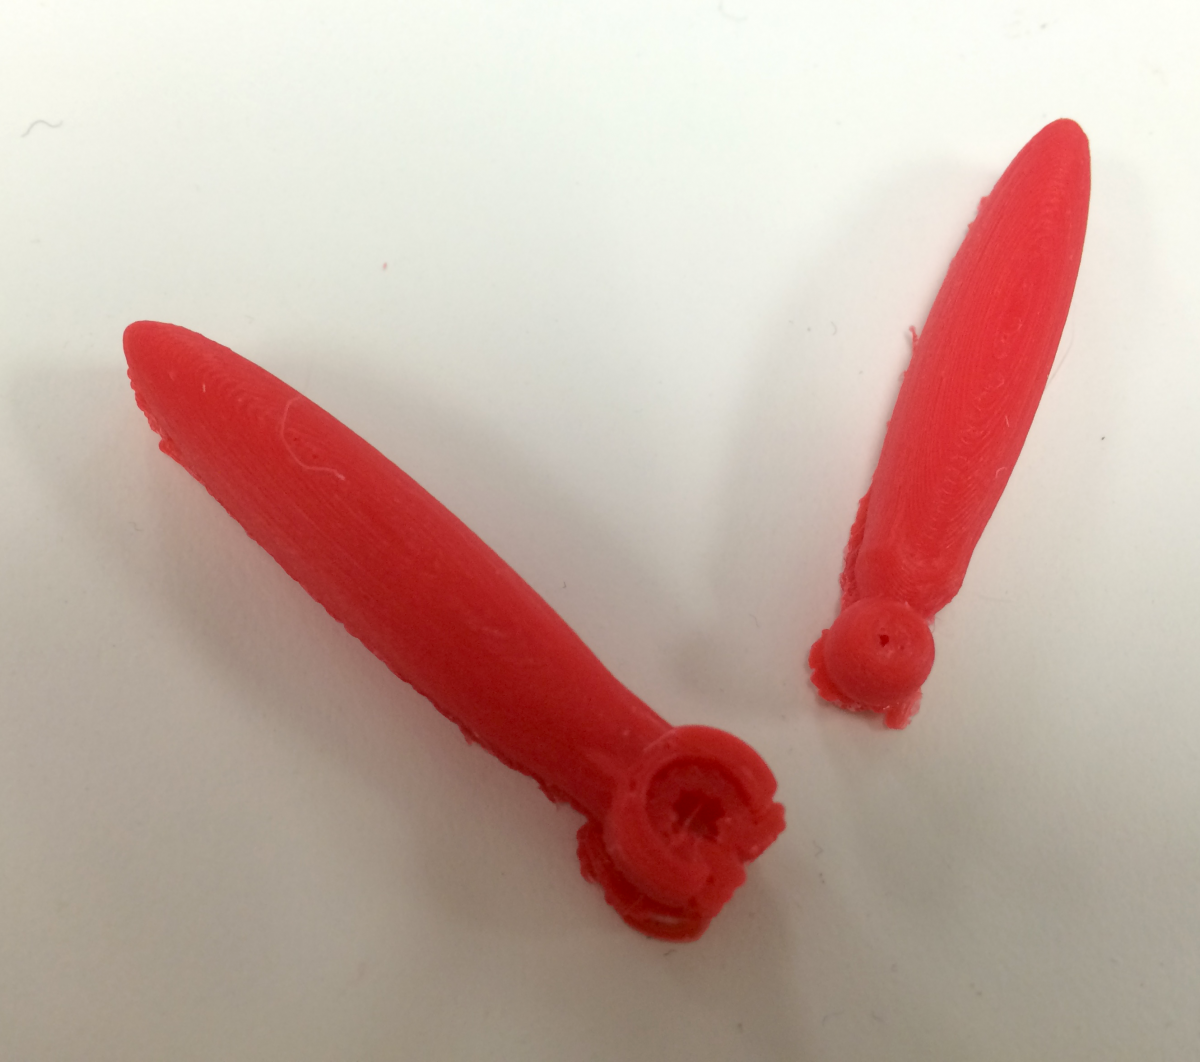
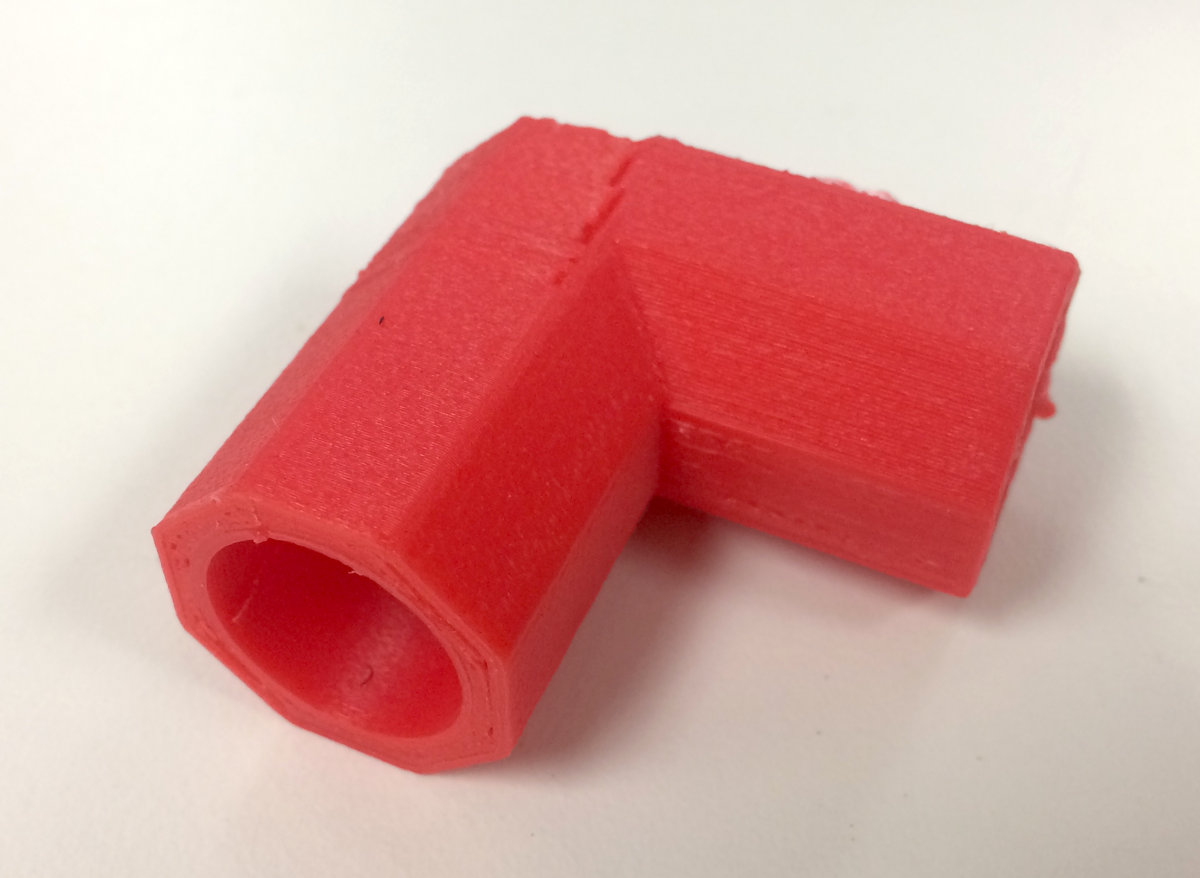
Centrosome 3D Design Process
One way we contructed the centrosomes was using the Afinia 3D printer. We first modified a found design (left photo), but this design was not able to be printed corectly (middle photo). We then tried a simpler octagonal design that printed very well (right photo).

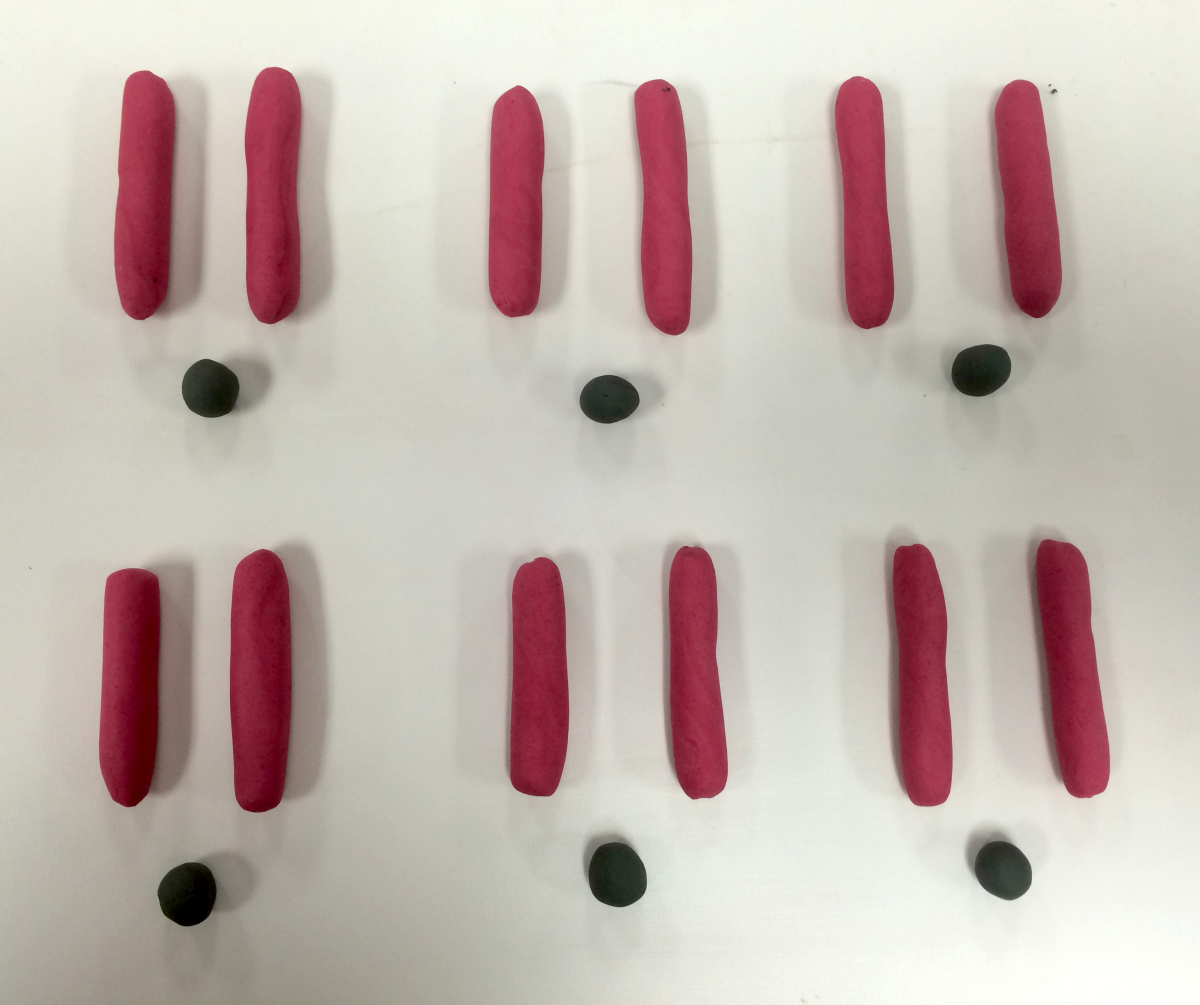
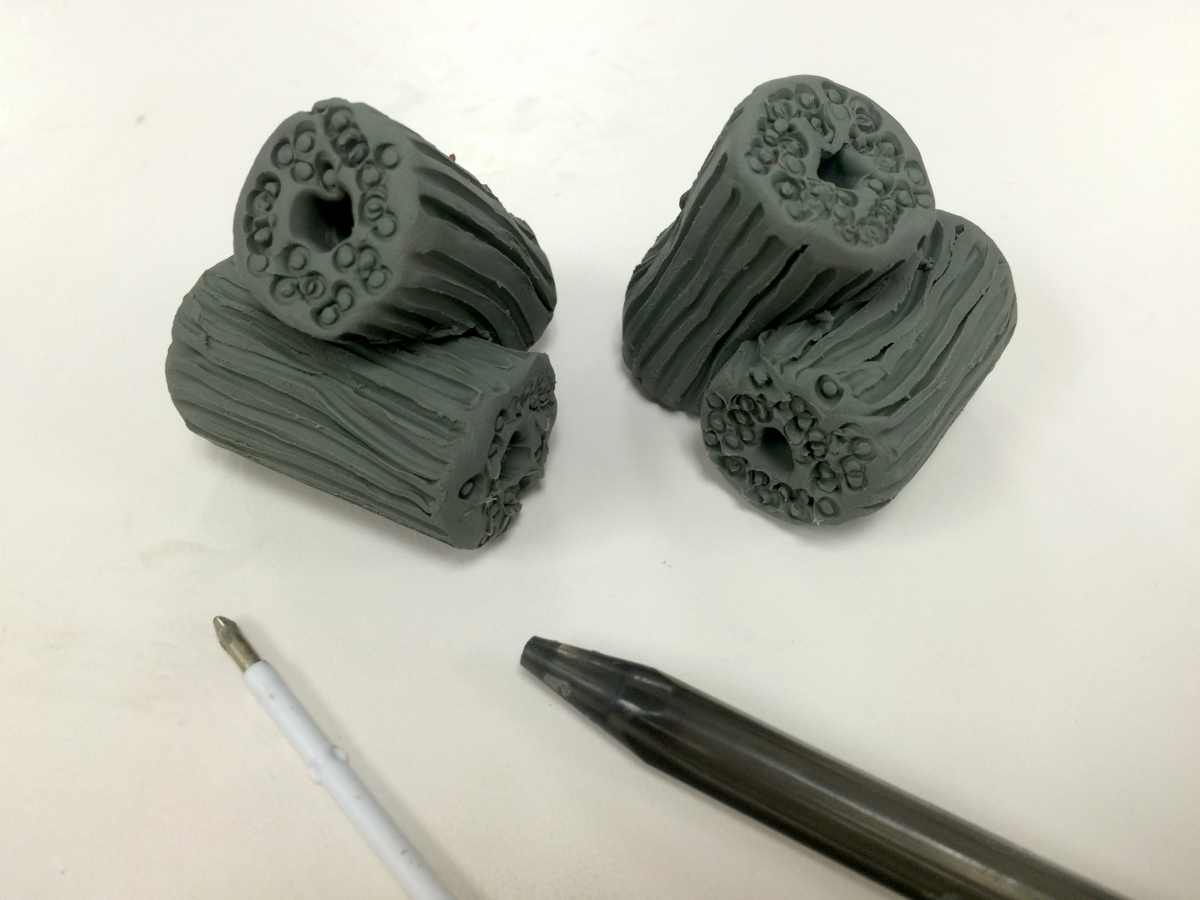
Clay Designs for Chromosomes and Centrosomes
We also decided to construct the chromosomes and centrosomes using modeling clay. This process was much simpler than the 3D printing process and the results were just as successful. For our final animation, we used parts constructed with both clay and the 3D printer, as a variety of materials can be used to contruct these parts for an animation.
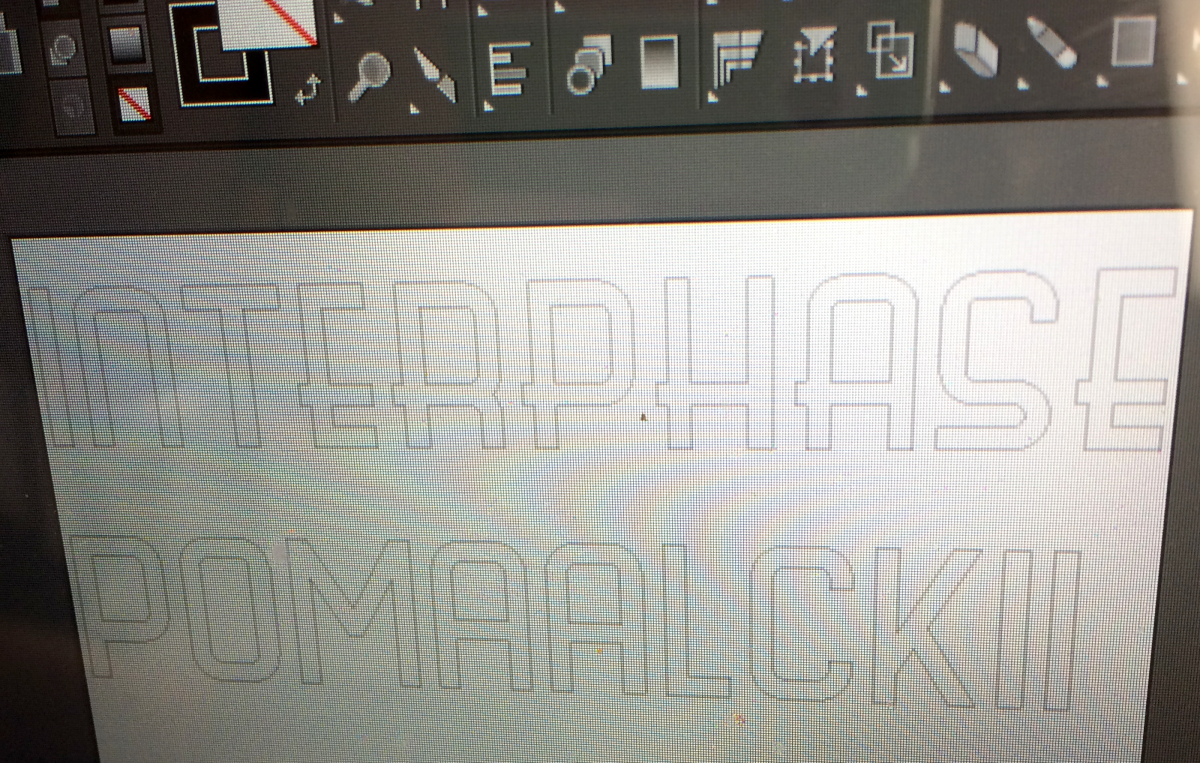
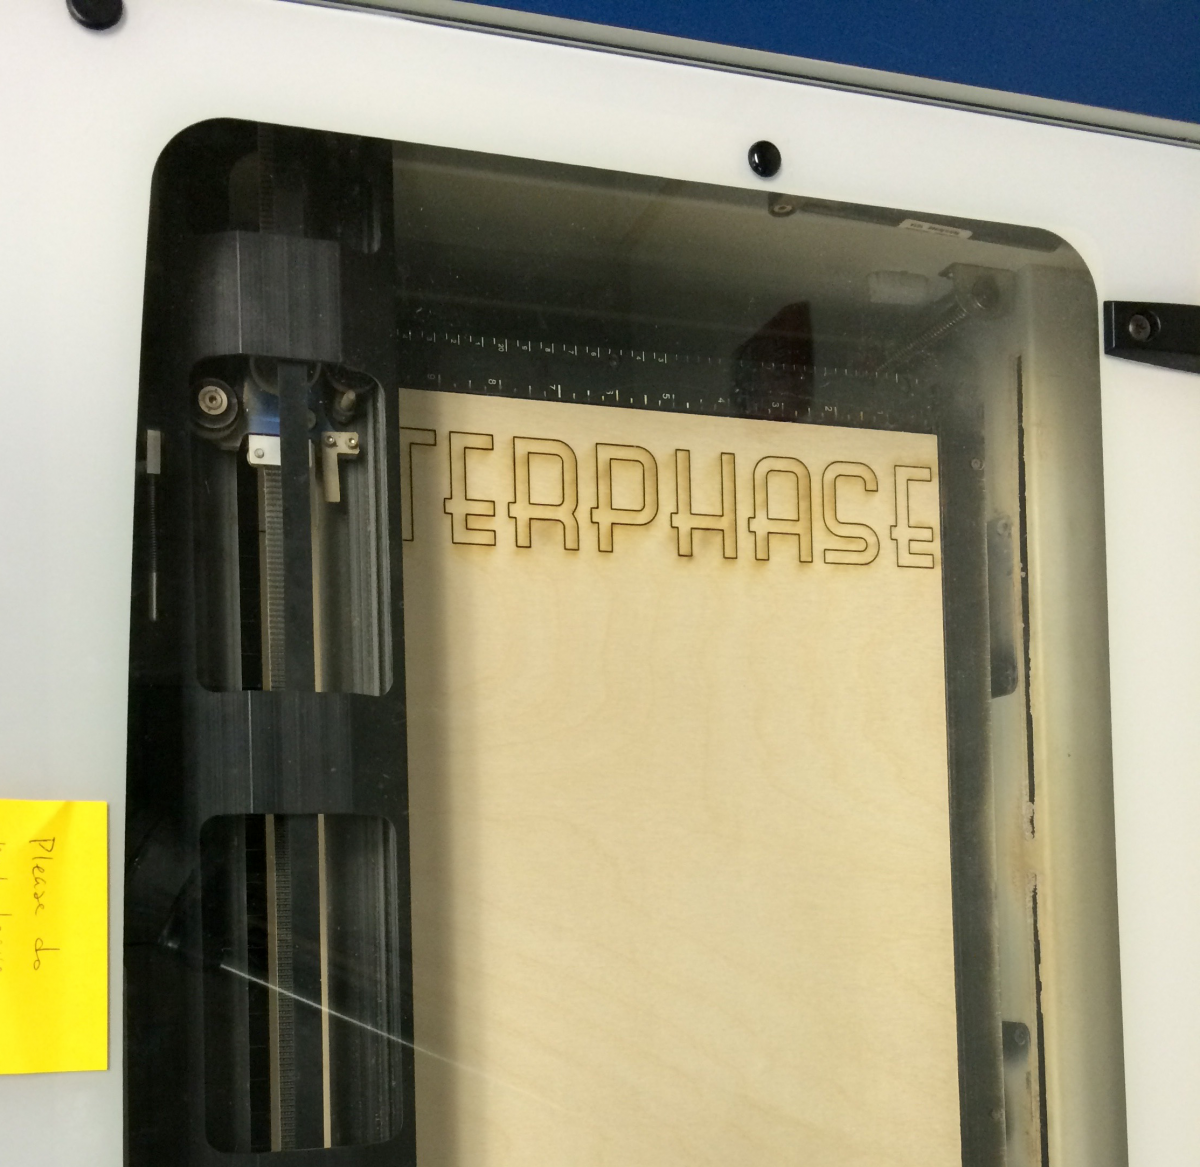
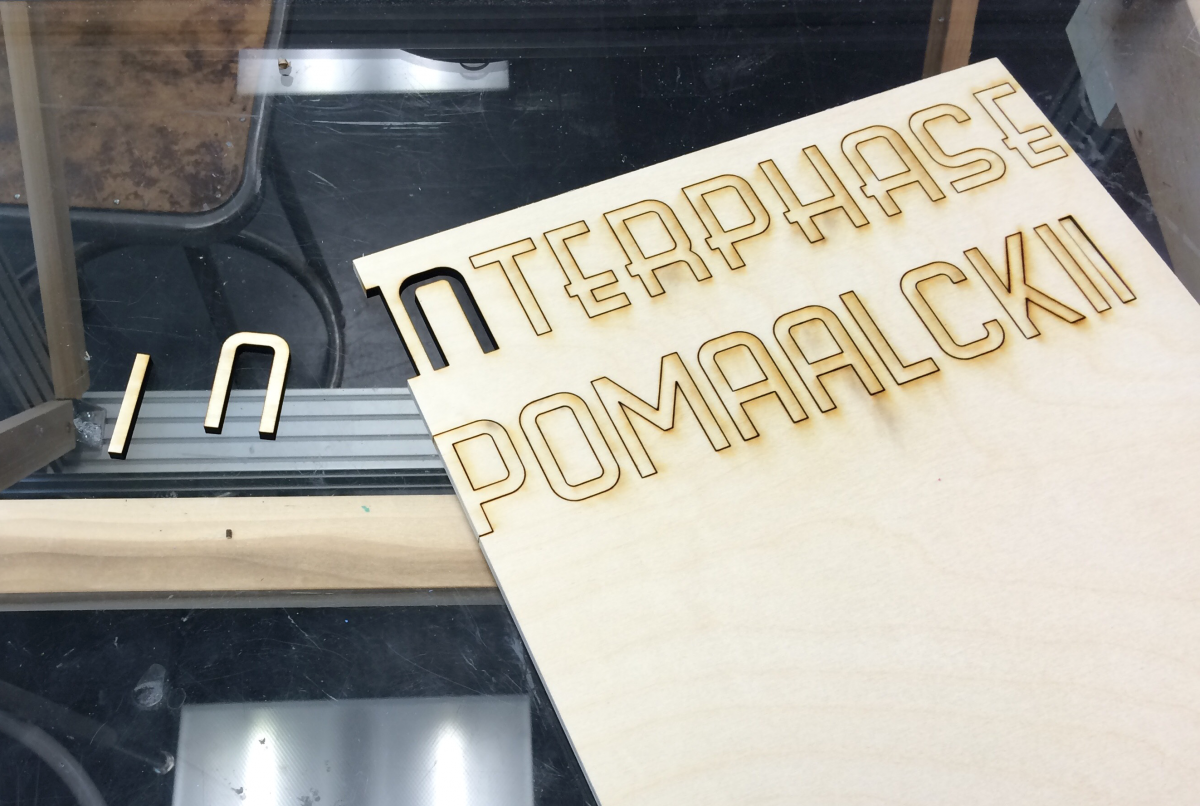
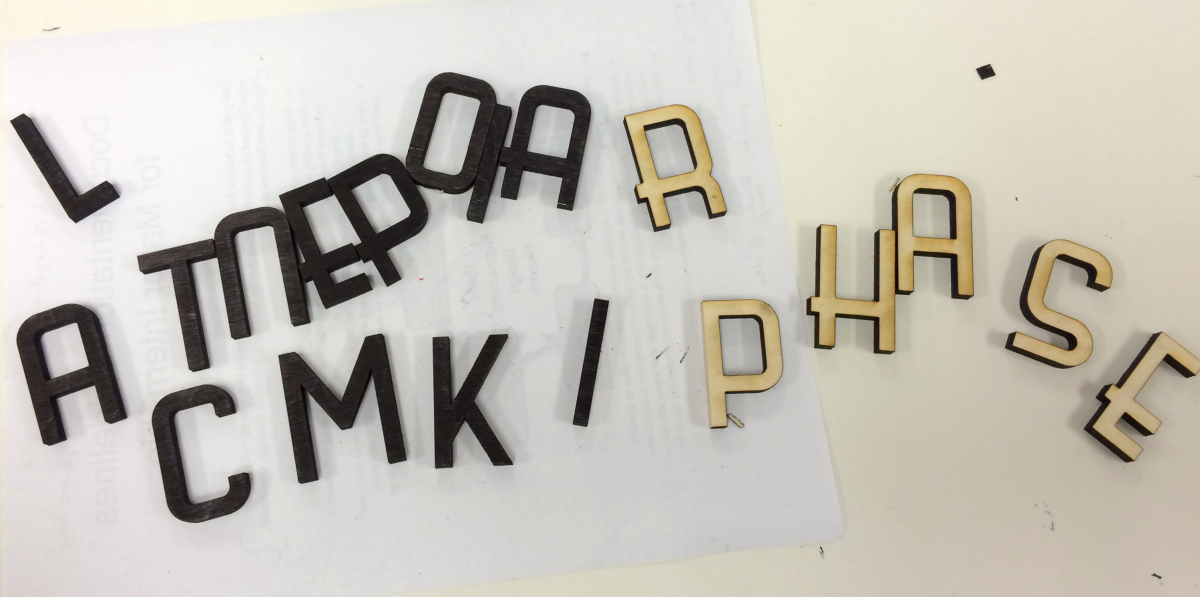
Letters for Phase Titles
We decided to laser cut letters to make the title sequences in the animation more dynamic. Initially, we listed the needed letters and typed then into an Adobe Illustrator document and converted the text into outlines. In order to vector cut the letters, the stroke of the outlines were changed to 0.001 pt, the appropriate size required for the laser cutter to read the letter outlines as vector cuts. Once the letters were cut from 1/4" wood, they were colored with a black permanent marker for better contrast in the animation.
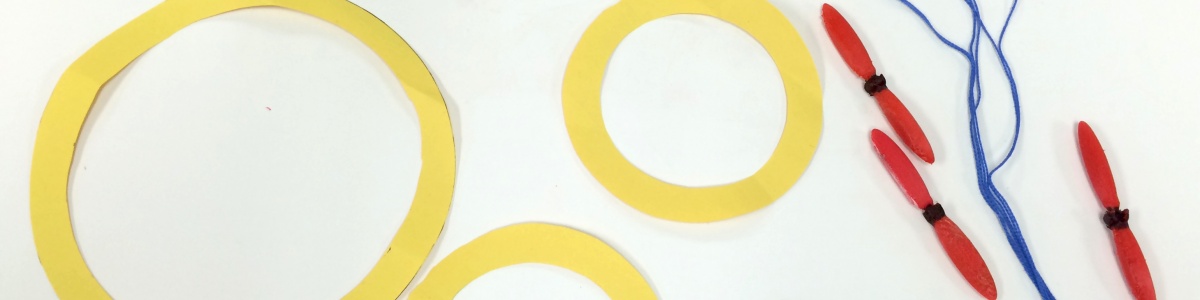
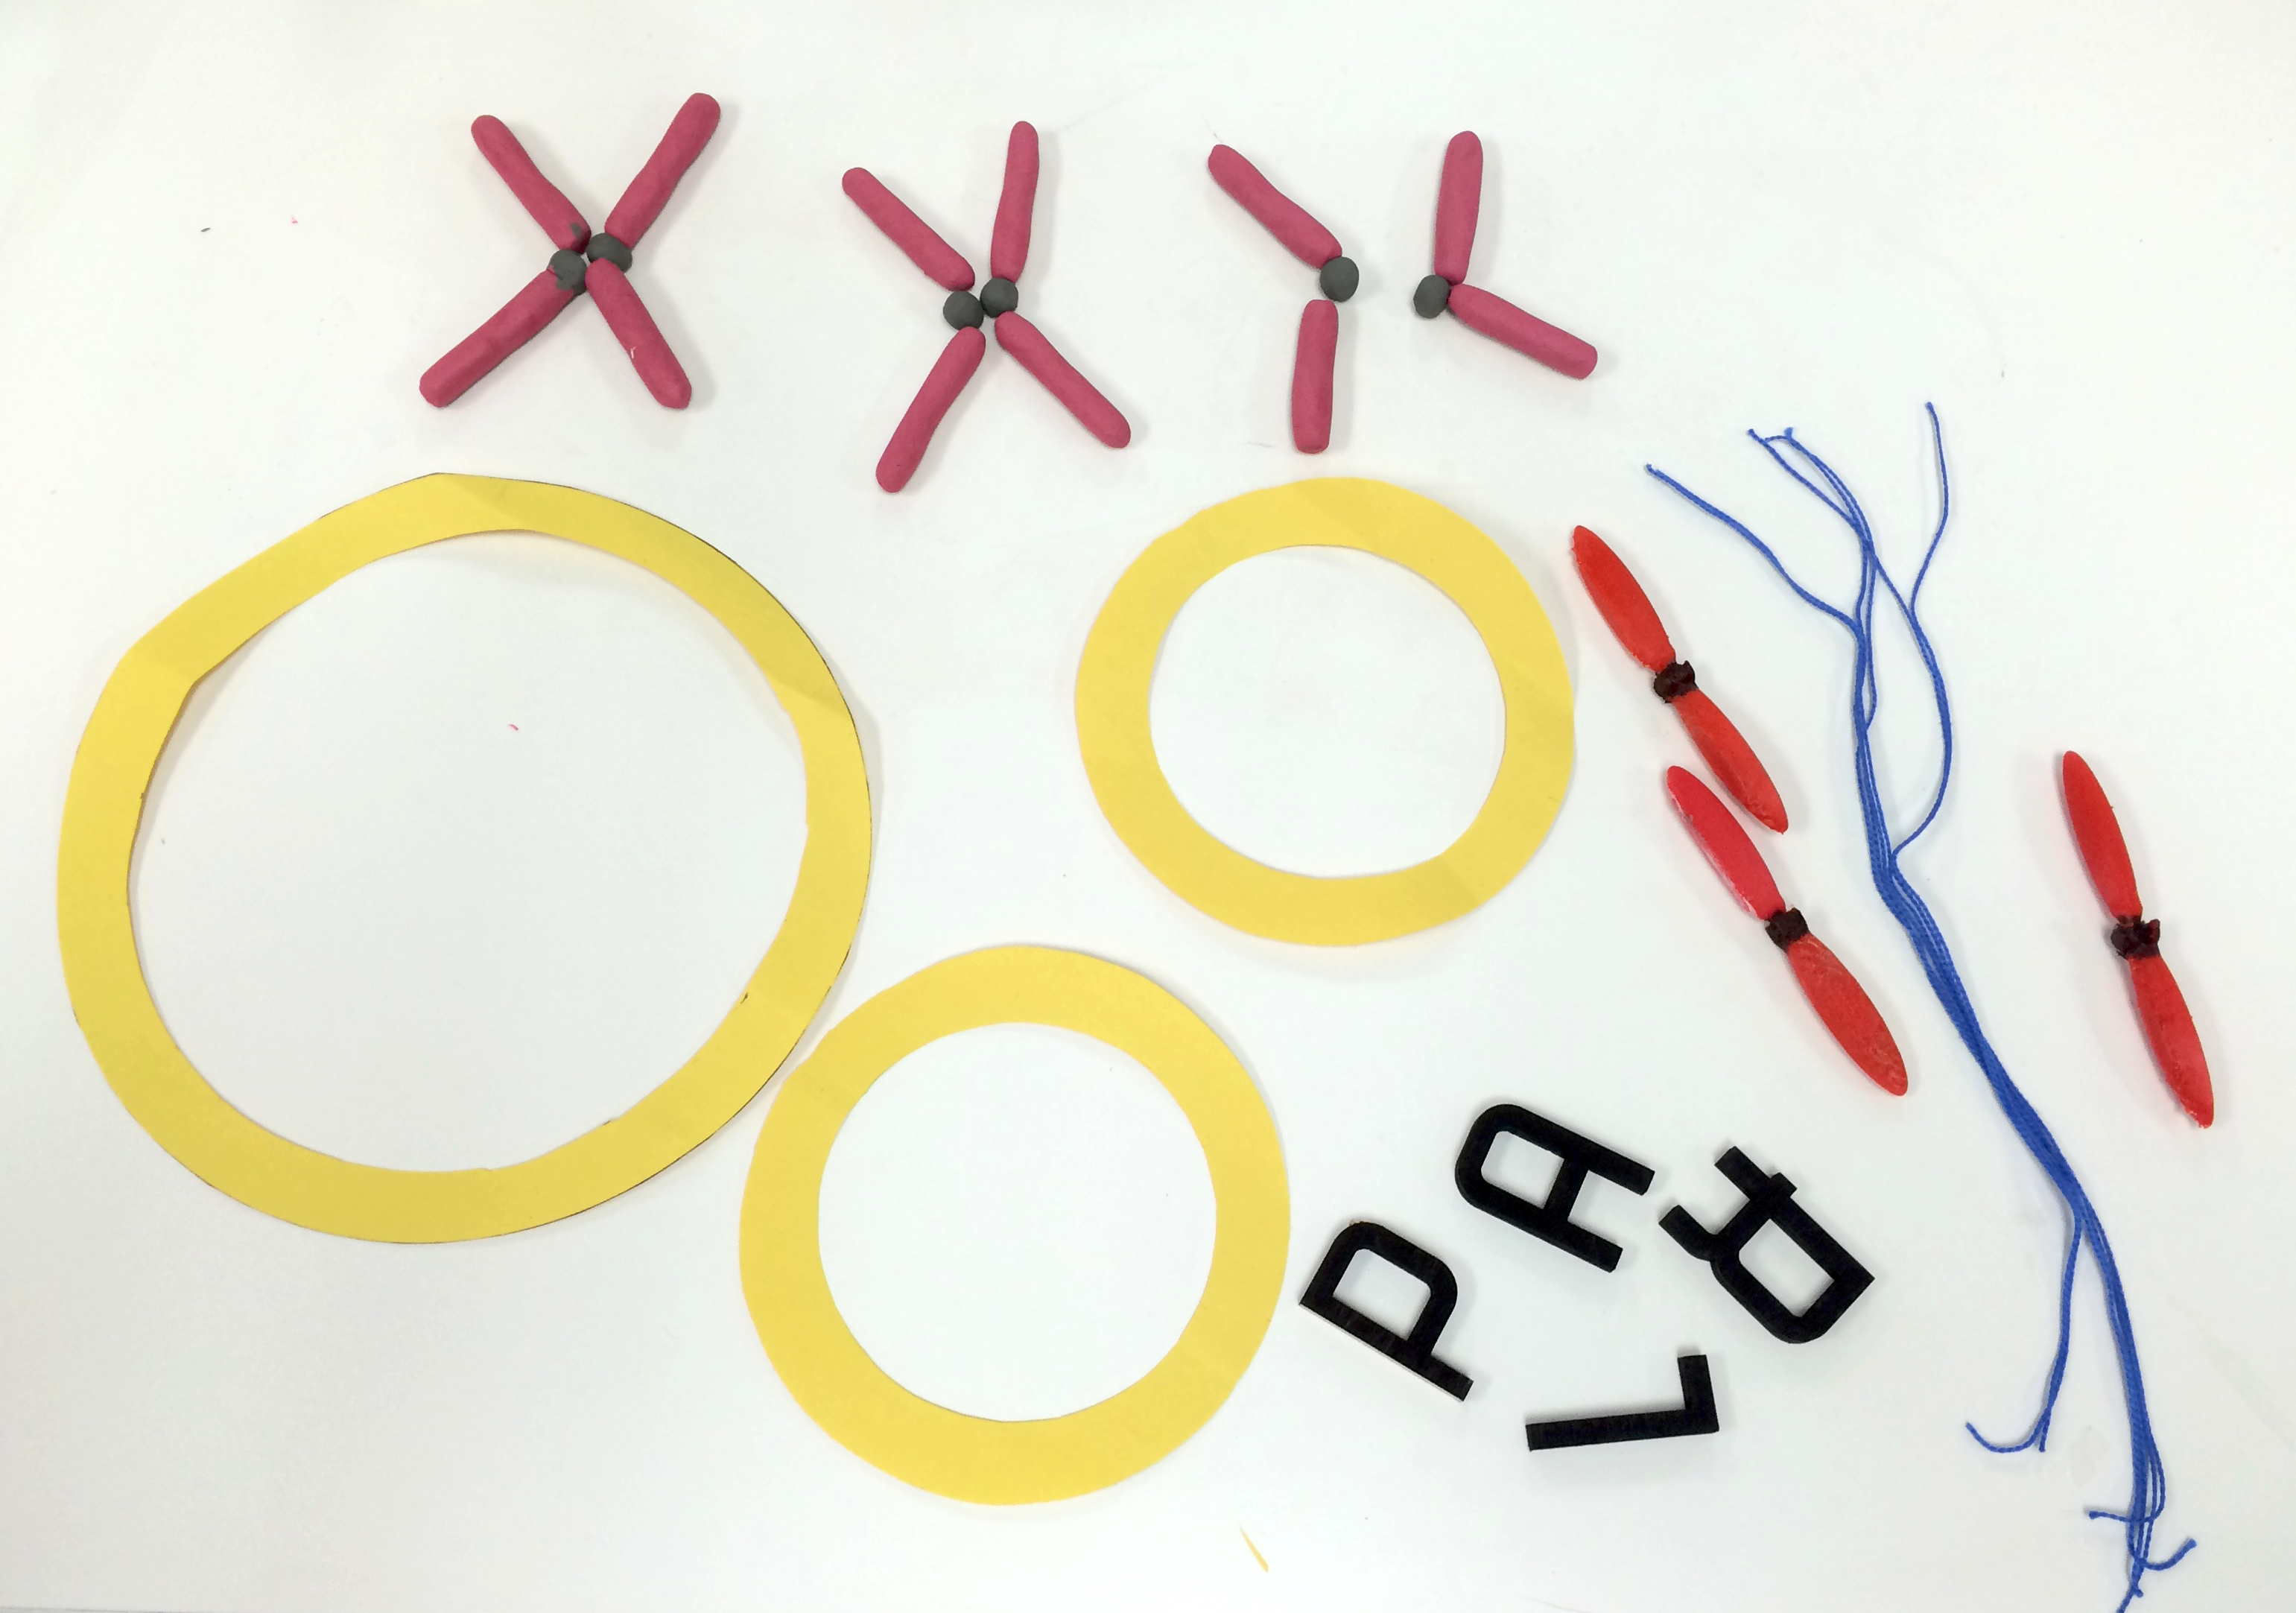
Materials Ready for Animation
With all our materials constructed, we decided to use the 3D printed chromosomes and the clay centrosomes in the final video. We also cut string as a possible material for the spindle fibers, but we ended up using dry-erase markers, at they were easier to animate with. We used paper circles for the nuclei and laser-cut wooden letters for the titles.
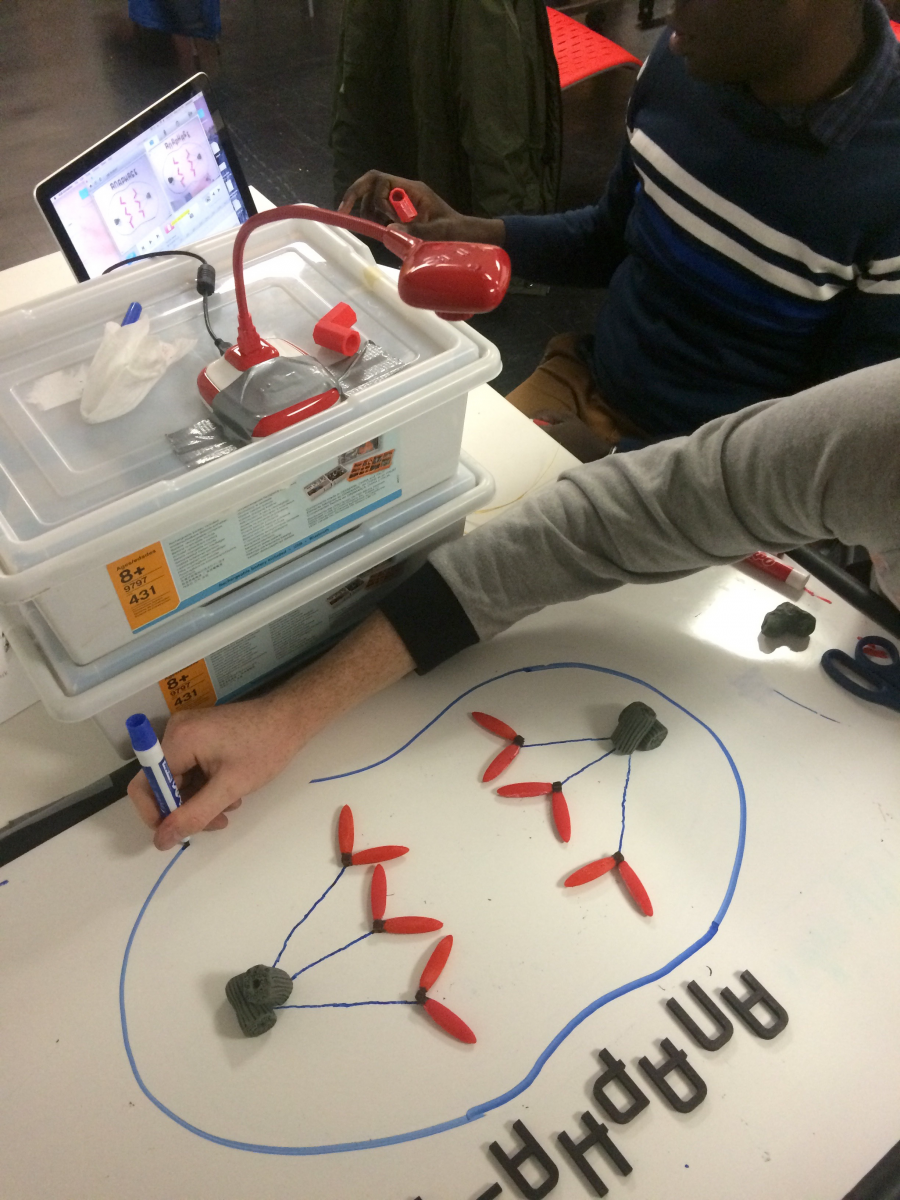
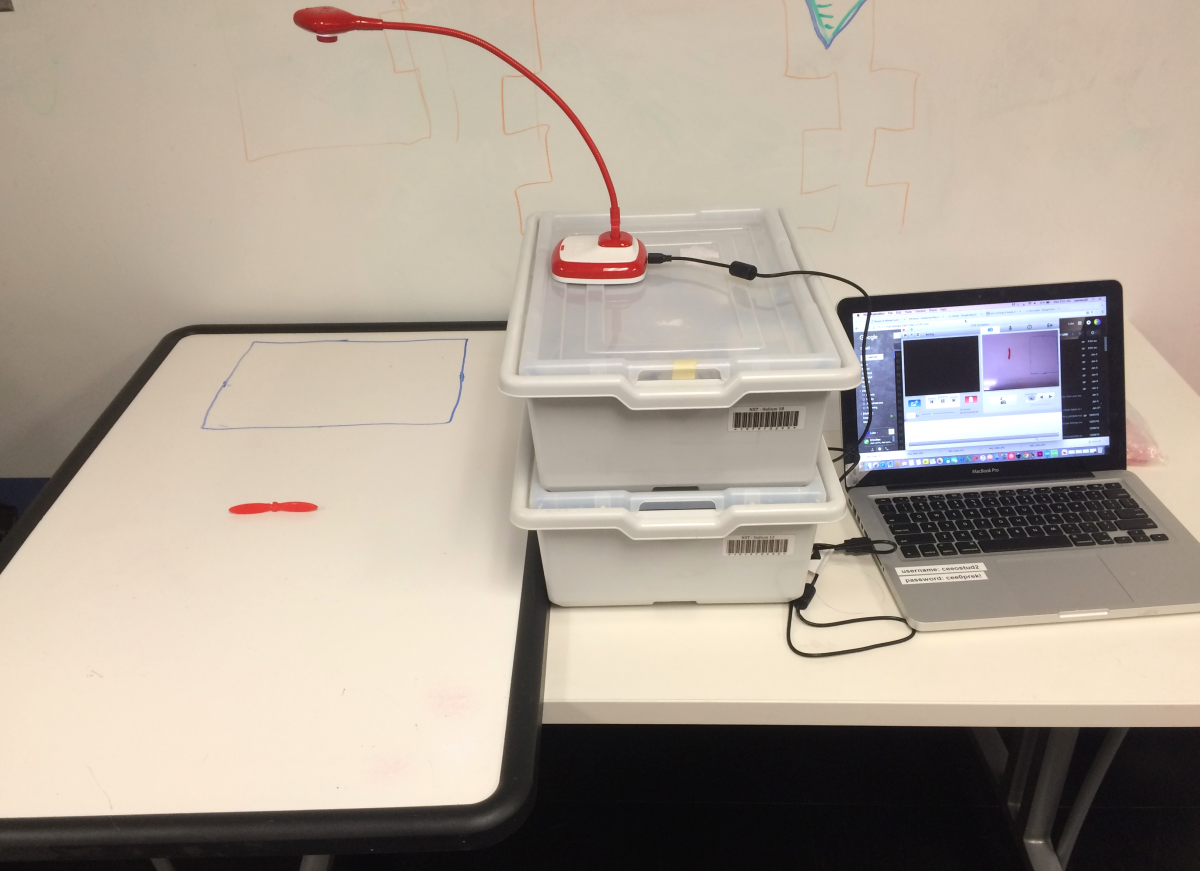
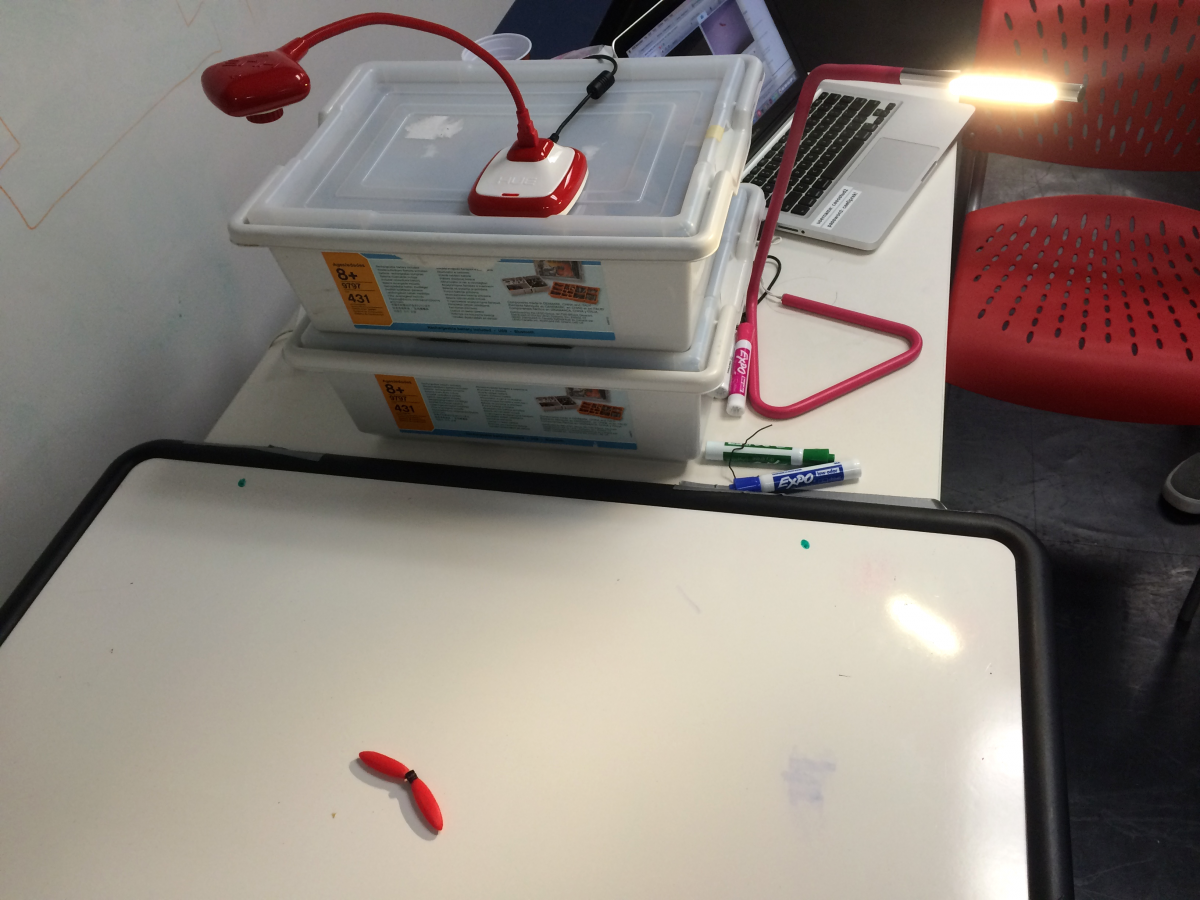
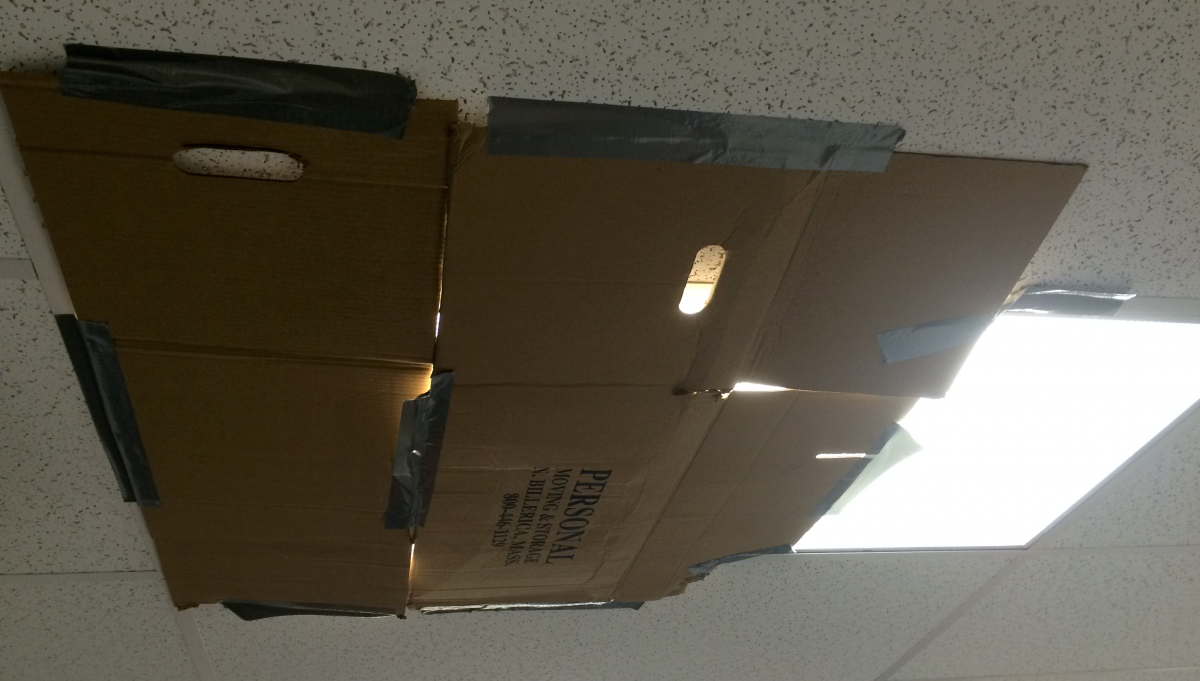
Animation Station Setup
Using a white board as the background for our animation, we set up our animation station by elevating the HUE Animation camera on a couple of boxes. This allowed for a larger frame of view for the animation to take place. We also experimented with the lighting of the scene, using a small lamp, although this only caused more glare off of the white board. We used a cardboard box to cover the ceiling light, eliminating the glare.
Animation Process
The individual letters worked well in the animation, as each letter could moved around to create interesting effects. We used dry-erase markers to animate the splitting cell membrane, the growing chromosomes, and the growing/shrinking spindle fibers. Different materials definitely could have worked well in place of the materials we chose to use.