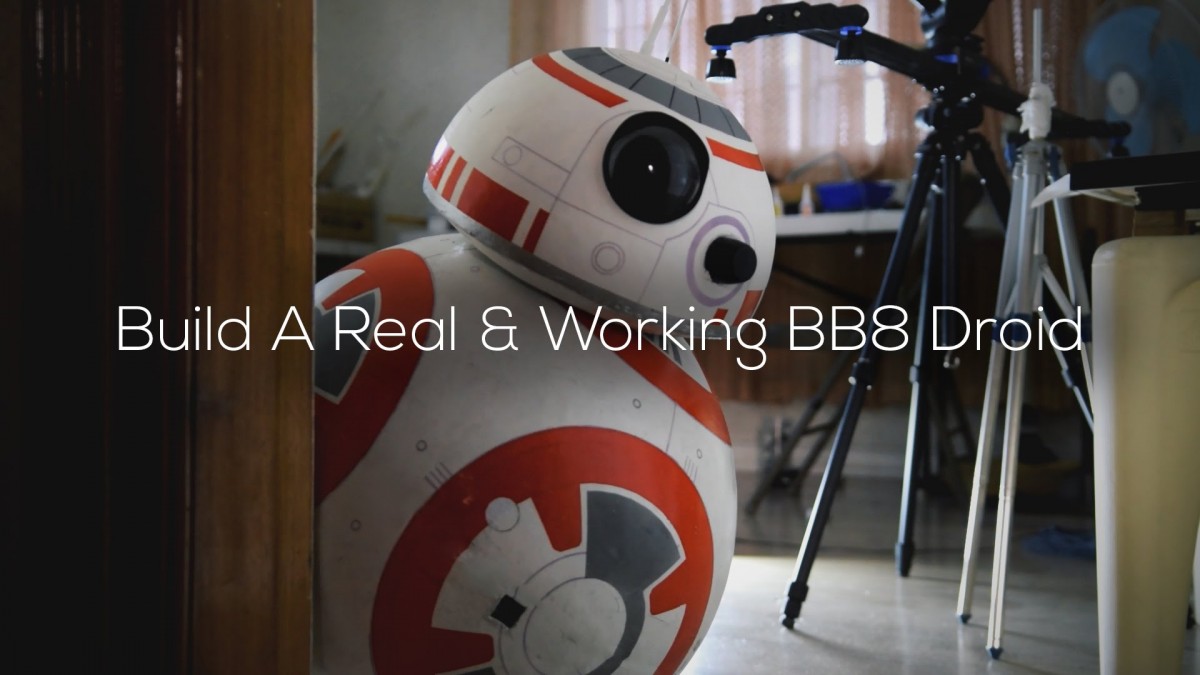
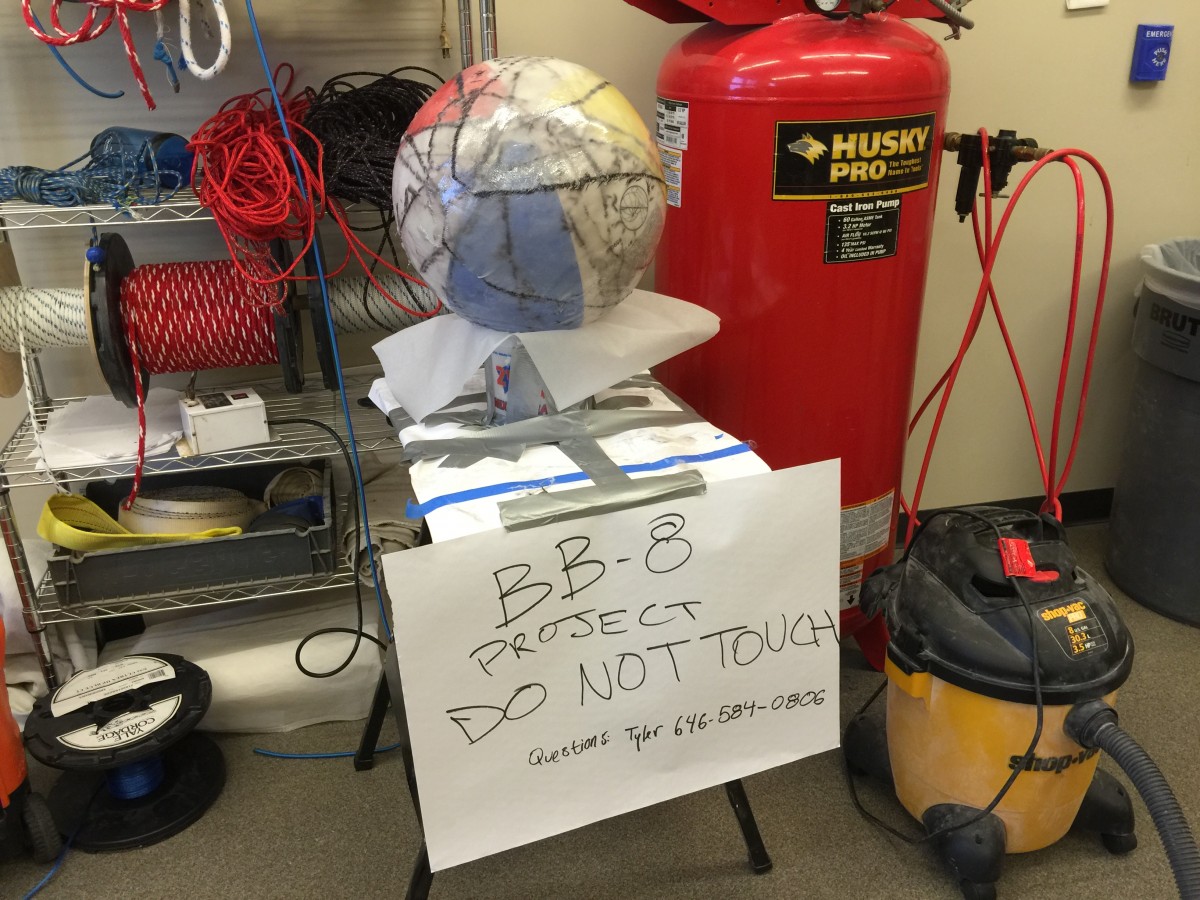
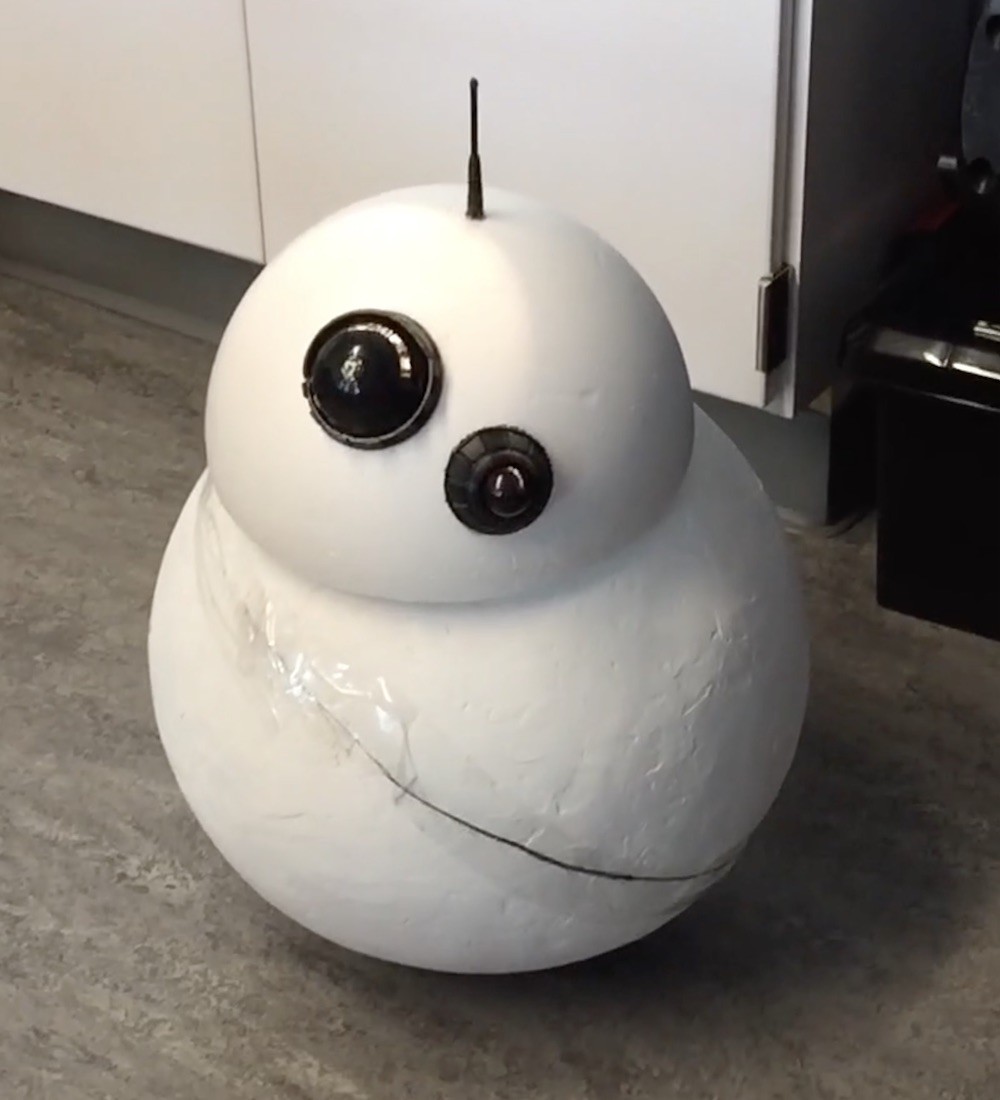
Baby BB-8
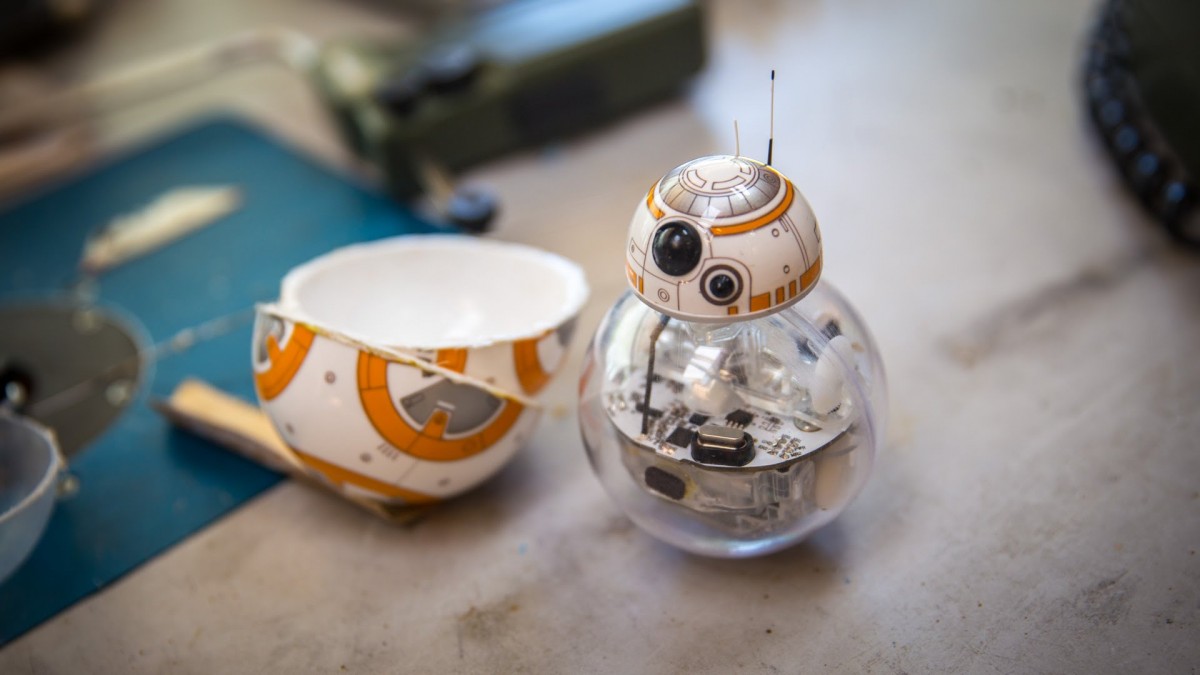
In late January a video of a bluetooth-controlled BB-8 droid created by Angelo Casimiro started circulating around the tech news circuit. Angelo's detailed instructions and well-made video were particularly interesting because he managed to build his BB-8 for just $120 by cleverly using cheap components like beach balls and deoderant rollers.
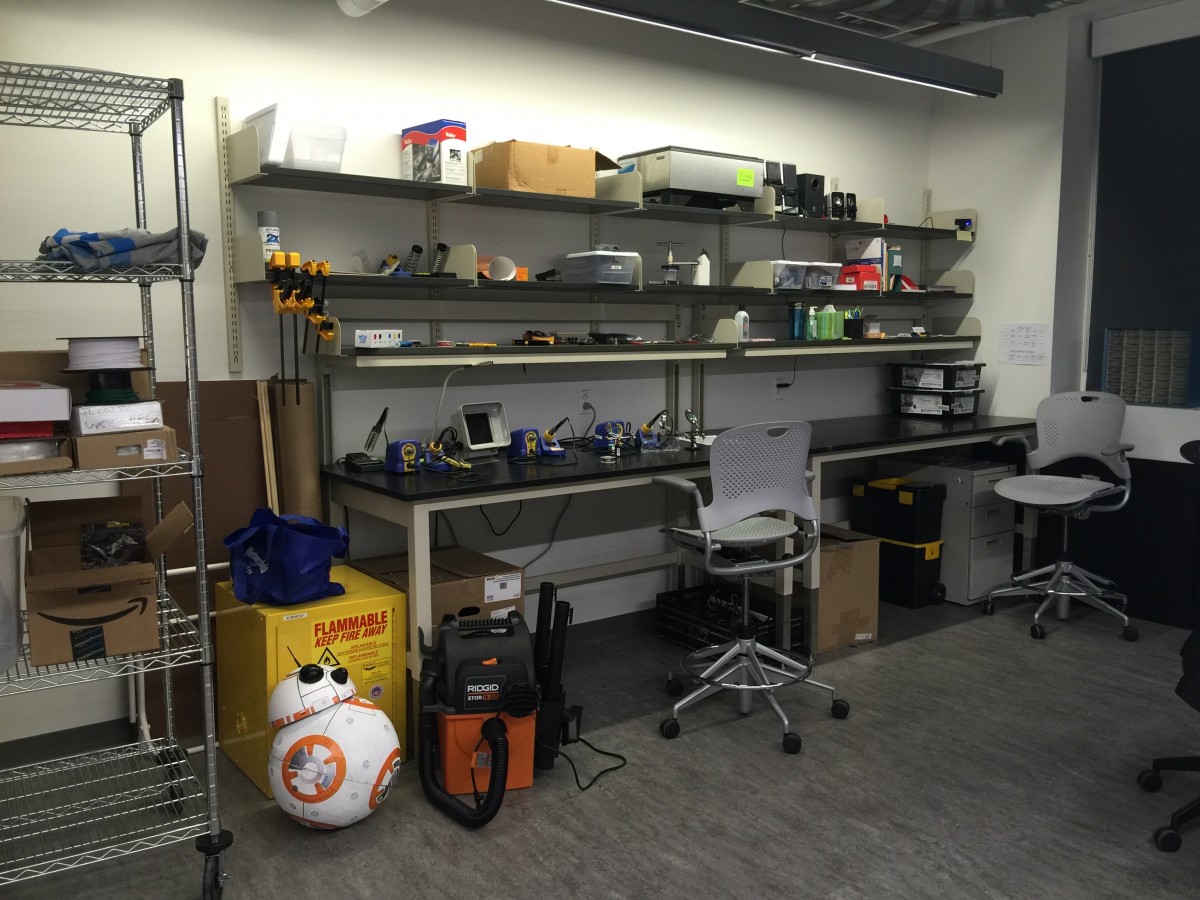
After a strong start to the semester with the Weekend of Making, our group decided to create our own BB-8 using the tools and materials available in the Maker Studio and Crafts Center. A BB-8 seemed like the perfect mix of art, engineering, and iterative design.
Making the fiberglass ball
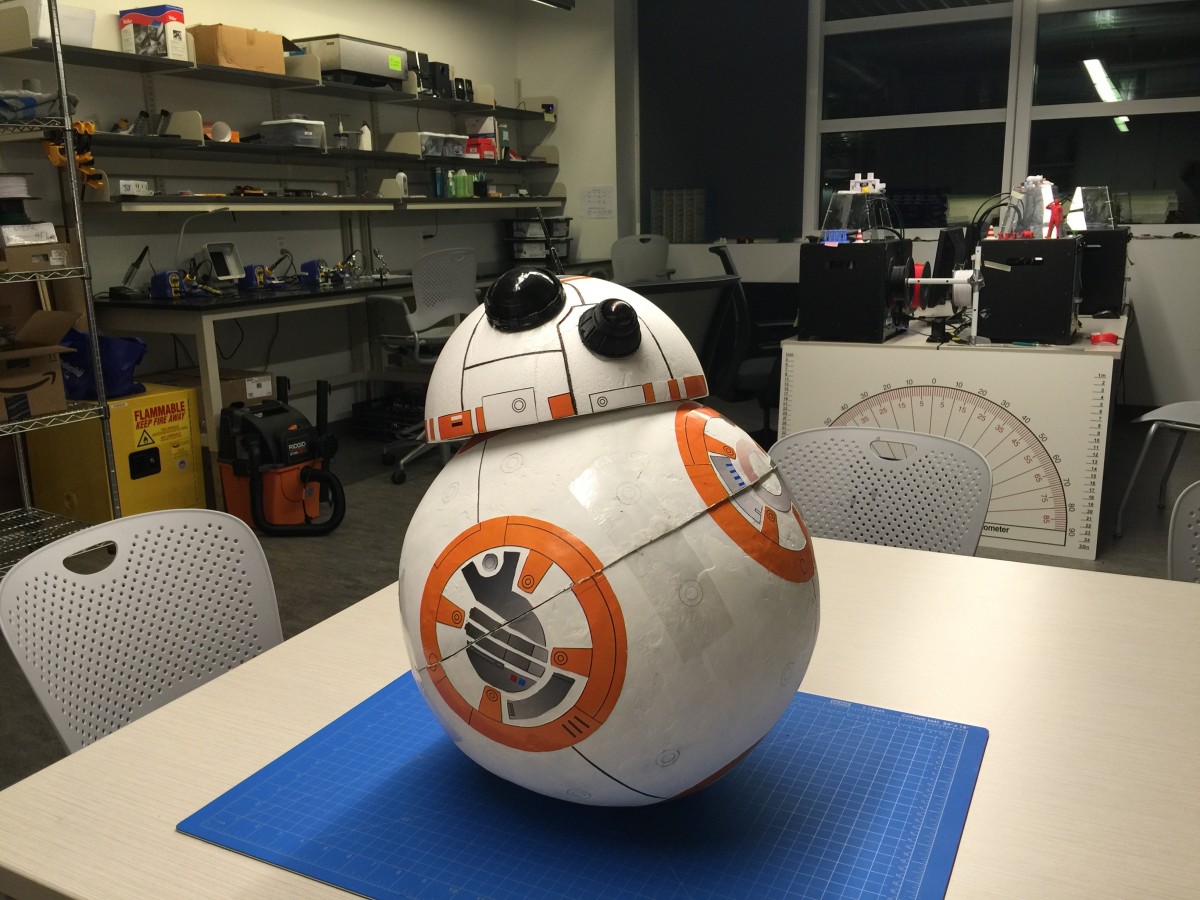
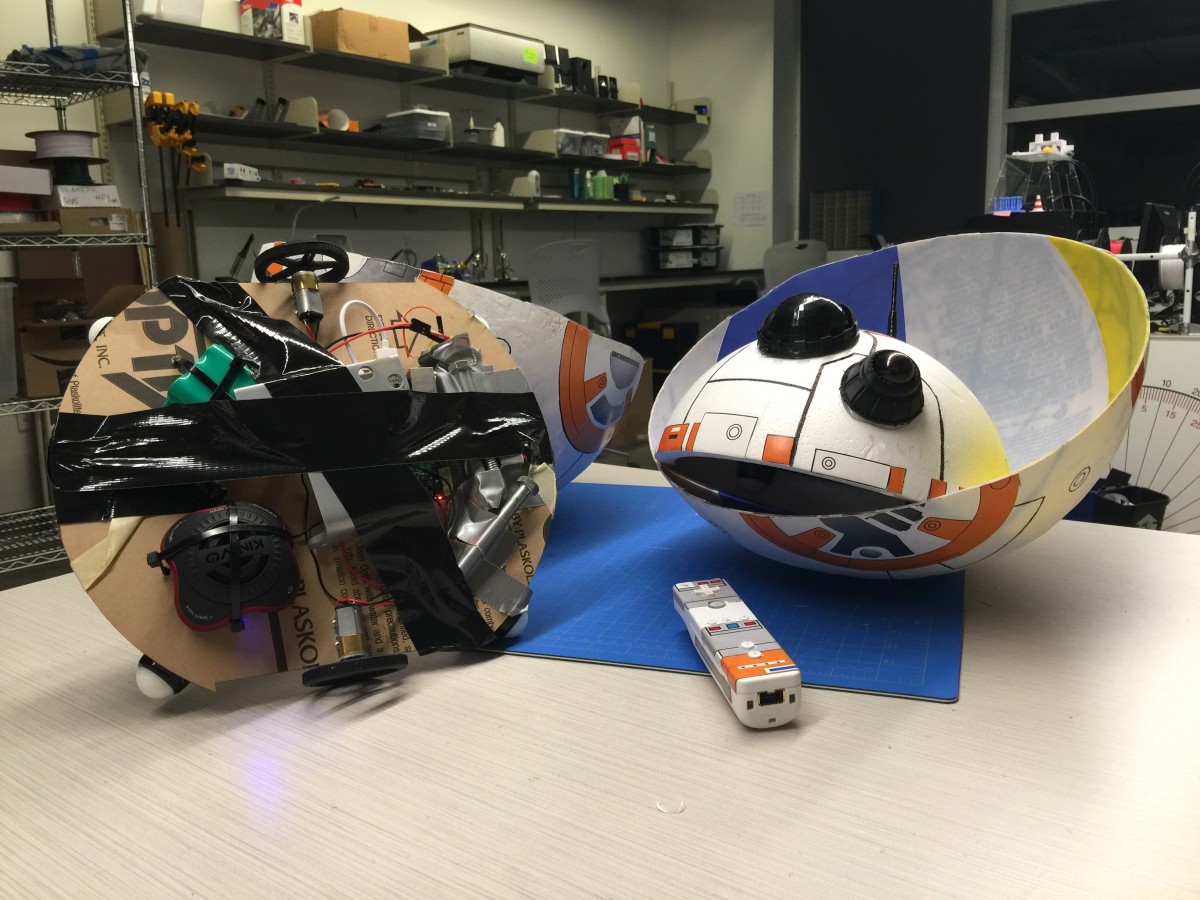
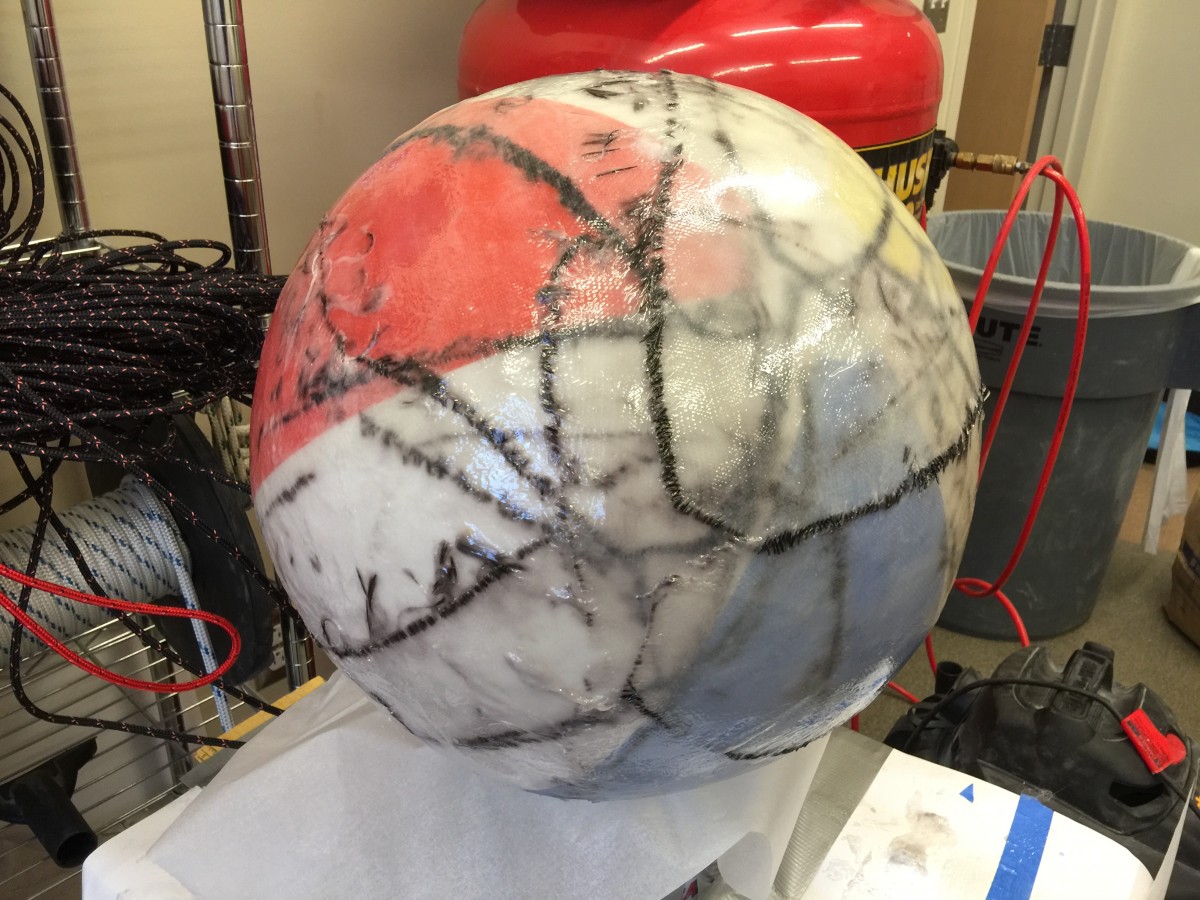
The obvious place to start the project was by creating BB-8's main spherical body. We decided to use a beach ball just like Angelo did, but use fiberglass instead of paper mache. Tyler had access to the Tufts Boat House's shop and knew how to repair fiberglass boats, so we got together on a Saturday to learn the basics from him and fabricate our ball.
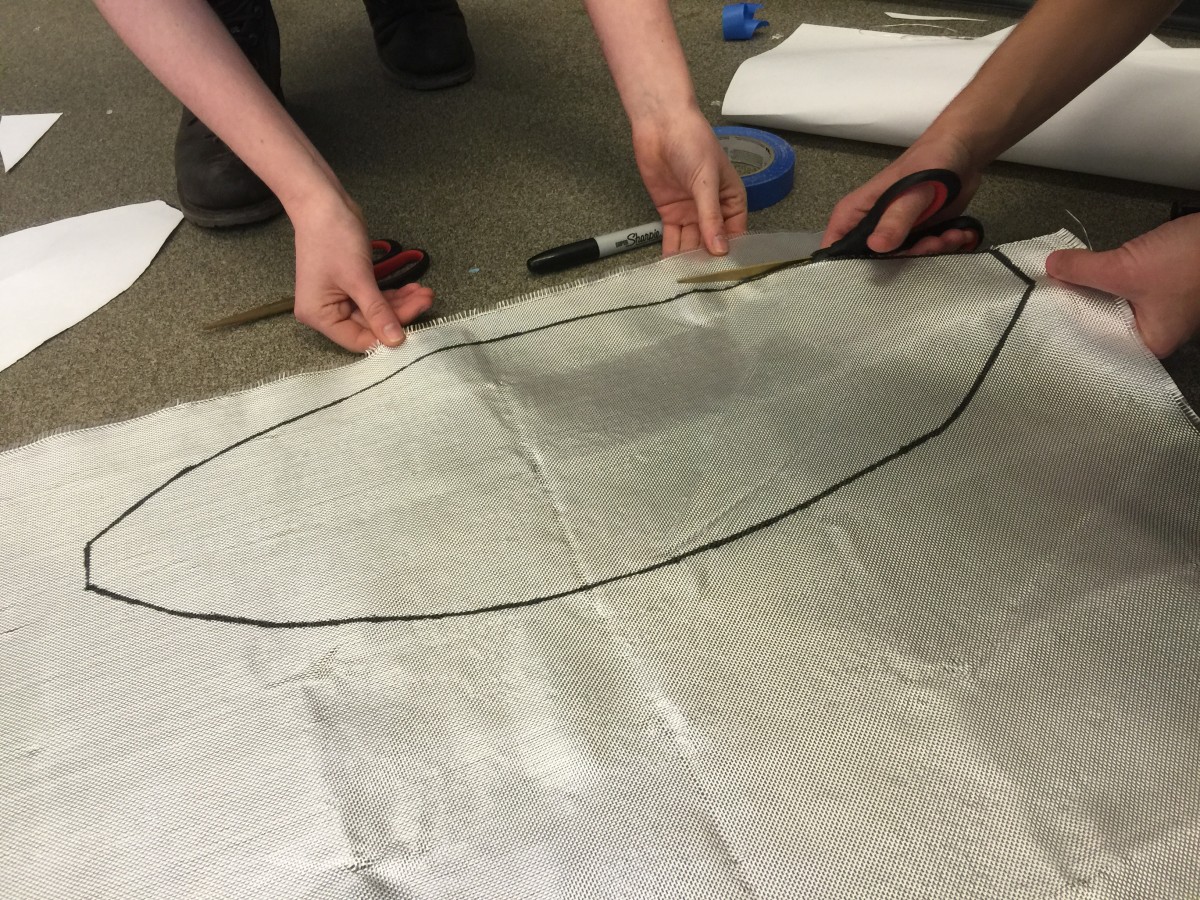
Tyler recommended that we create the shell using two layers of fiberglass positioned at a roughly 45-degree angle on top of each other. To avoid excessive wrinkling, we traced and cut six rounded pieces for each layer.
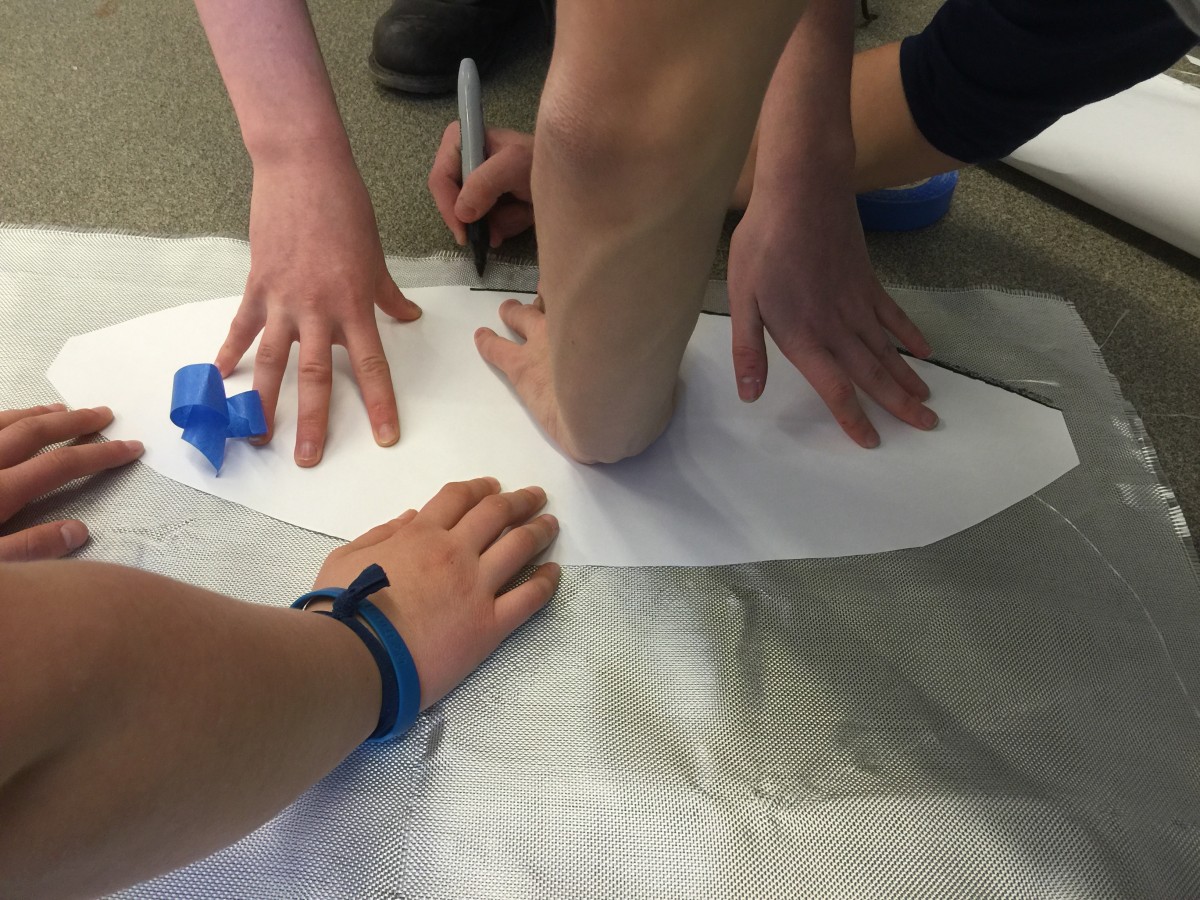
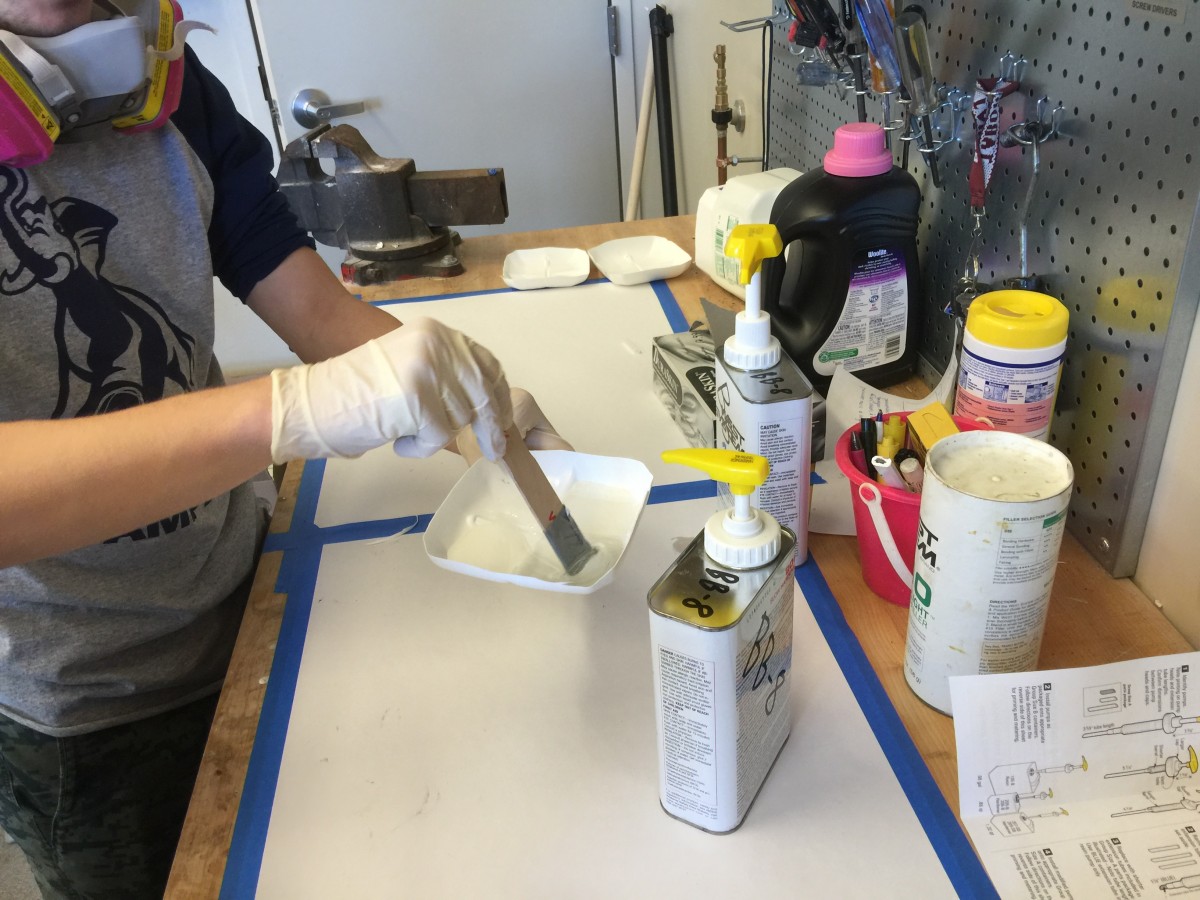
Tyler then started mixing the resin and hardener in a cup in a 1:1 ratio. We also added #403 Microfibers (making sure to wear respirators to protect our lungs) to make the mixture thicker; making it easier to fill in any gaps and grooves on the ball's surface.
- WEST MARINE Fiberglass Cloth 38"x90" - $52.99
- WEST SYSTEM #105 Epoxy Resin (1 quart) - $46.99
- WEST SYSTEM #206 Slow Hardener (.86 quart) - $49.99
- WEST SYSTEM #403 Microfibers (6oz) - $13.99
- Resin pump set - $16.99
- Hair brushes
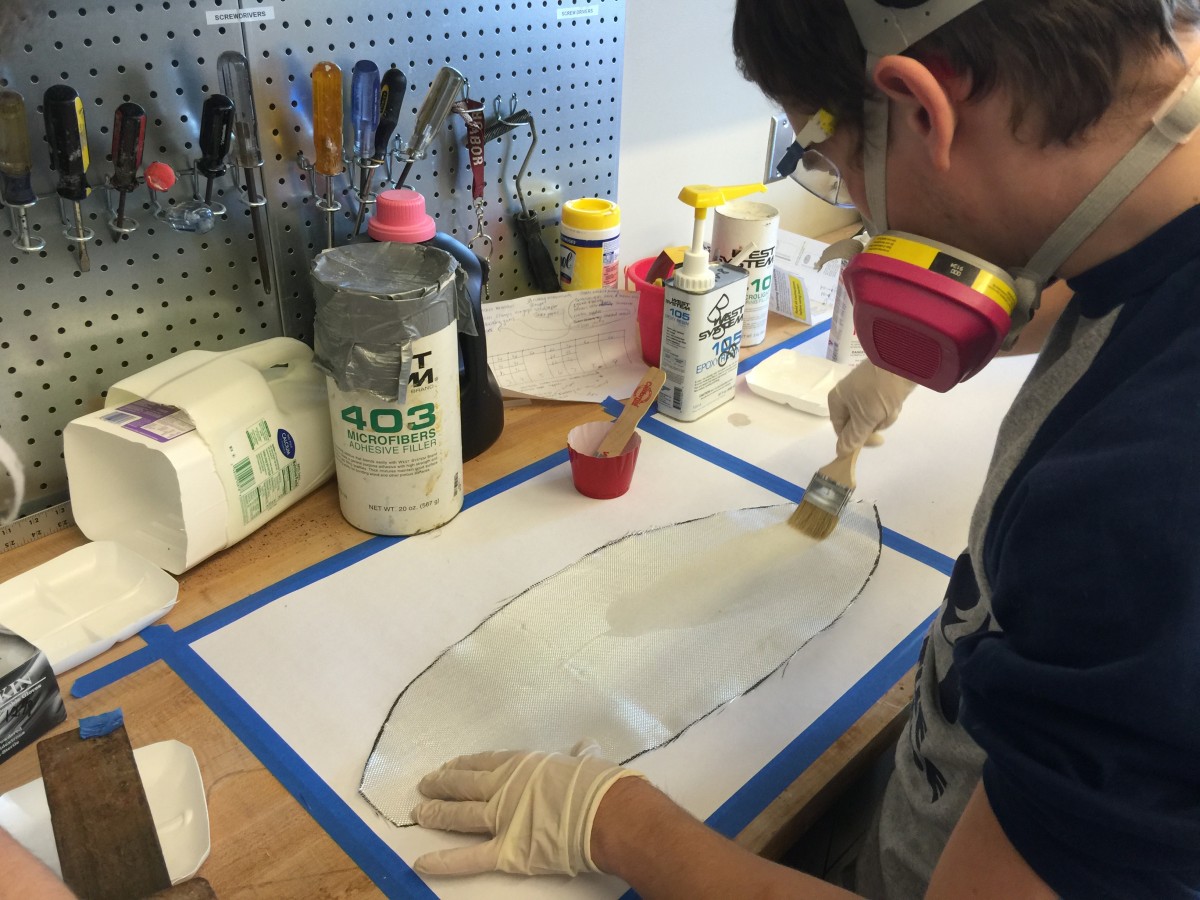
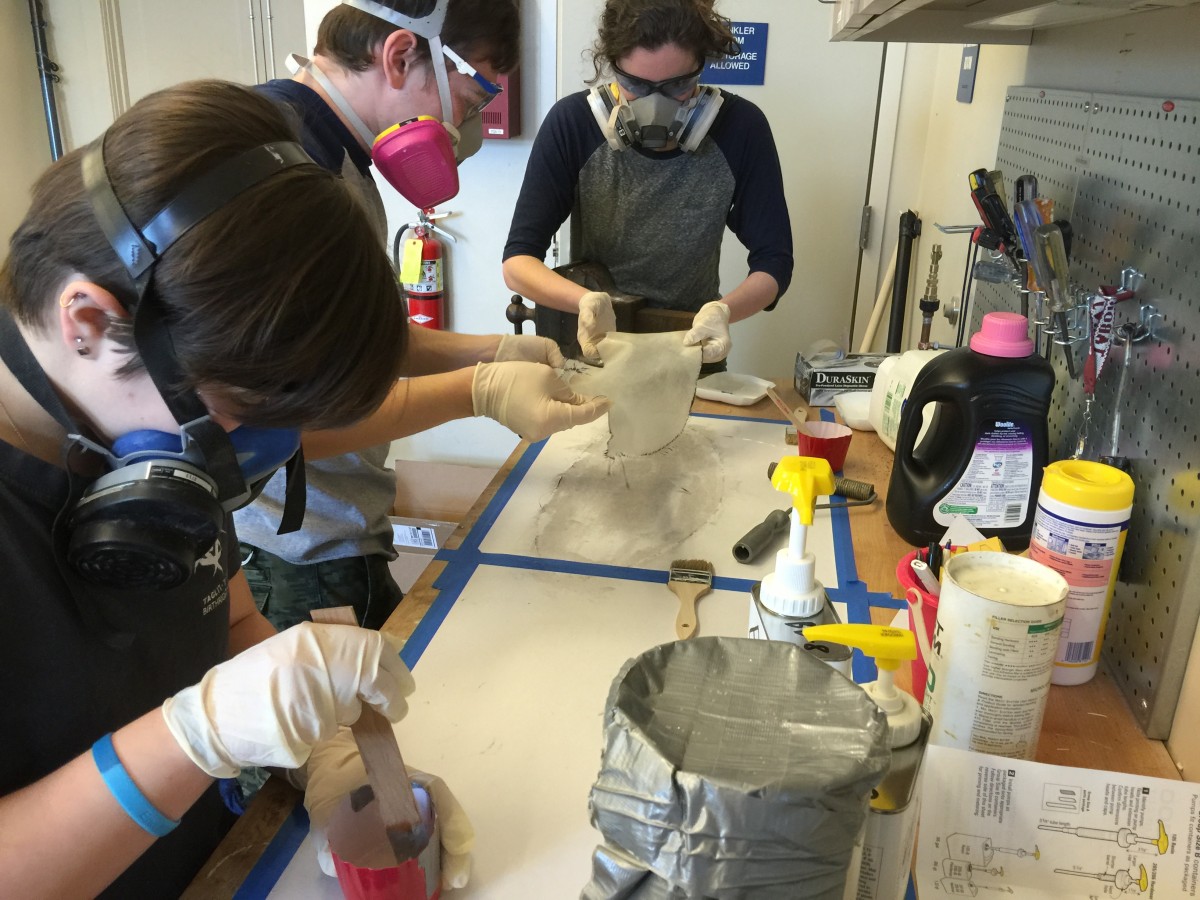
Mixing the resin, applying it to the fiberglass cloth cutouts, and then laying all 12 pieces evenly along the ball's surface took around 2 hours from start to finish. We left the ball at the boat house to dry and harden until the following week, at which point we used an air-powered sander to smooth the entire ball down with progressively finer grain sandpaper.
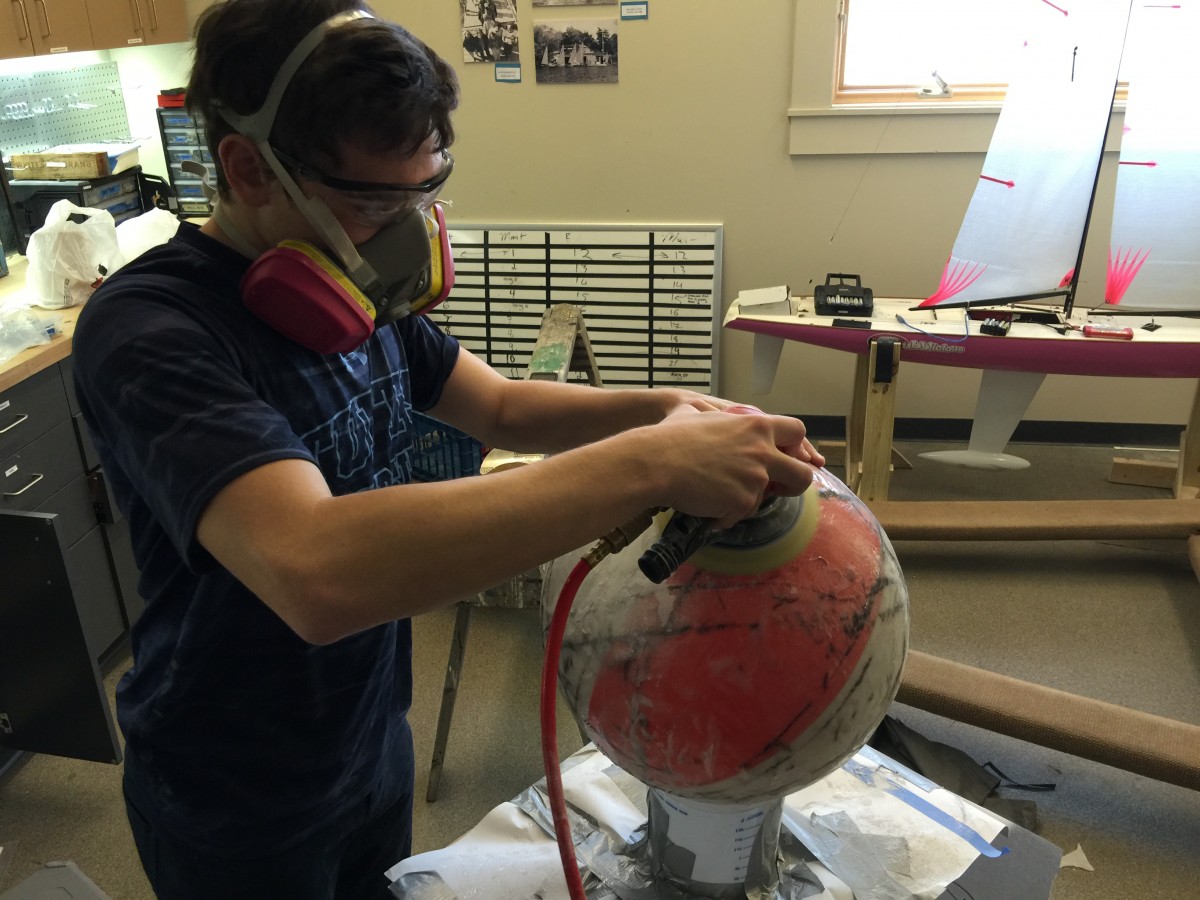

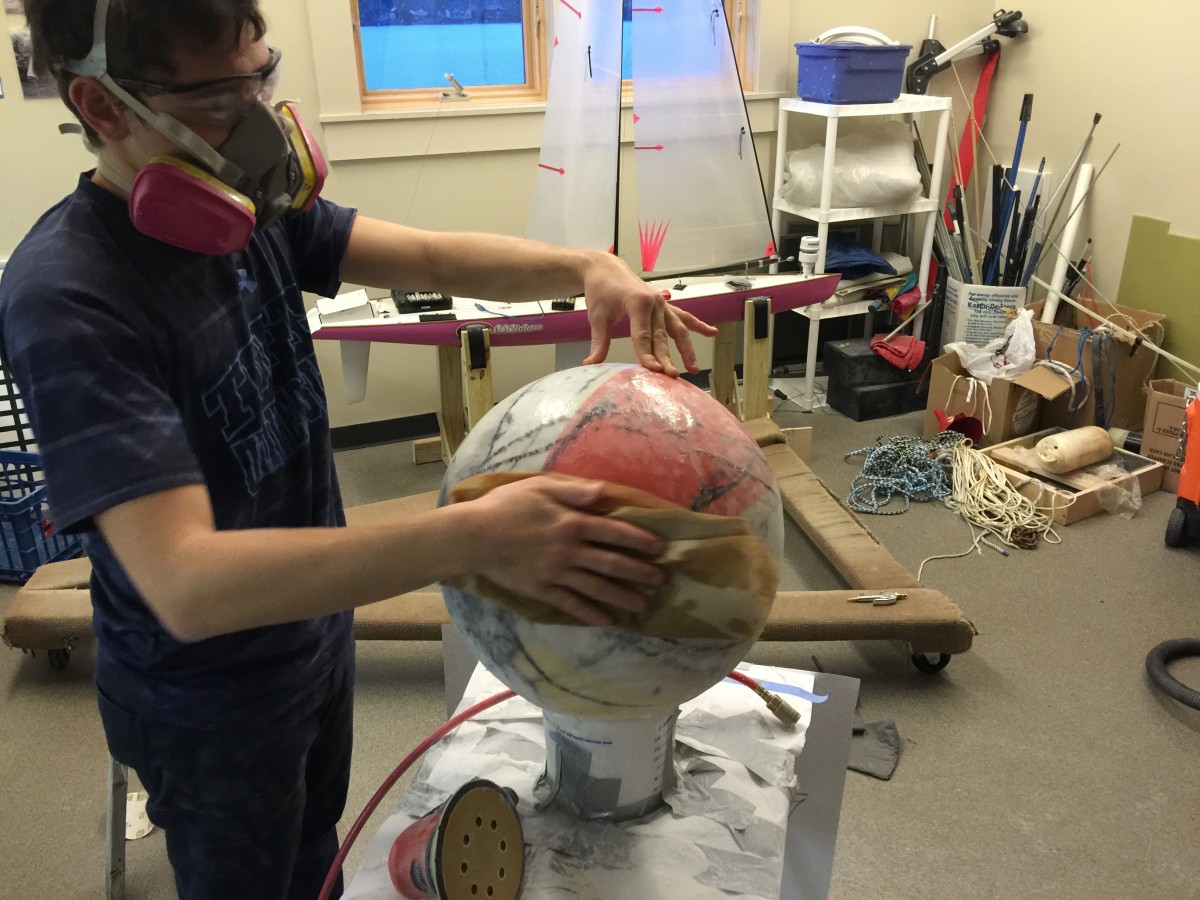
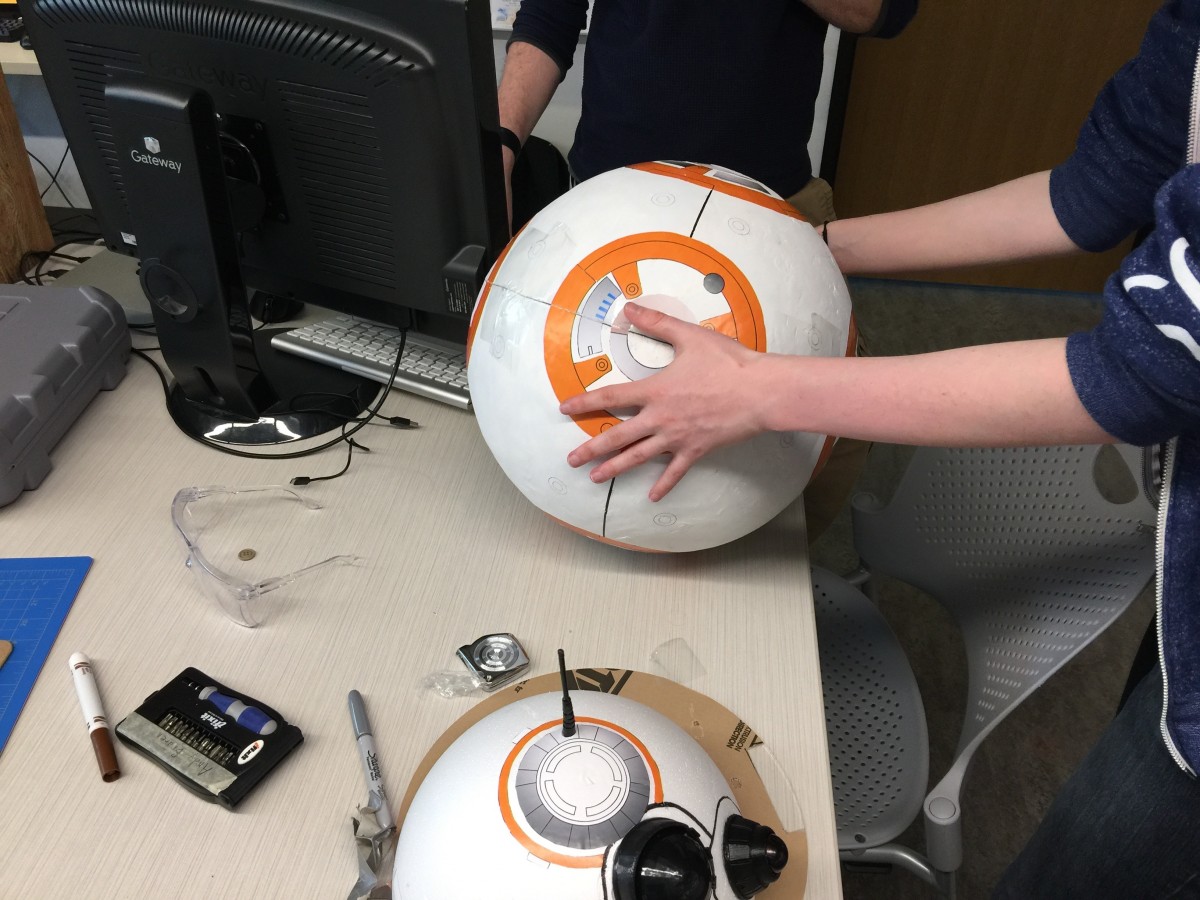
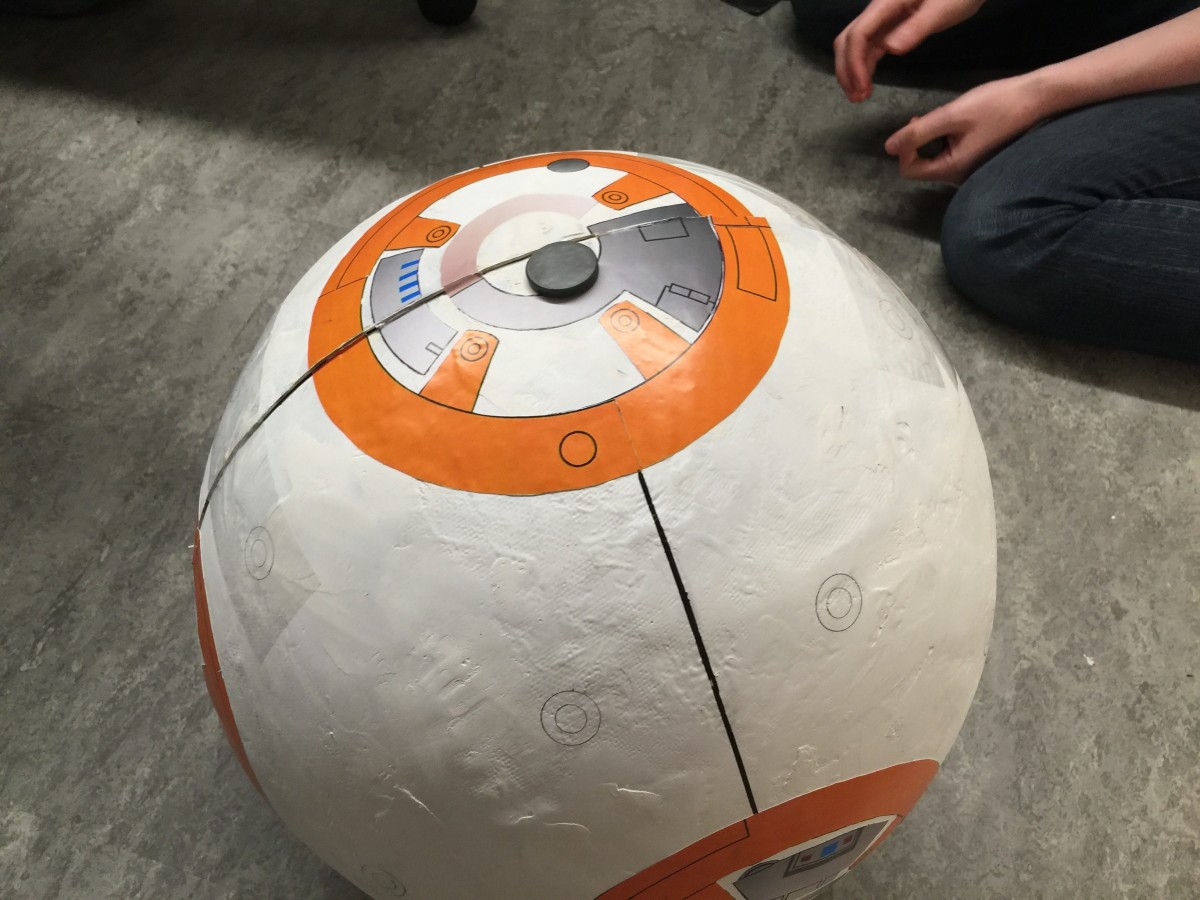
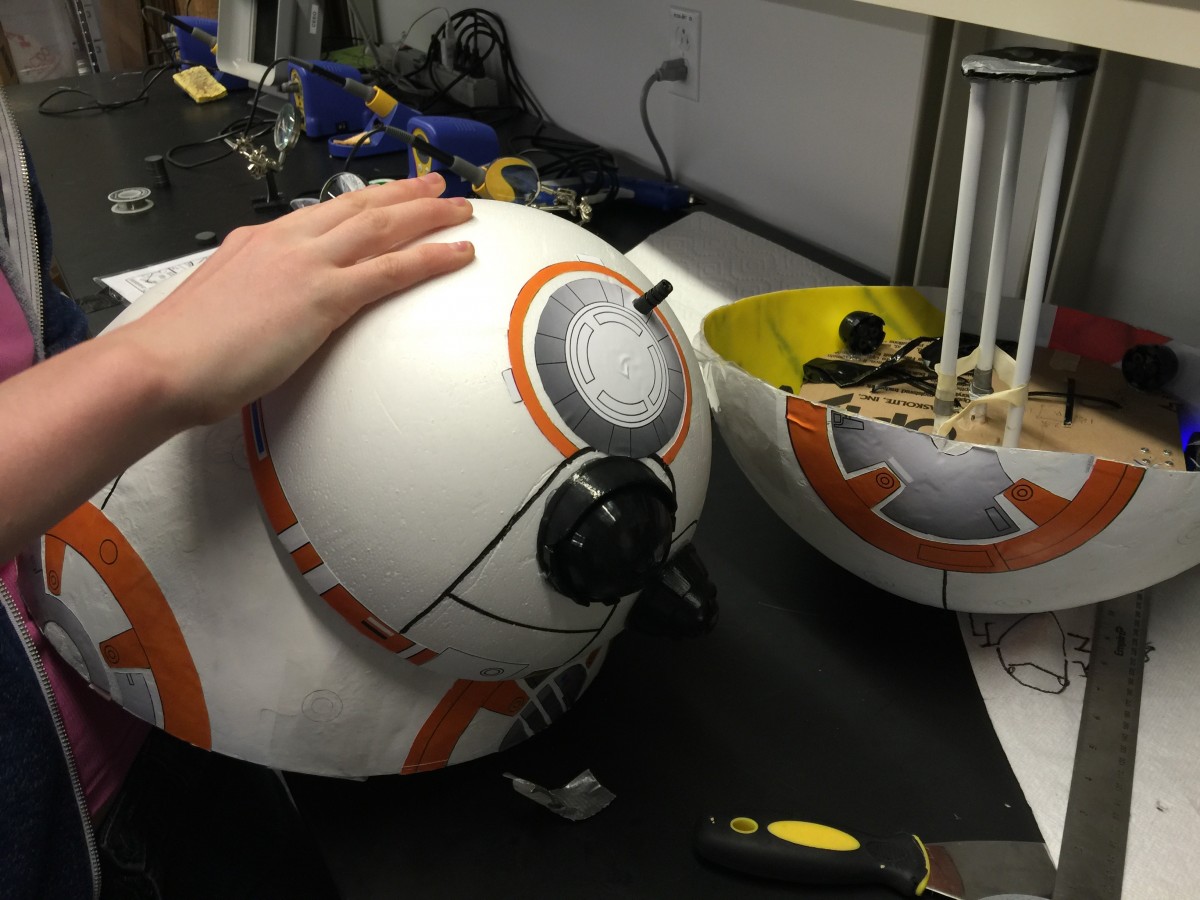
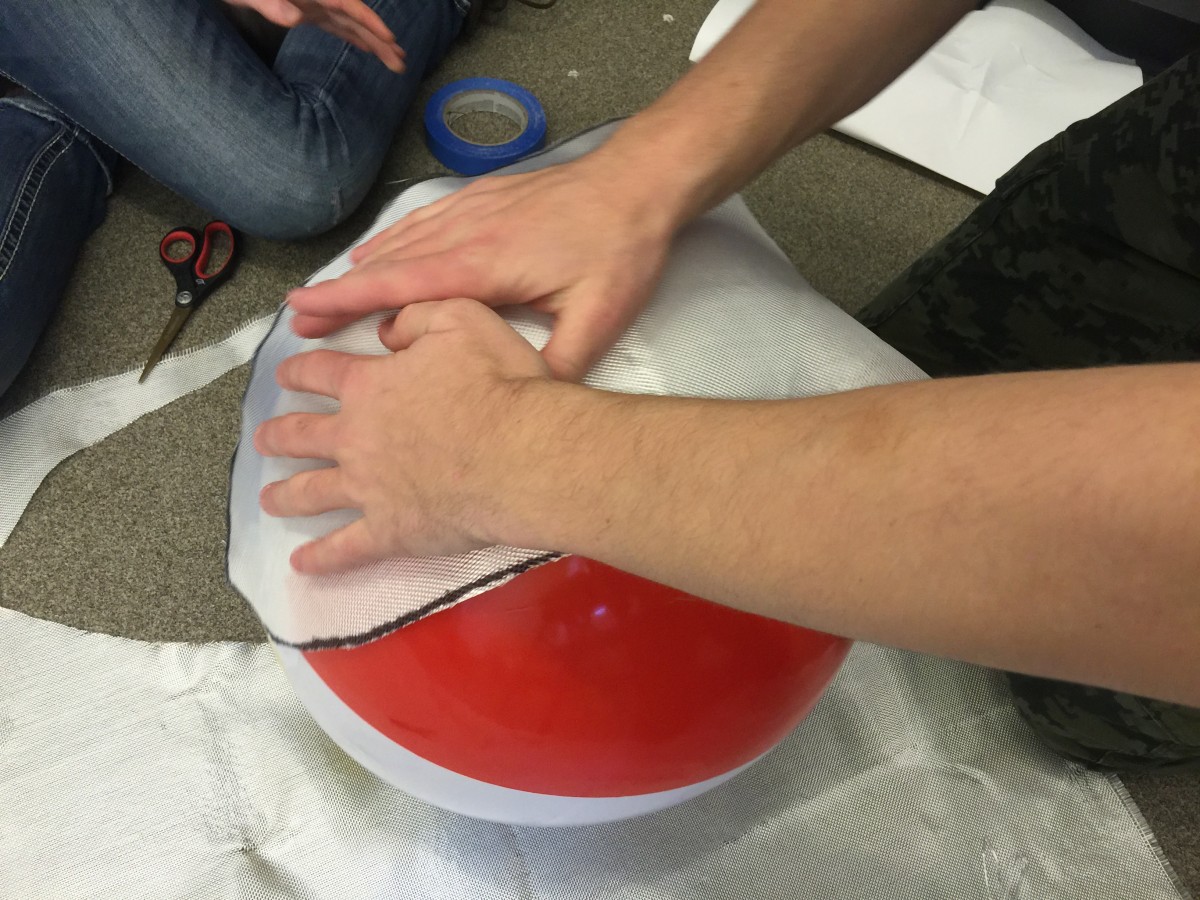
Once the ball was completely finished and sanded down, we brought it back to the lab and added a coat of wood putty to smooth out the surface even more. We also cut the entire ball in (roughly) half using a dremel tool.

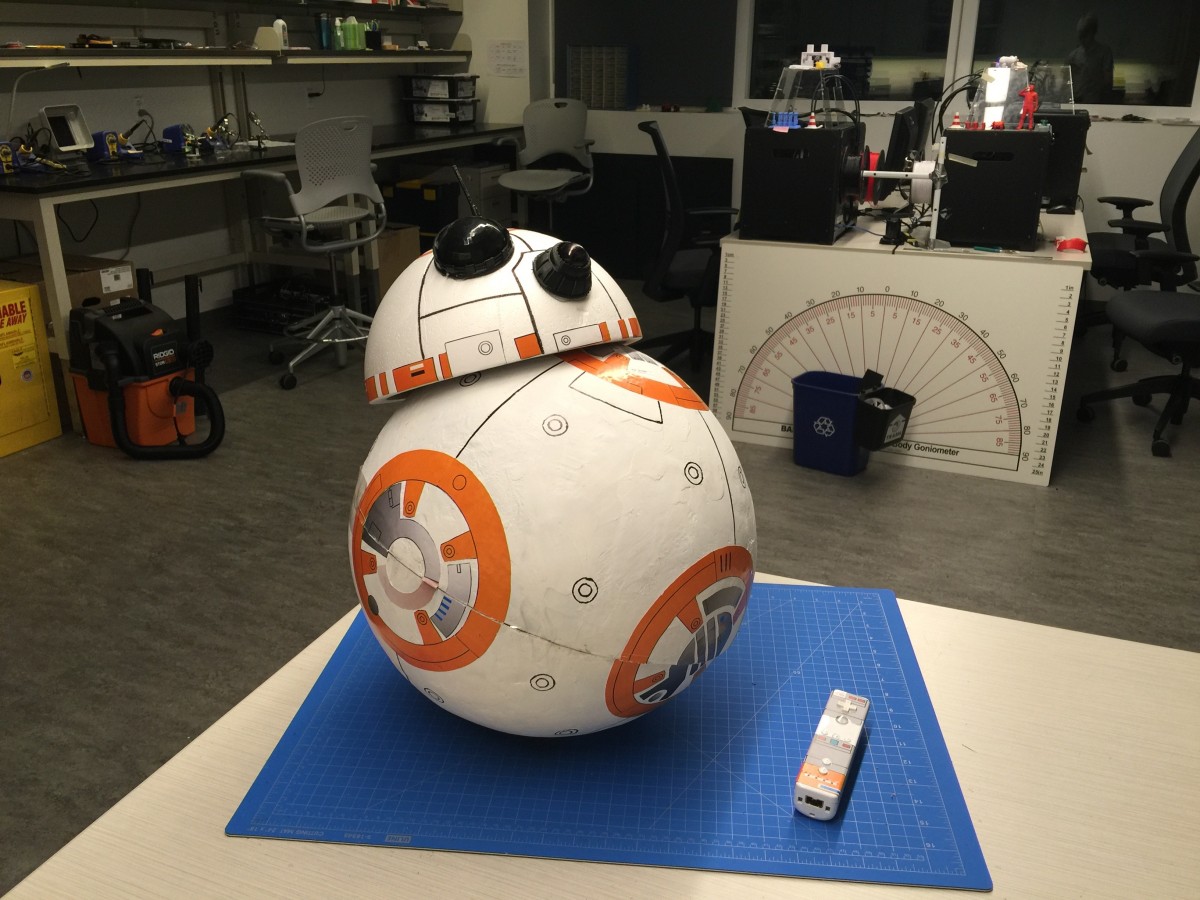
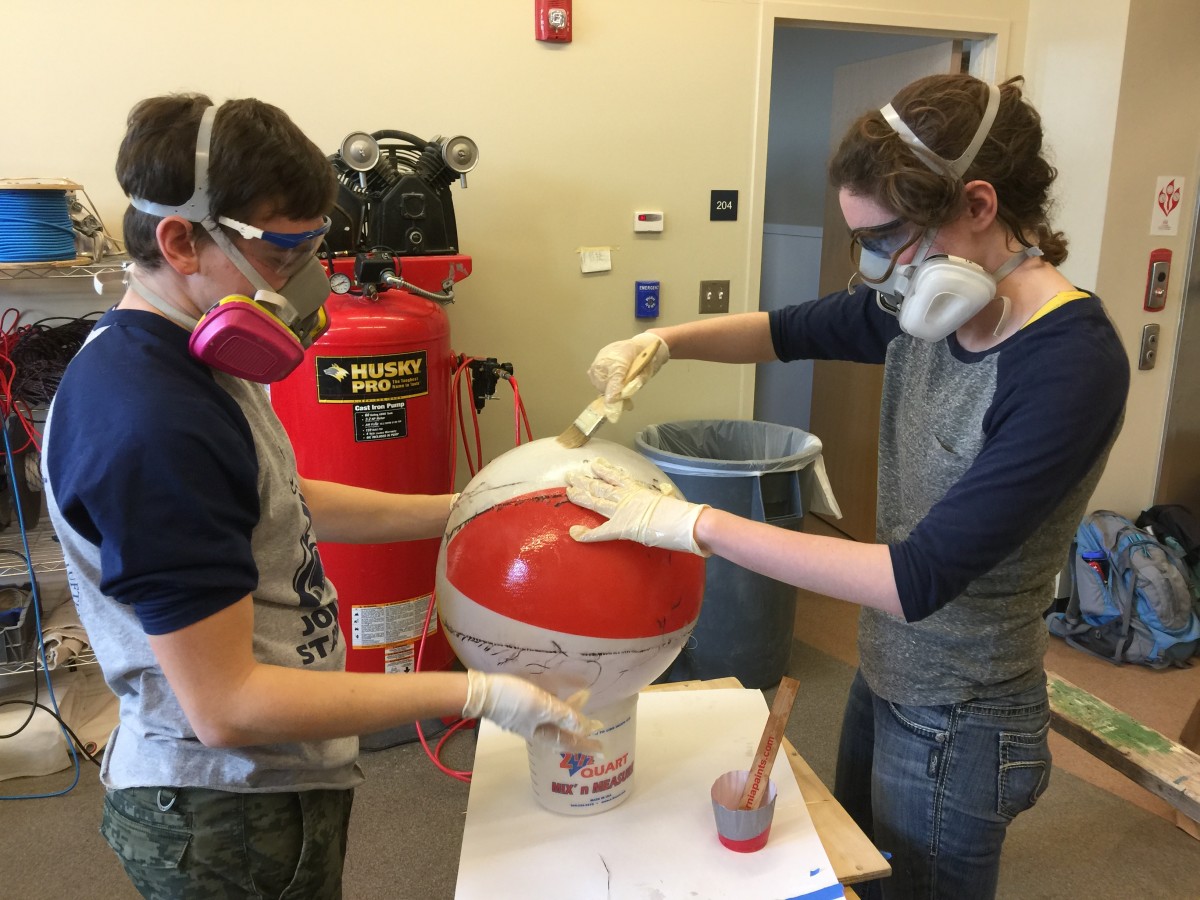
After quickly spray-painting the outside of the ball with white spray paint, the ball was finally finished.
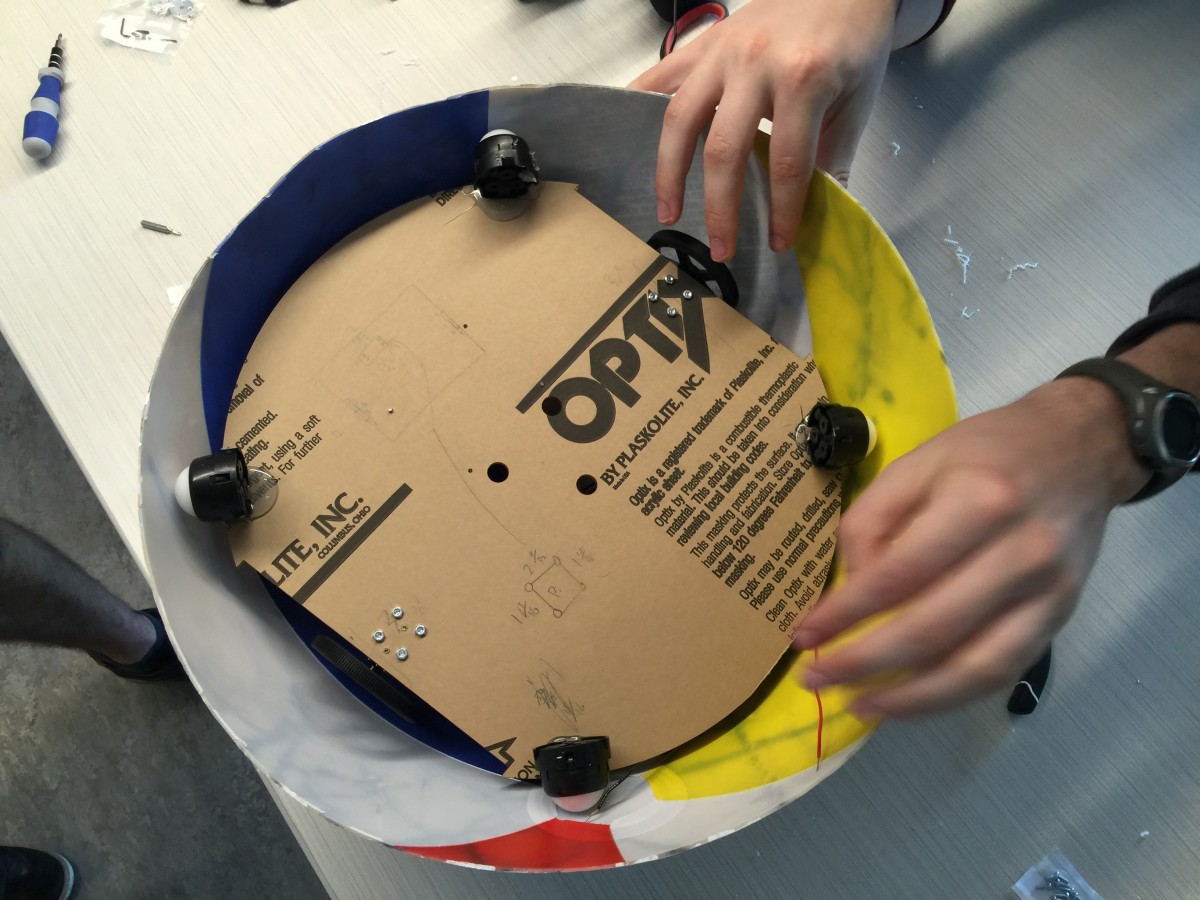
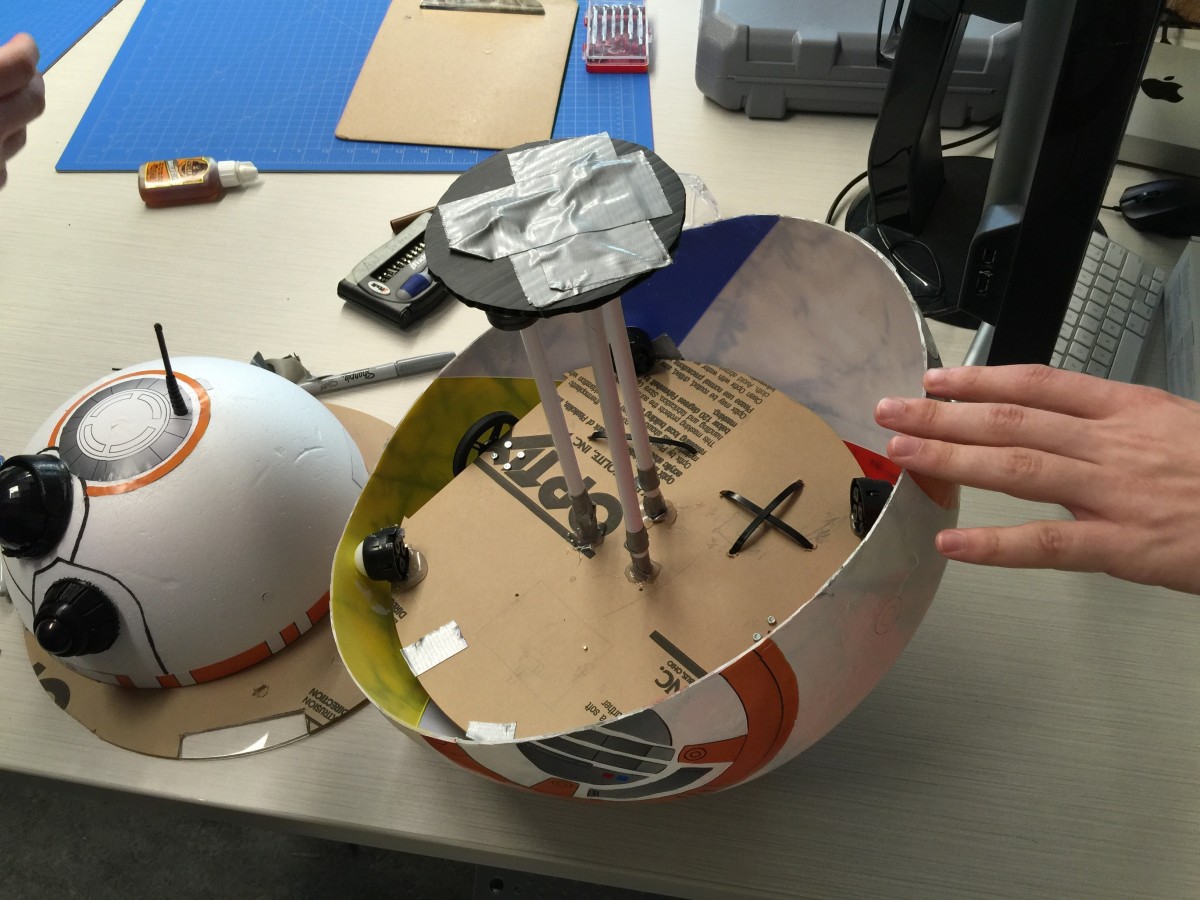
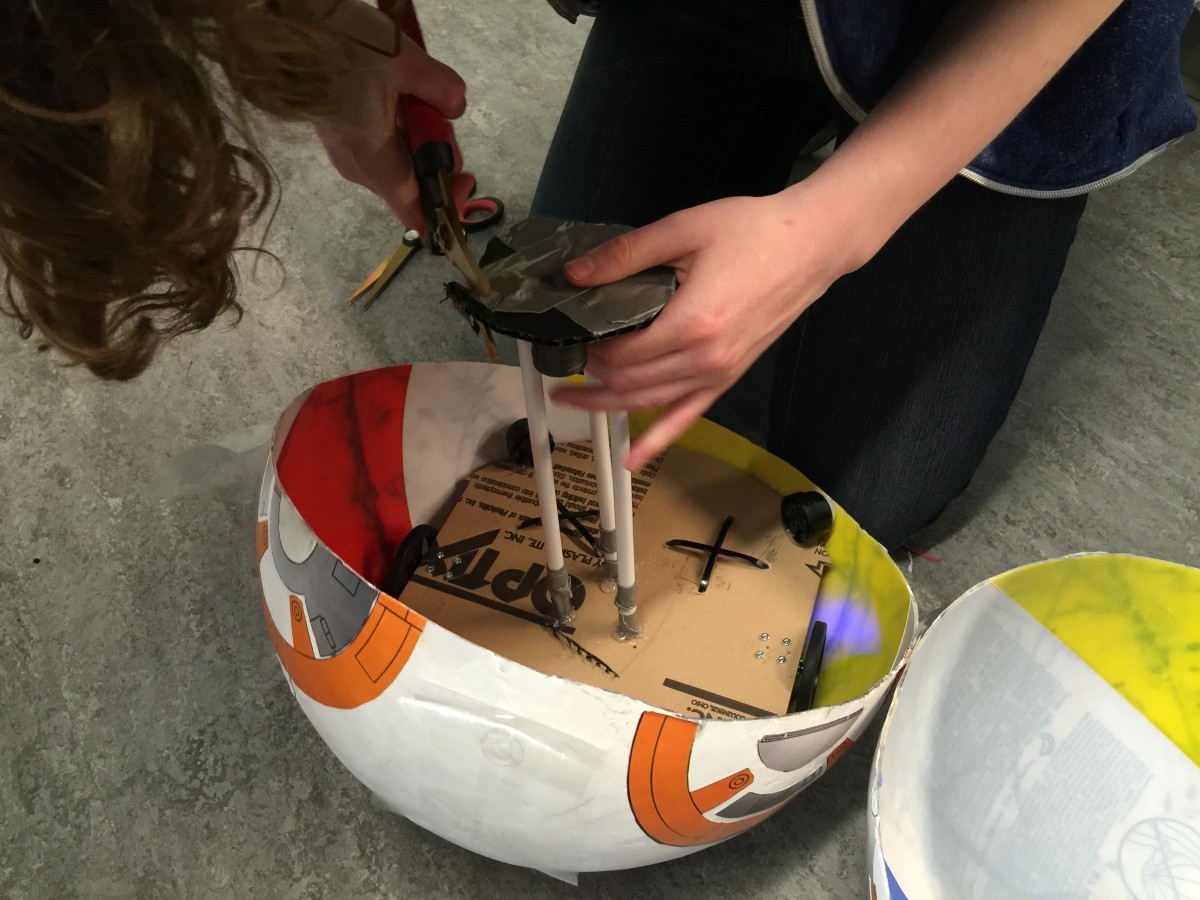
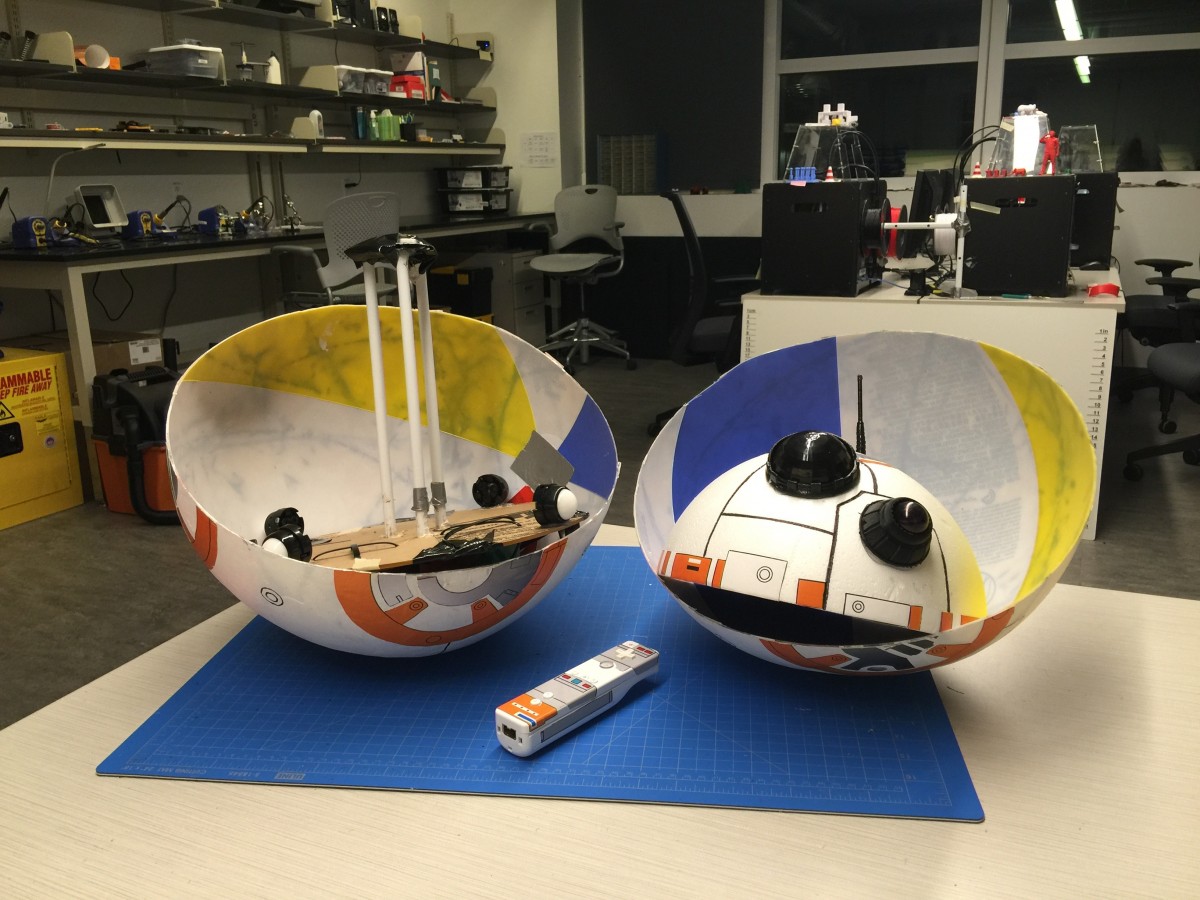
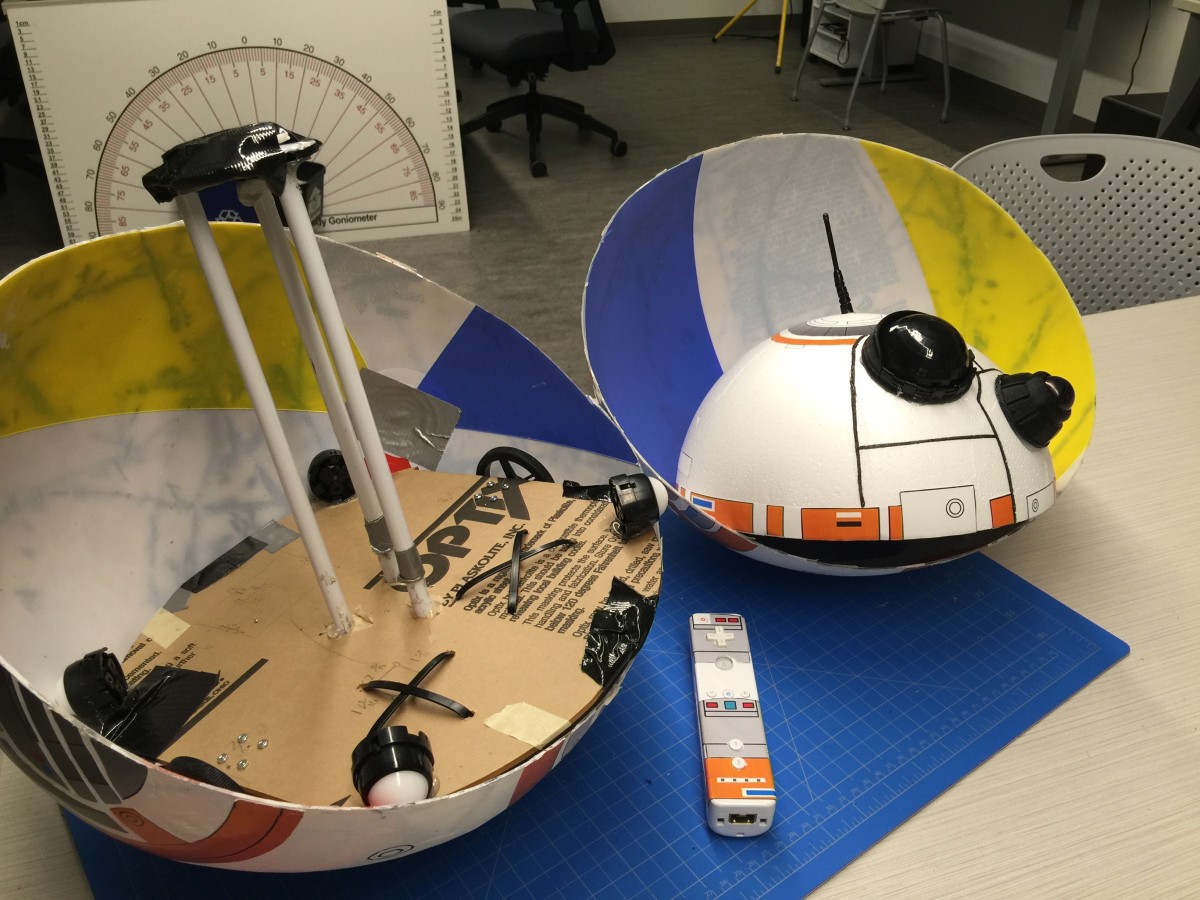
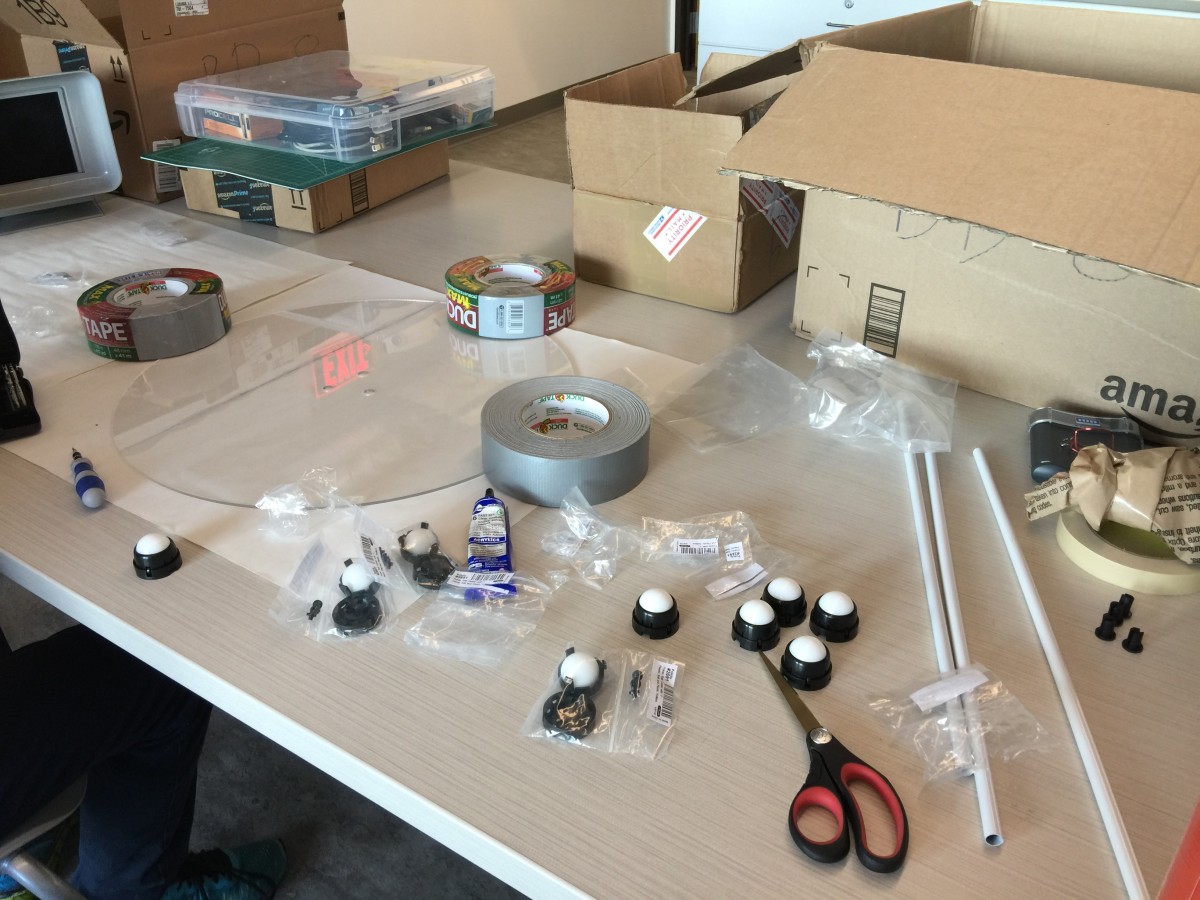
Building the platform
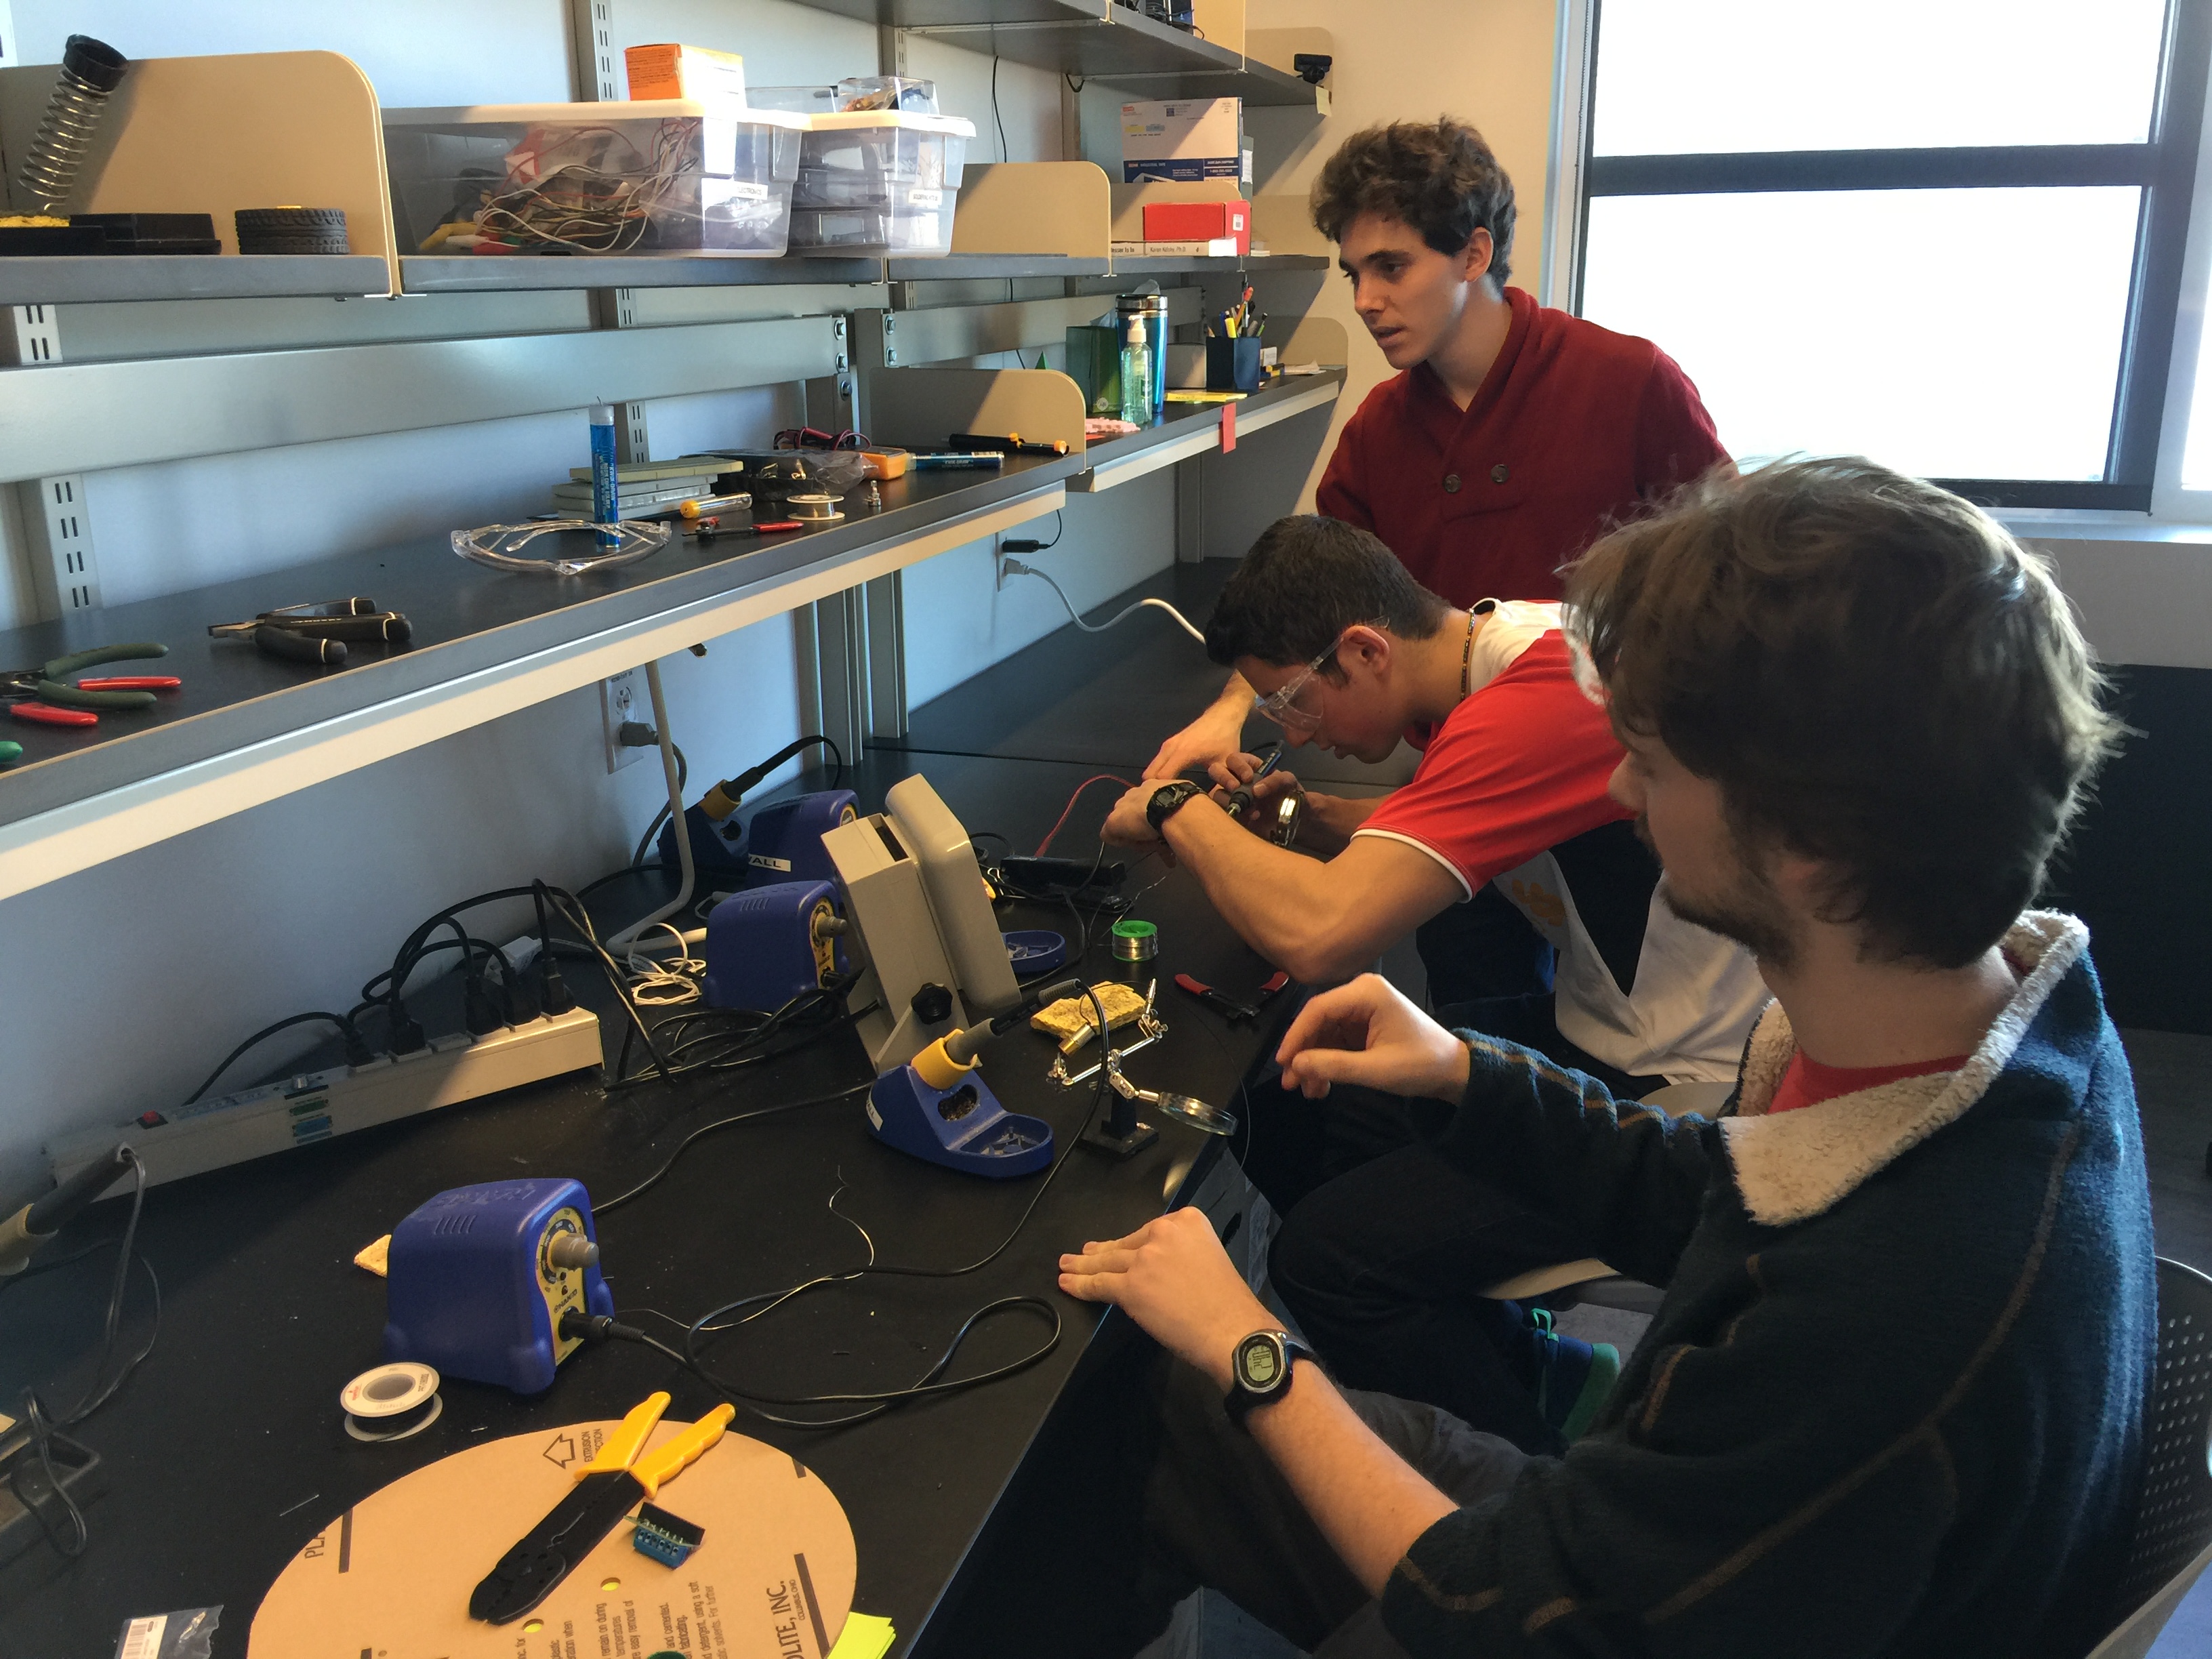
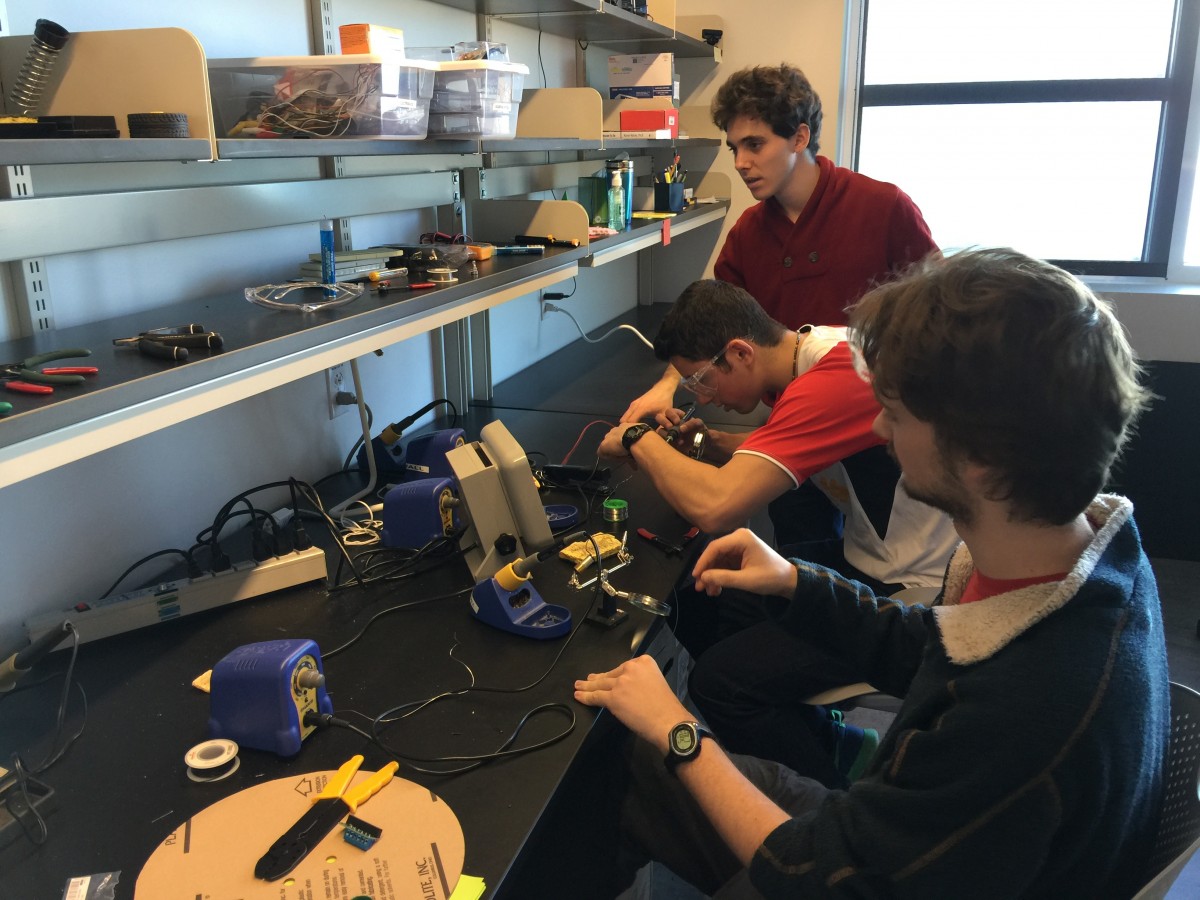
The next week was about 2 things: putting together the inner platform that would hold together the motors, ball casters, and head, and sanding/smoothing the fiberglass shell back at the boat house.
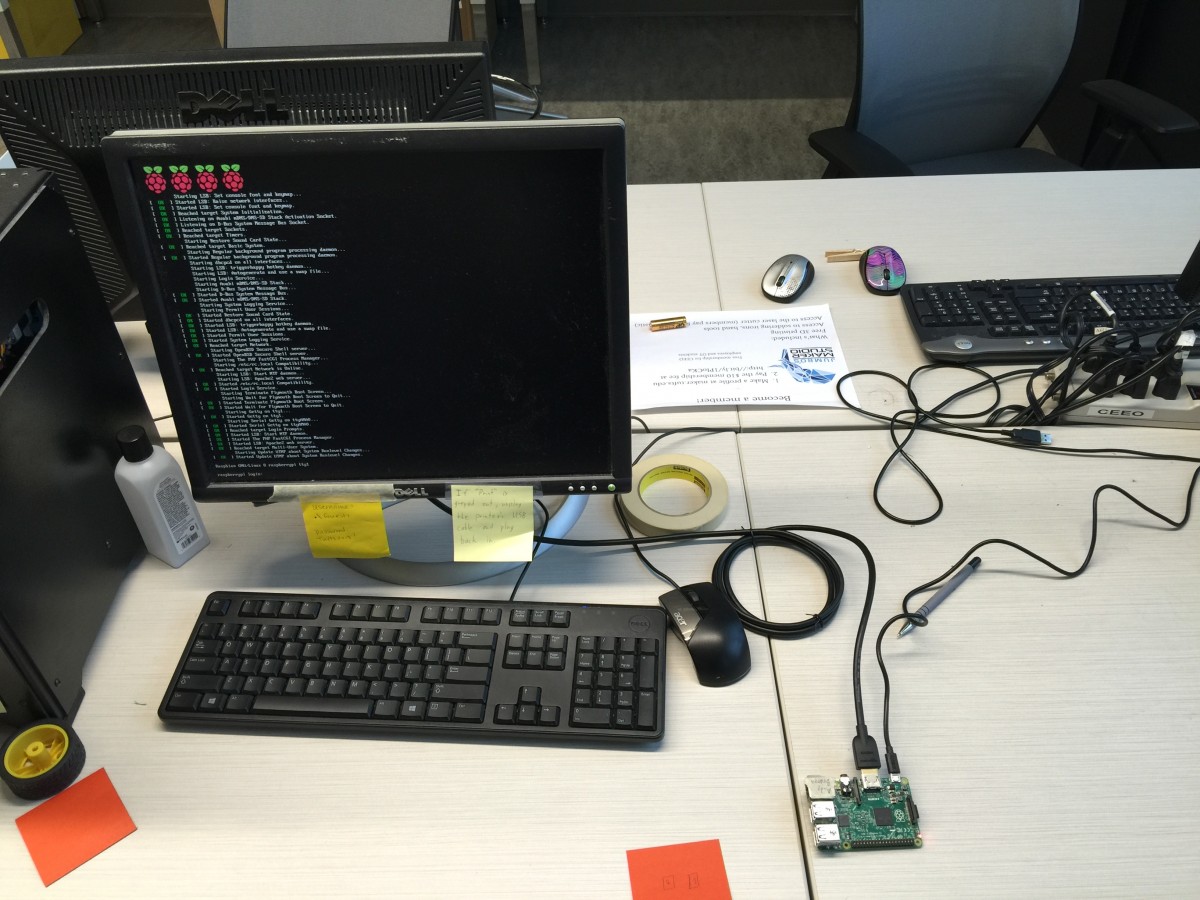
We started with the electronics.
- Raspberry Pi 3 Model B - $35.70
- 2x 115:1 Metal Gearmotor 15.5Dx30L mm - $35.90
- Pololu 15.5D mm Metal Gearmotor Bracket Pair - $4.95
- Pololu DRV8835 dual motor driver kit - $7.49
- Pololu S7V7F5 5V Voltage Regulator - $4.95
- Wii remote - $29.92
First we soldered together the motor driver and attached it to the GPIO pins of the Raspberry Pi 3. We didn't own the 5V voltage regulator yet, but soldering that onto the motor driver is also required in order to power the Pi itself off of a battery.
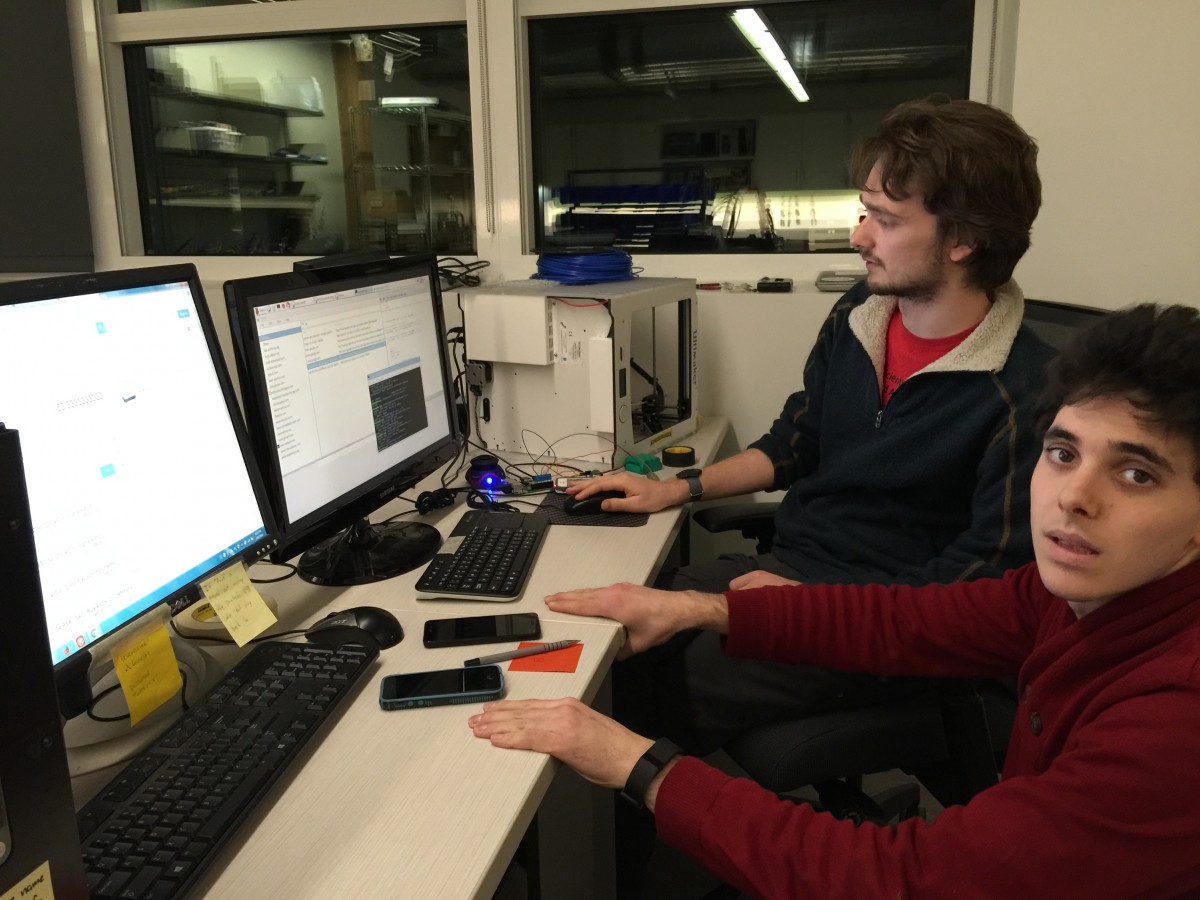
One group attached our two motors to the motor driver and plugged the Pi into a monitor so that we could start figuring out how to pair it to the Wii remote and control the motors.

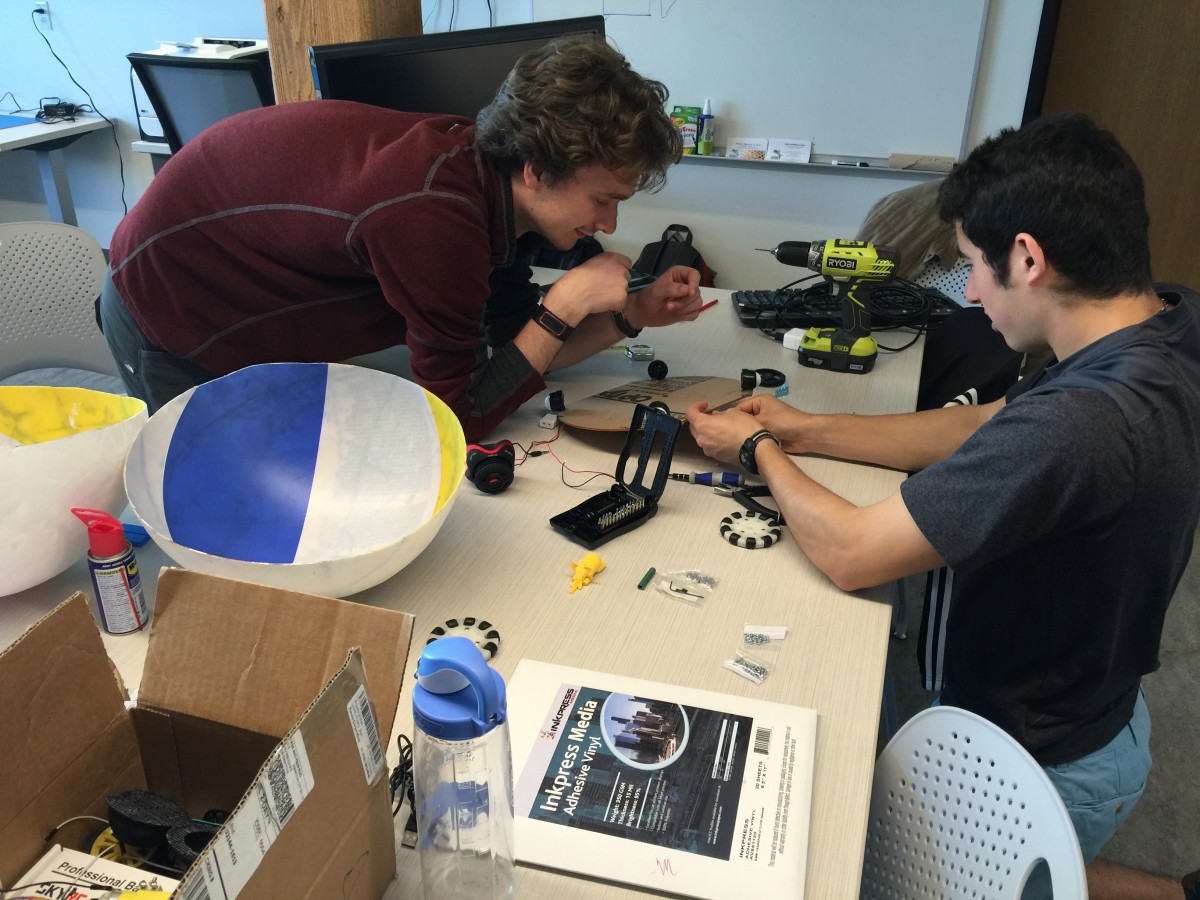
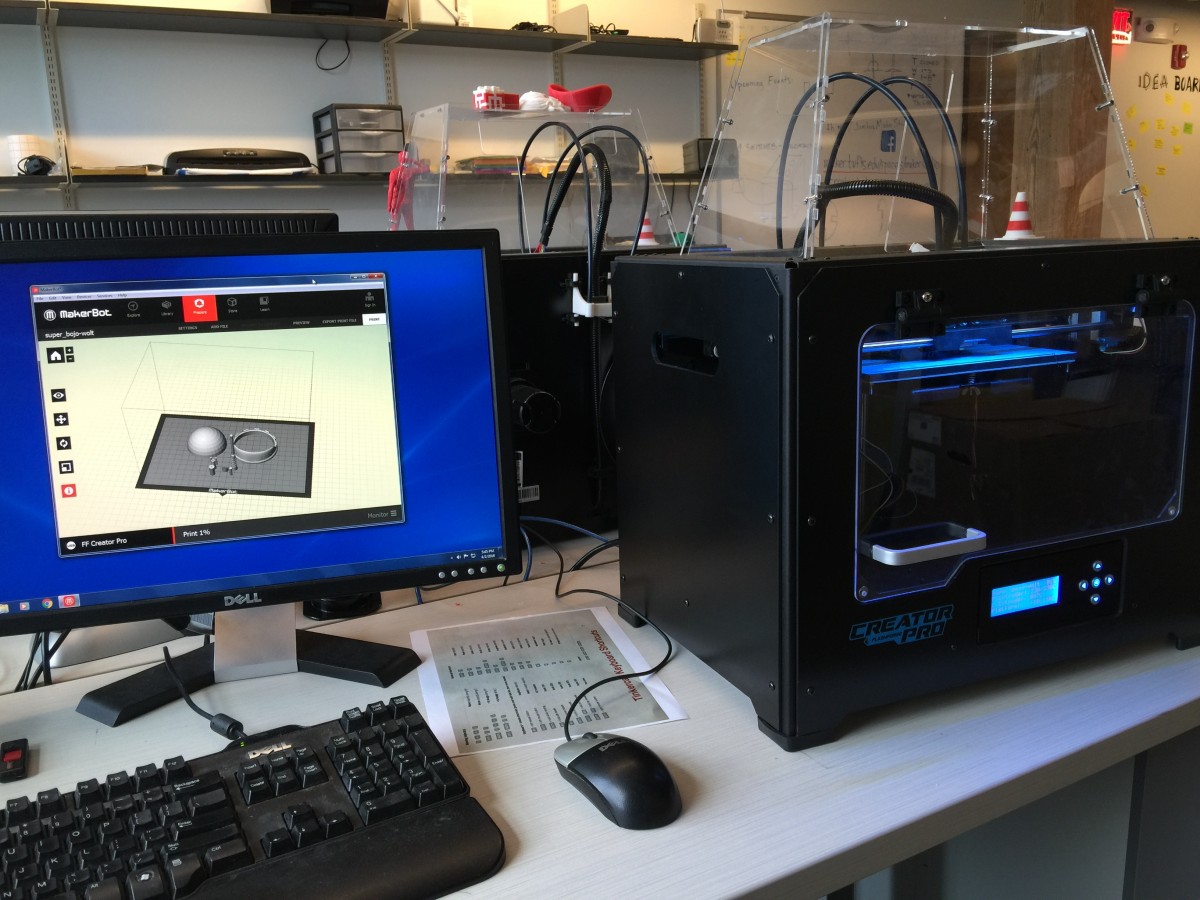
Assembling the components
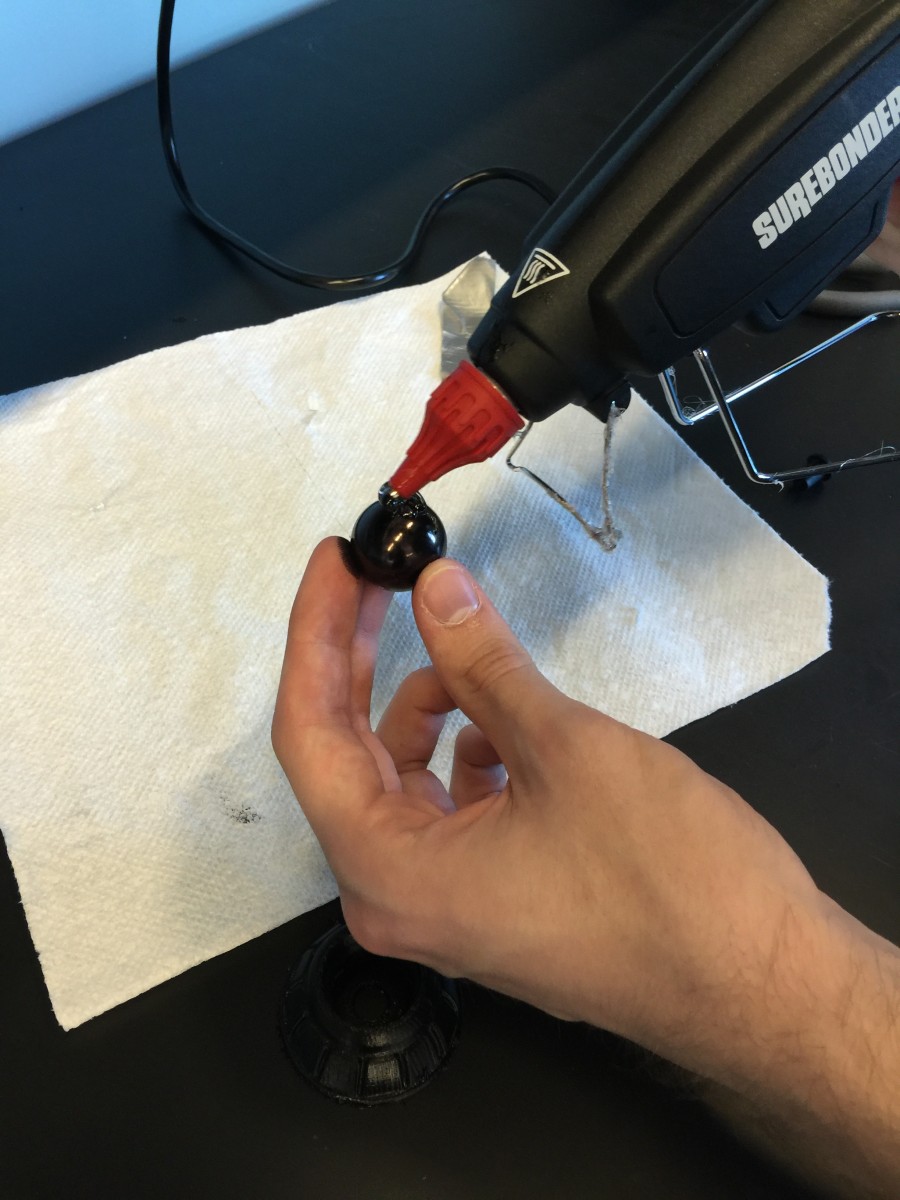
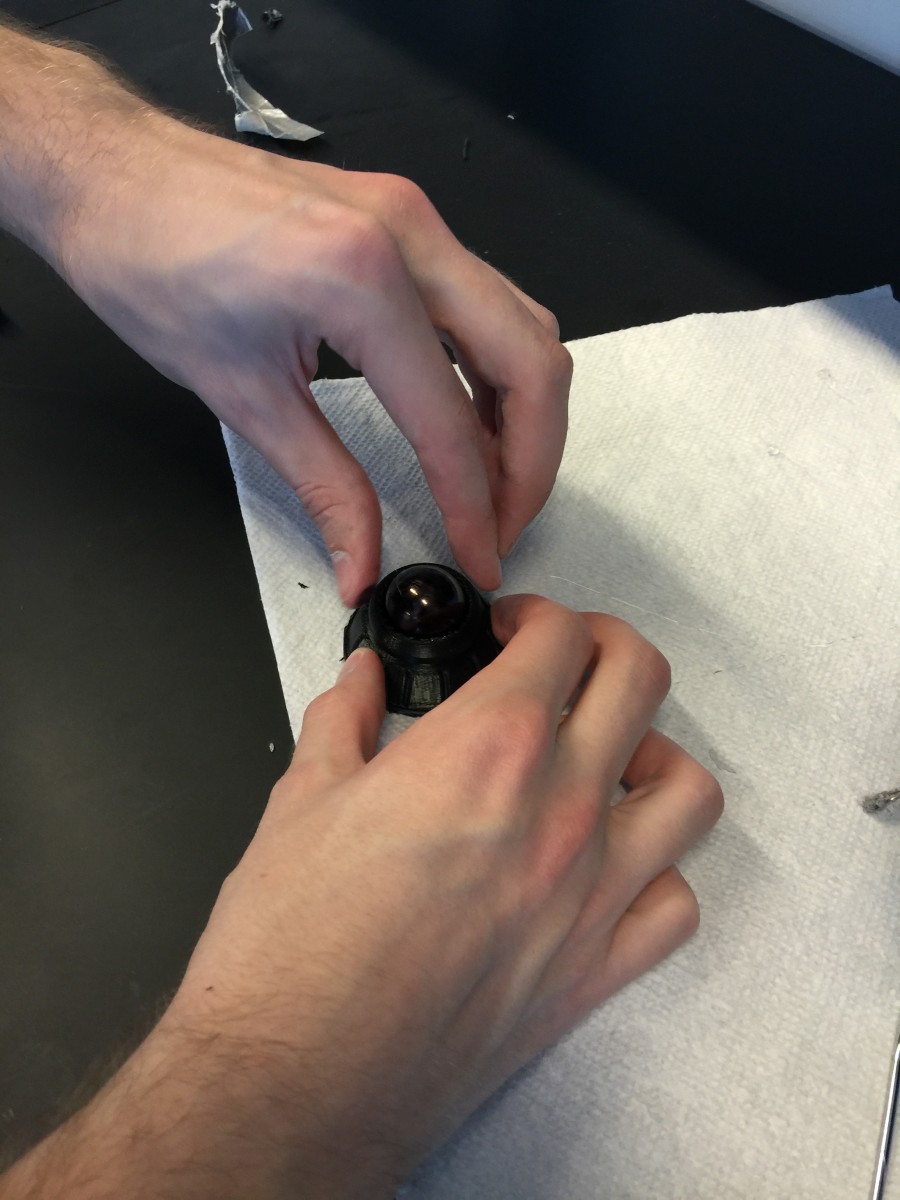
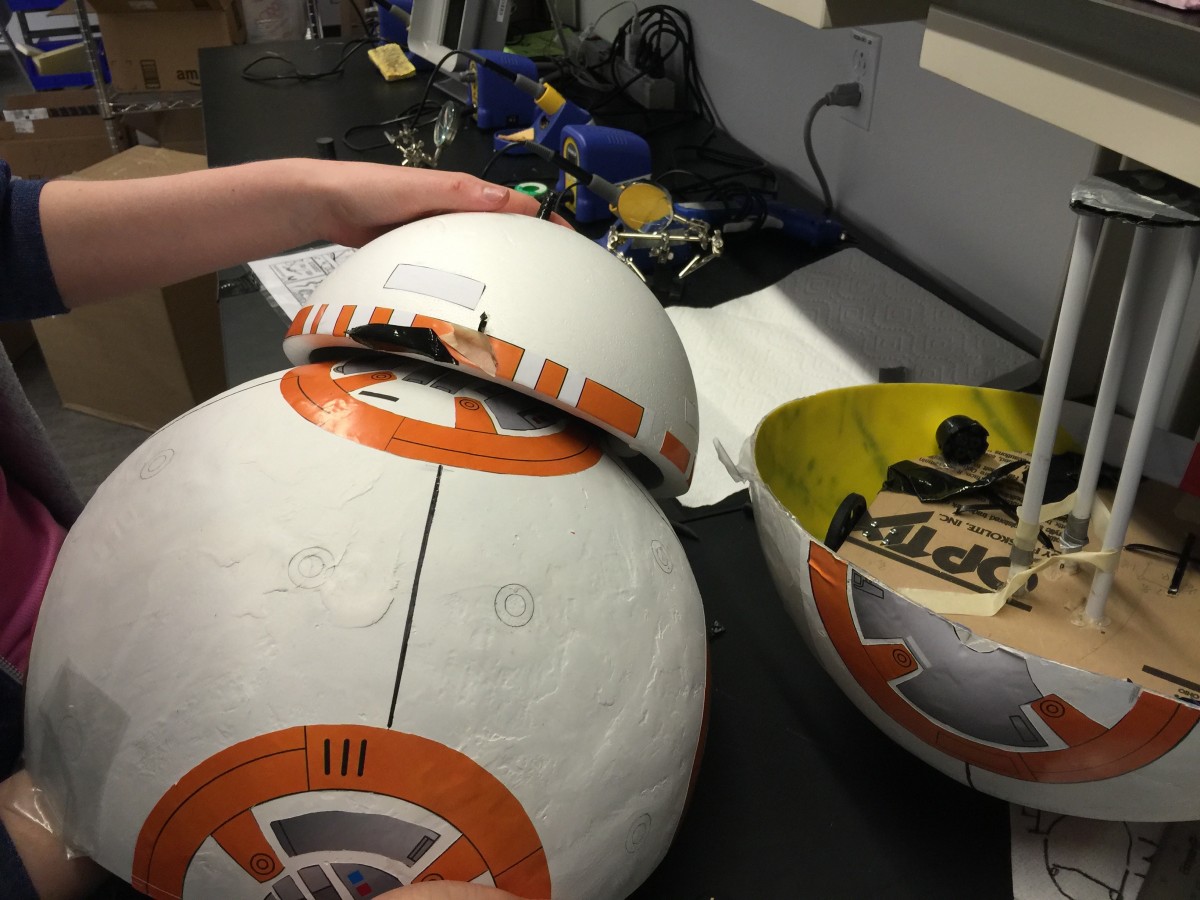
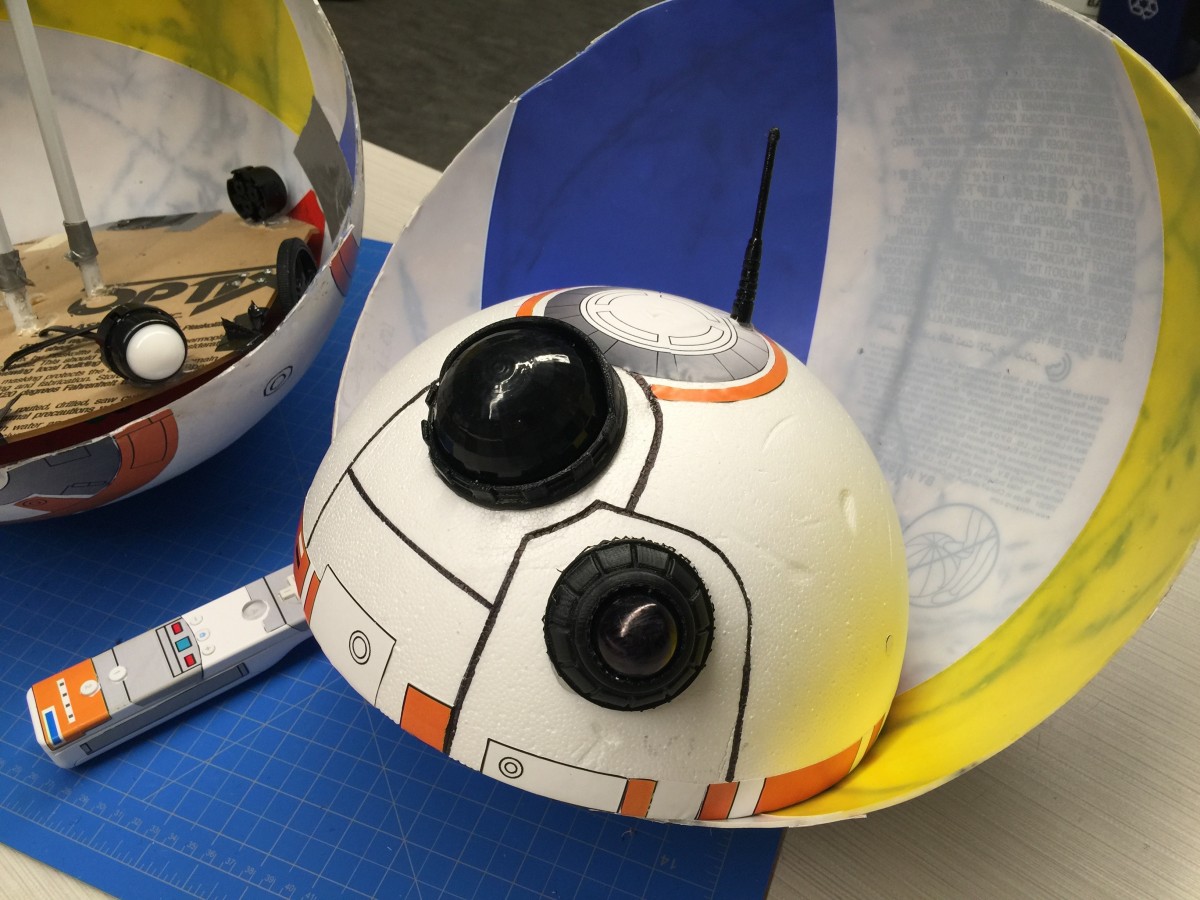
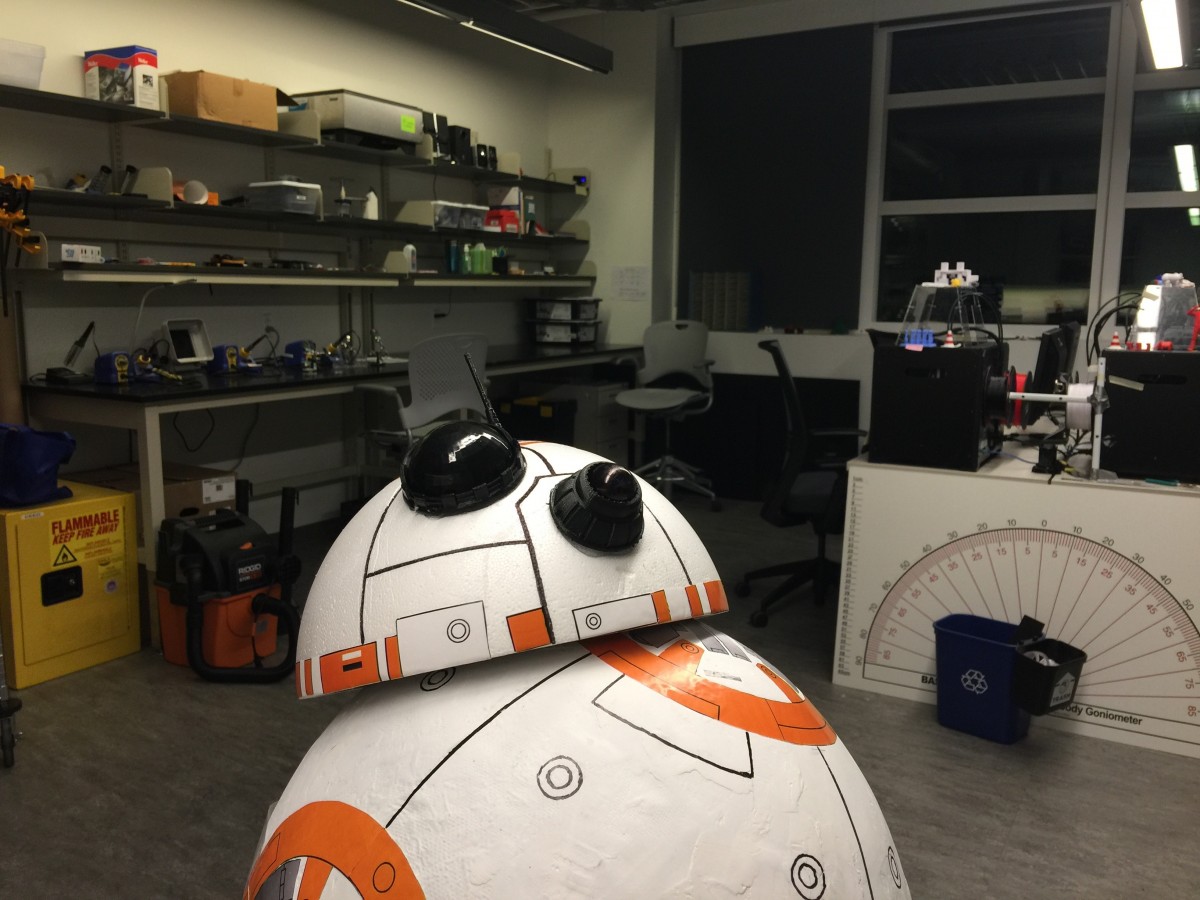
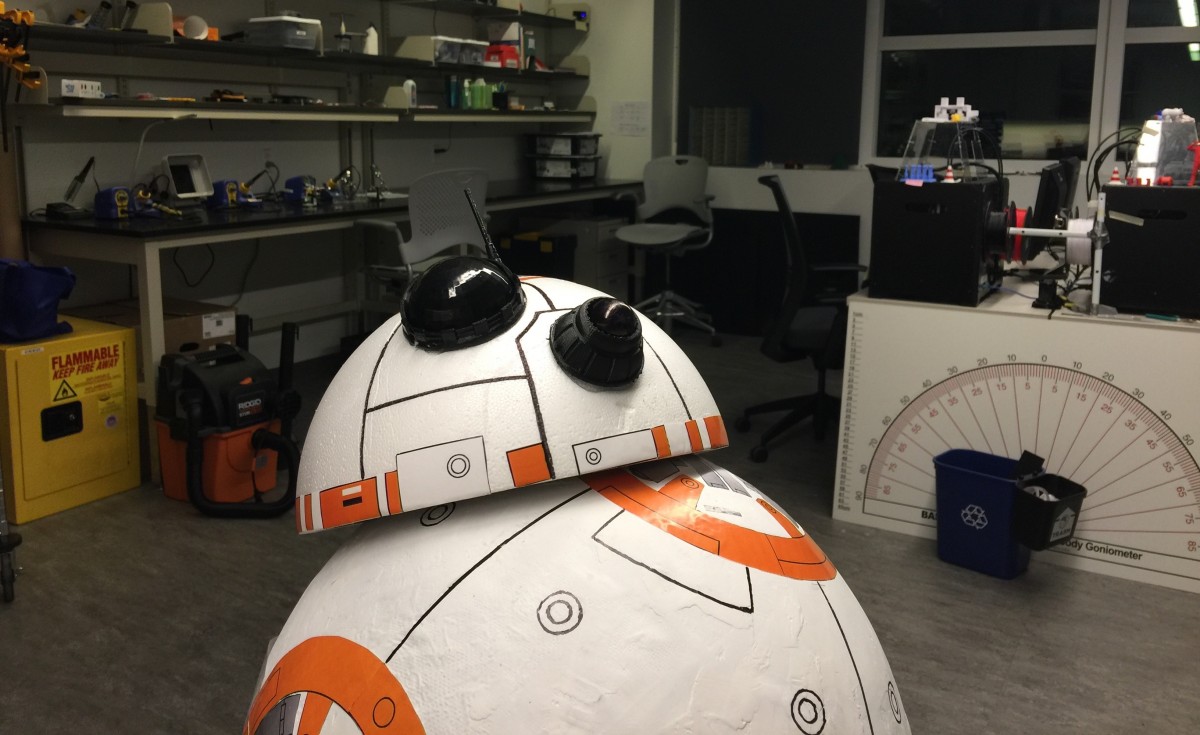
And the following week, we cut the ball open and 3D printed the components for its face.
3D printing the head parts:
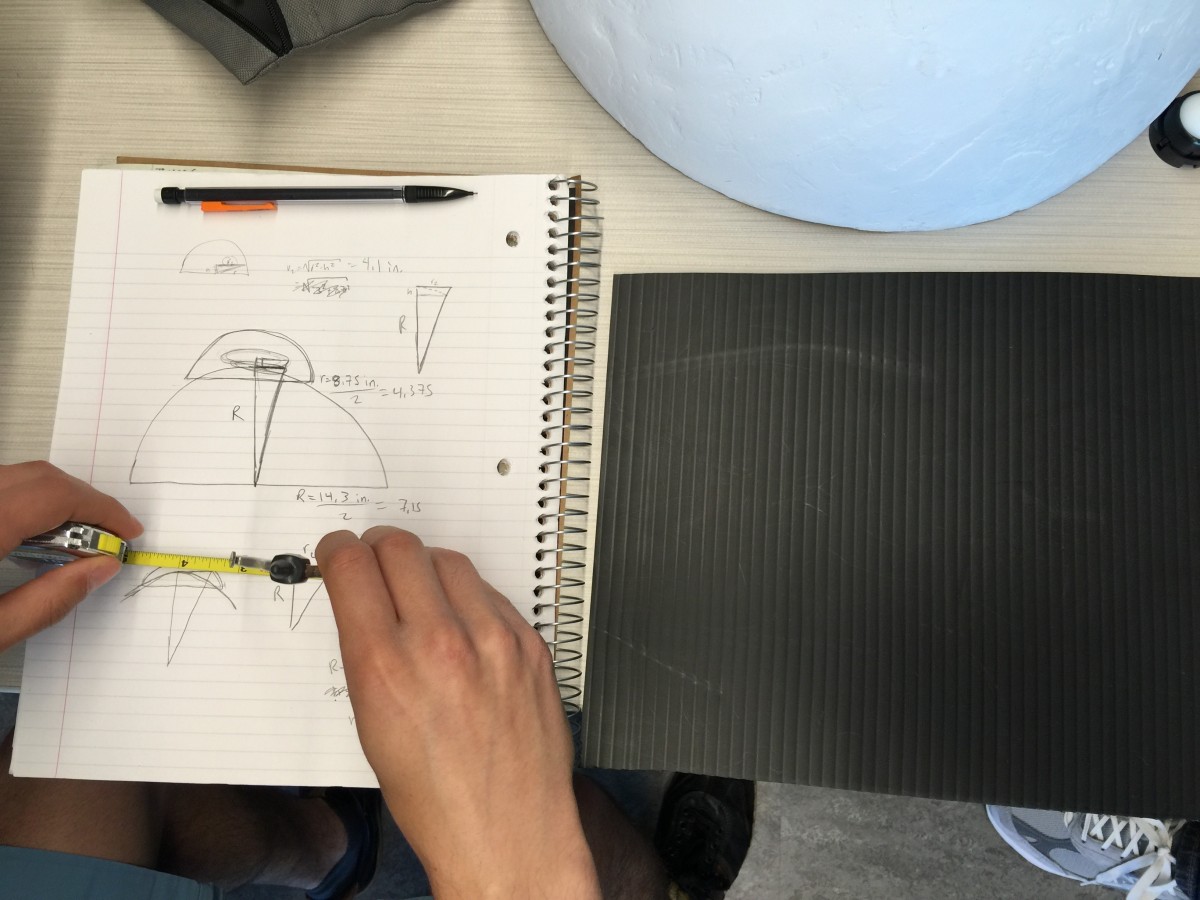
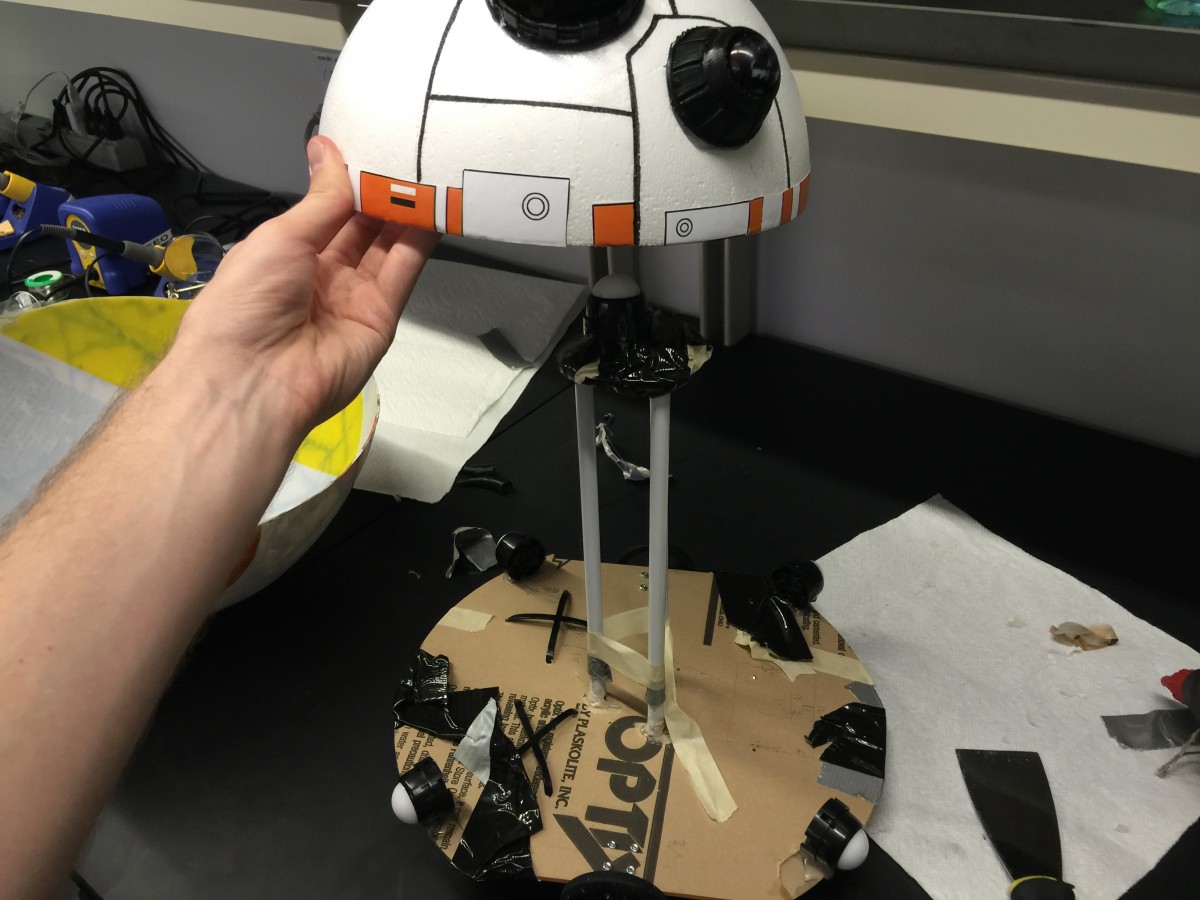
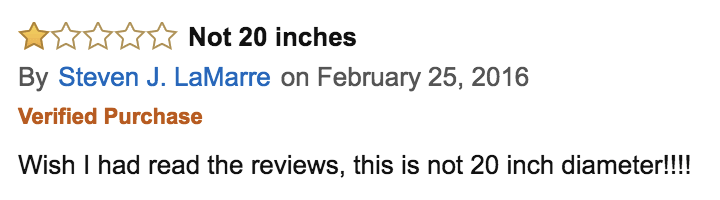
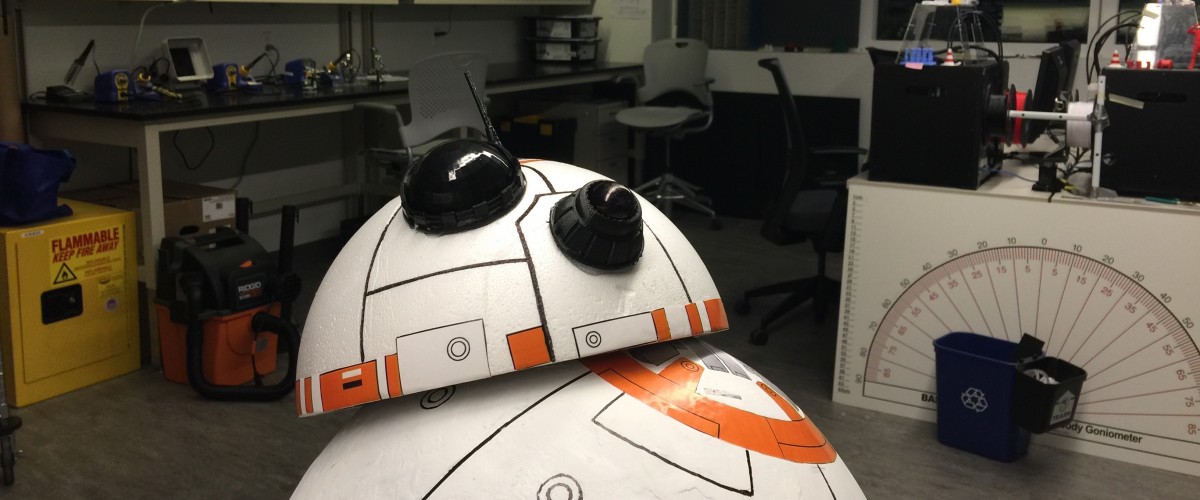
Not measuring twice
When the 12" foam head for BB-8 came in, something looked a little off: the head looked enormous compared to the rest of its body.
We double-checked the Amazon listing for the beach ball we ordered, and it was definitely advertised as being 20" in diameter.
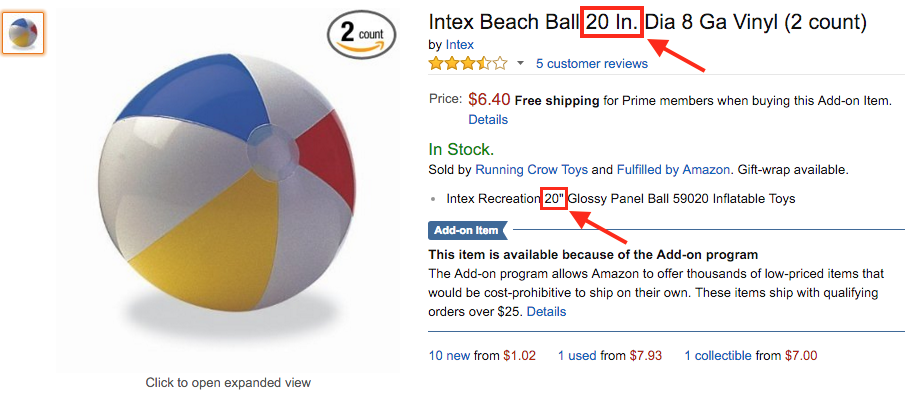
But sure enough, if we had looked down at the reviews, we would've seen this:

Welp, the old adage, "measure twice, apply fiberglass resin once," apparently still holds true. Our fiberglass-coated beach ball was only 15"-or-so in diameter instead of 20". We quickly ordered a 10" foam head instead, and although the droid's head is still a little on the large size, calling it a "Baby BB-8" instead solved that issue. It's just not done growing yet.

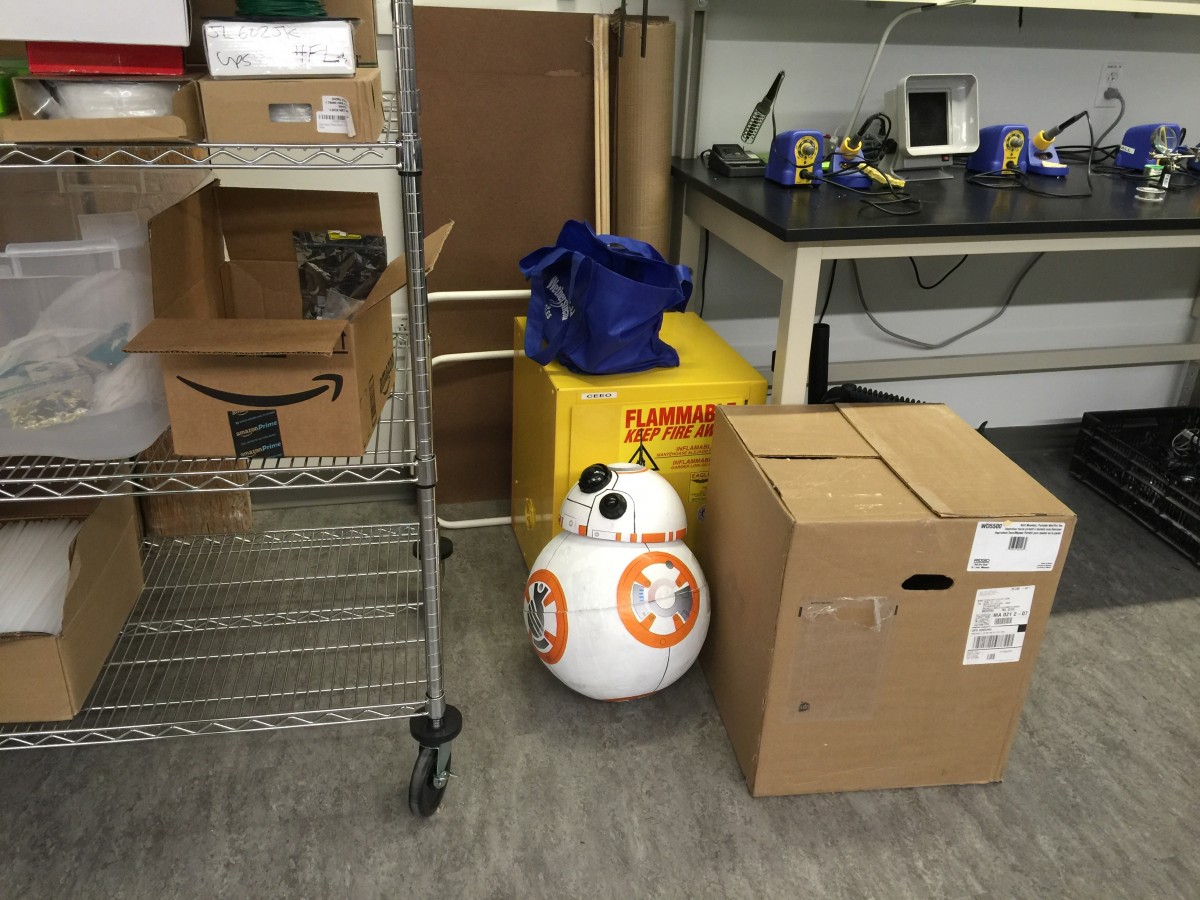
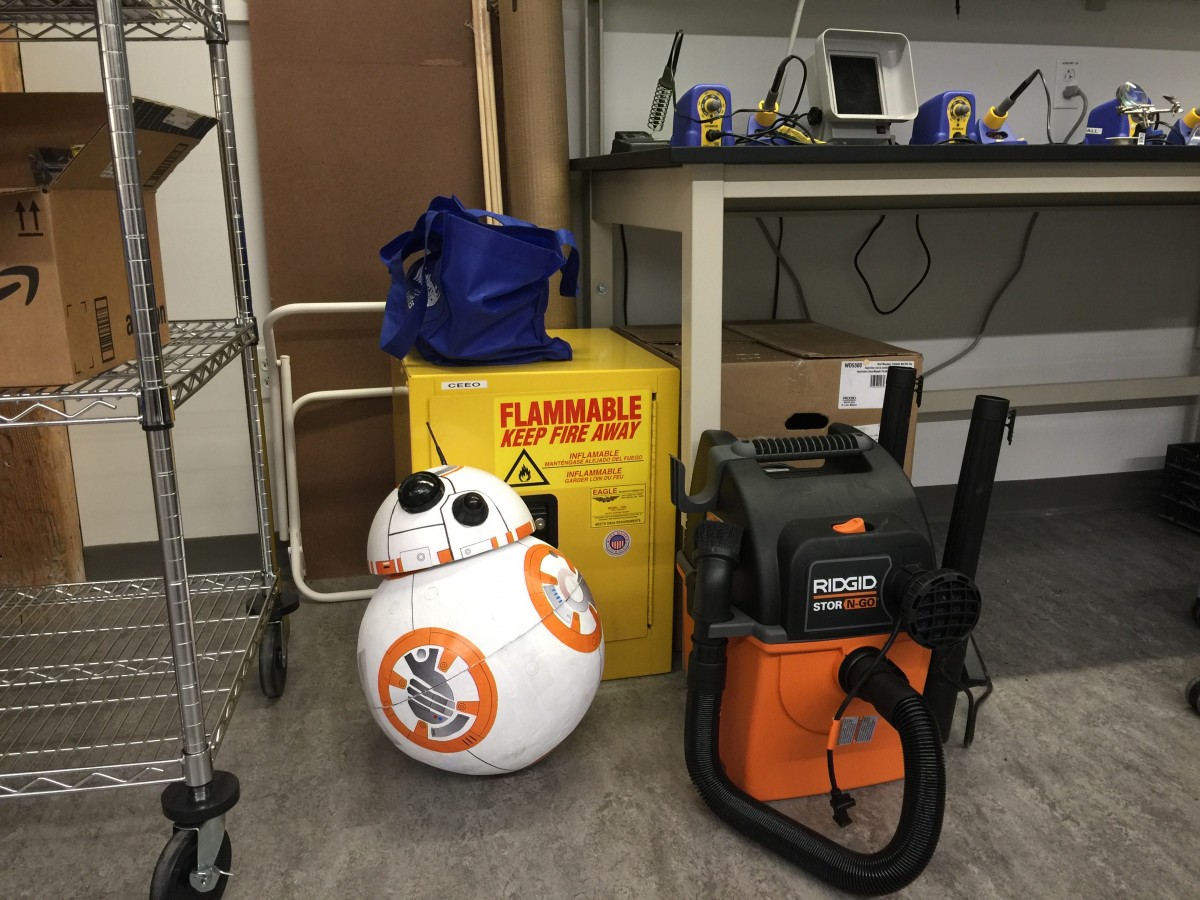
Decorating BB-8
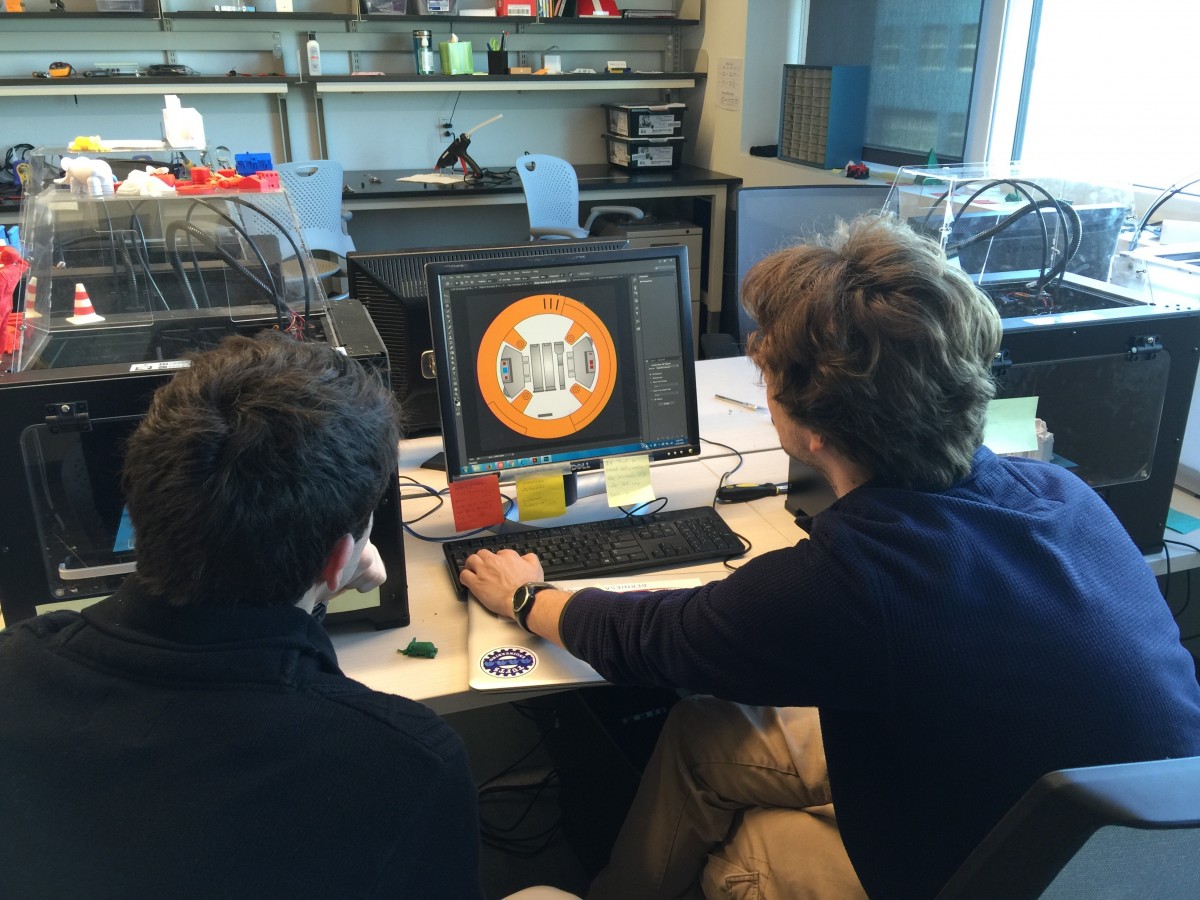
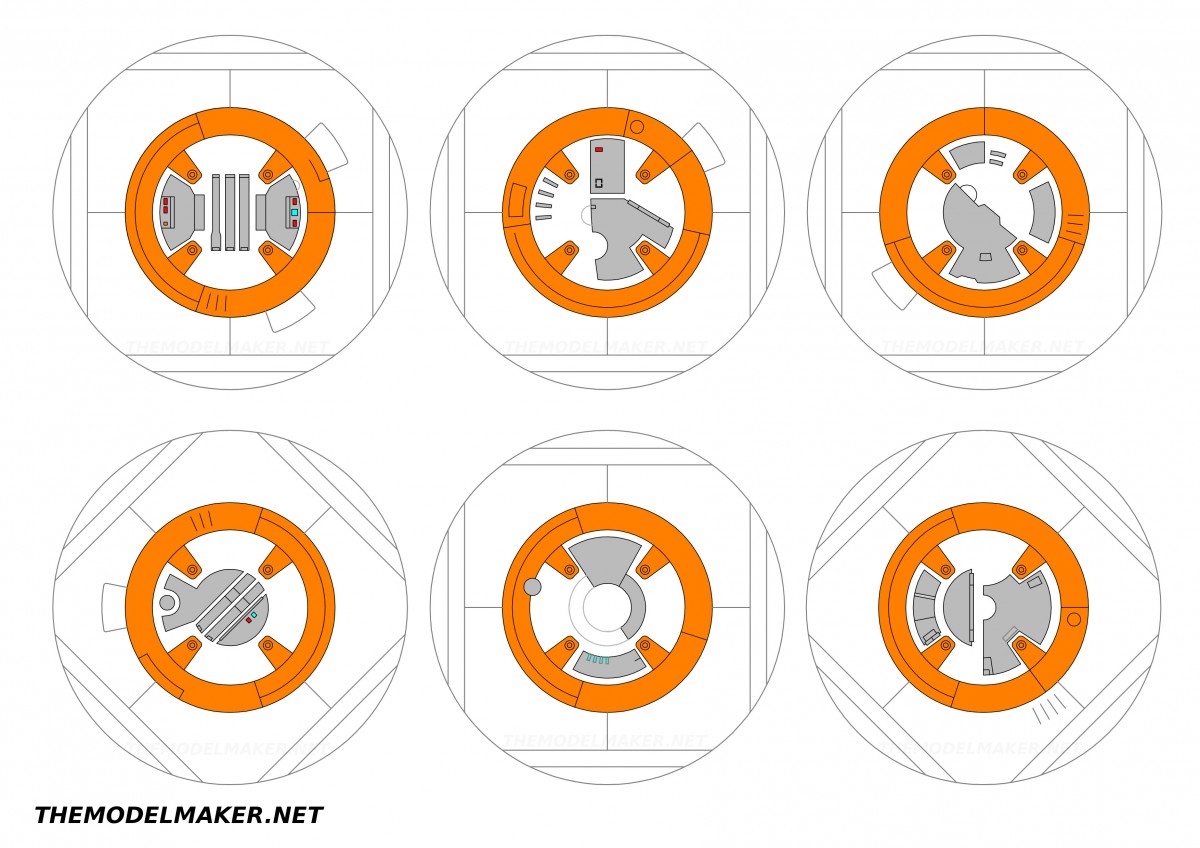
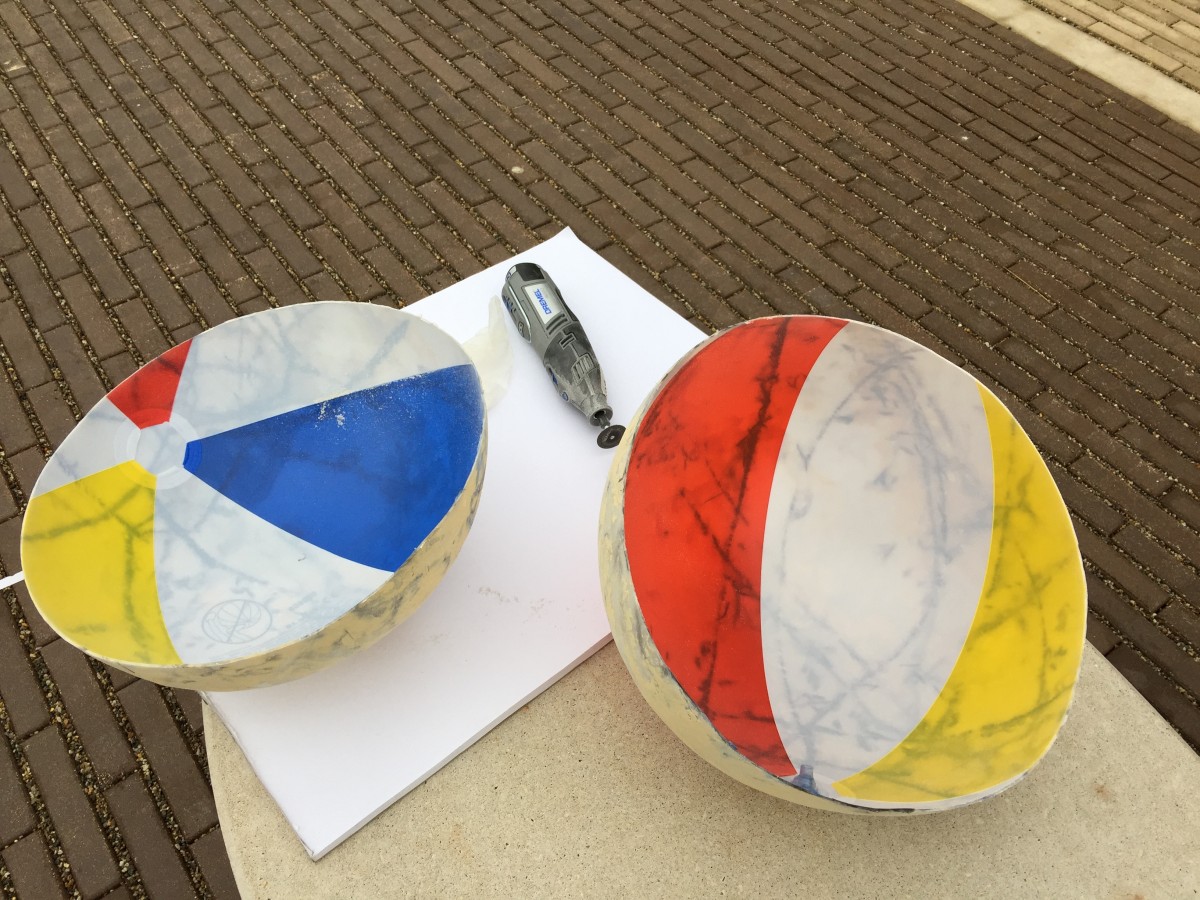
Michal Miszta of The Model Maker created a nice template image of BB-8's body based on images he found online. We used his image and created a vector-based image in Sketch for Mac so that we could use a vinyl cutter to create perfectly-sized stickers for the body.
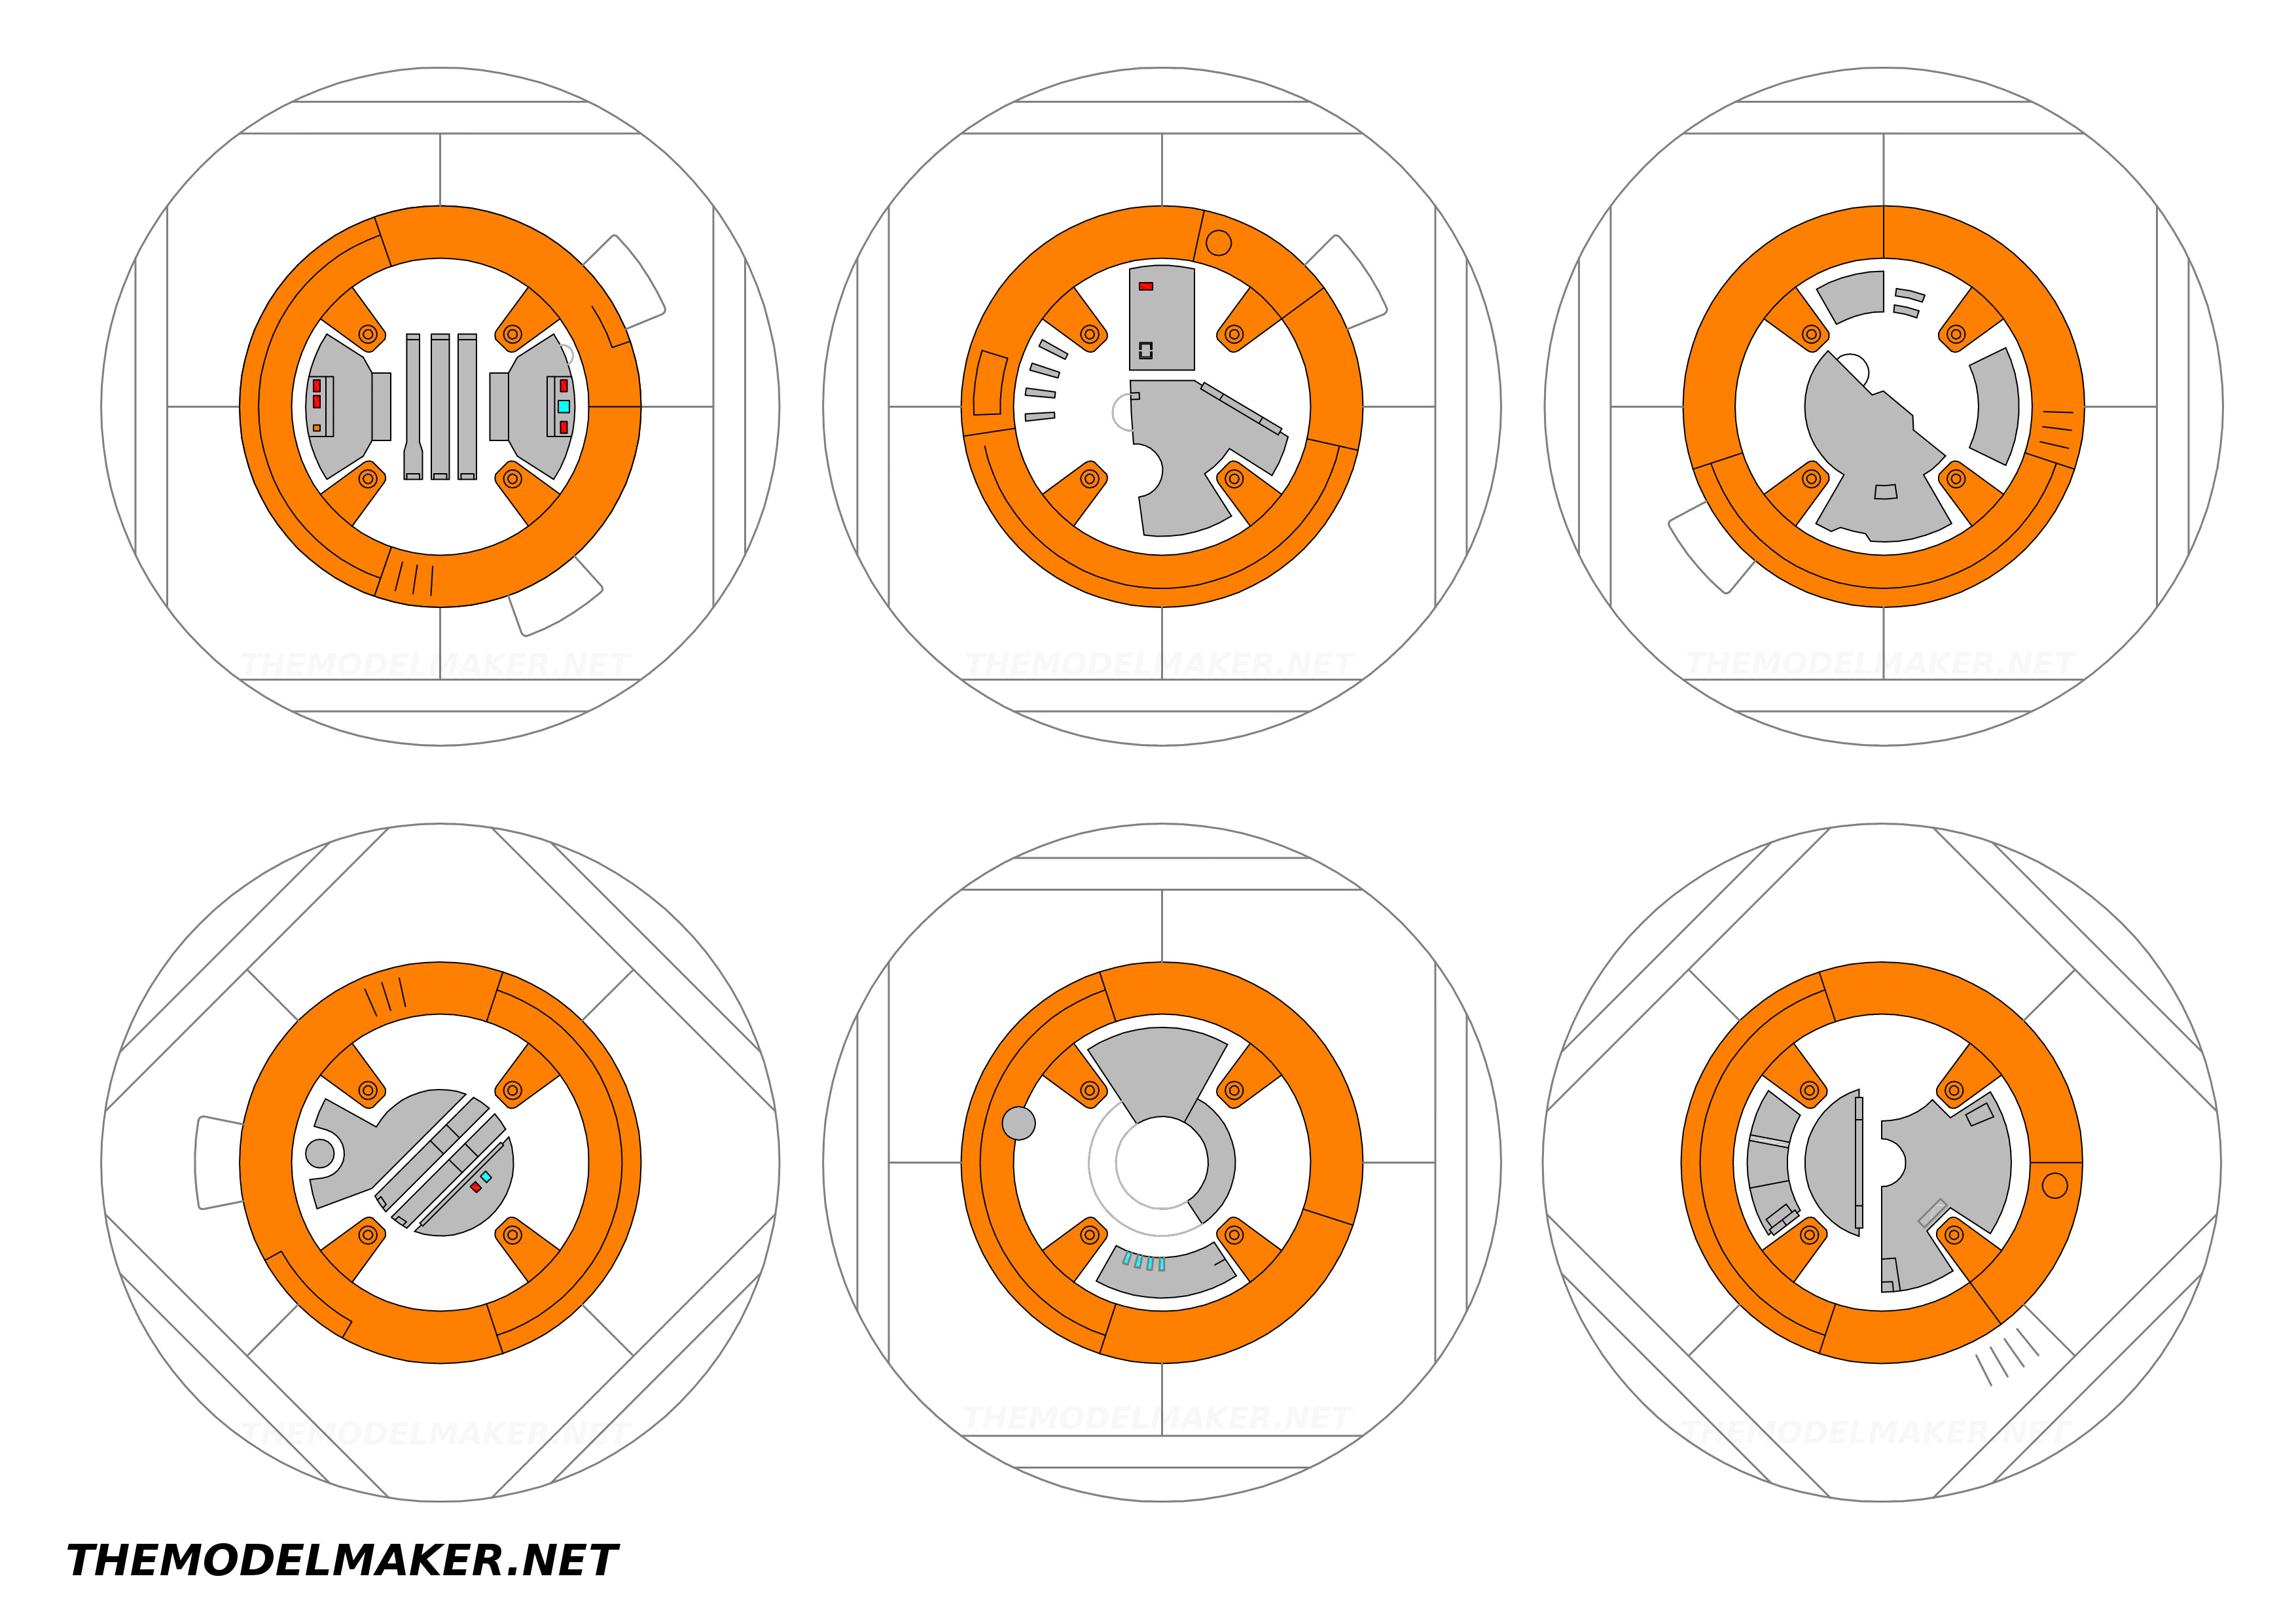
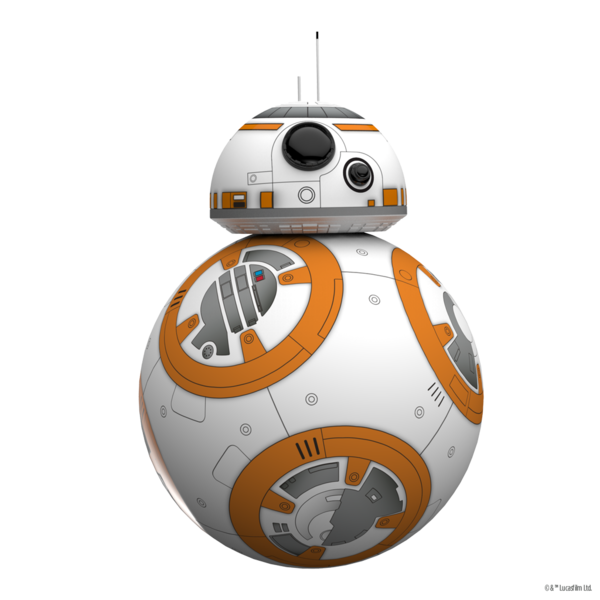
We also looked at images of the officially-licensed BB-8 Sphero toy.
Gallery