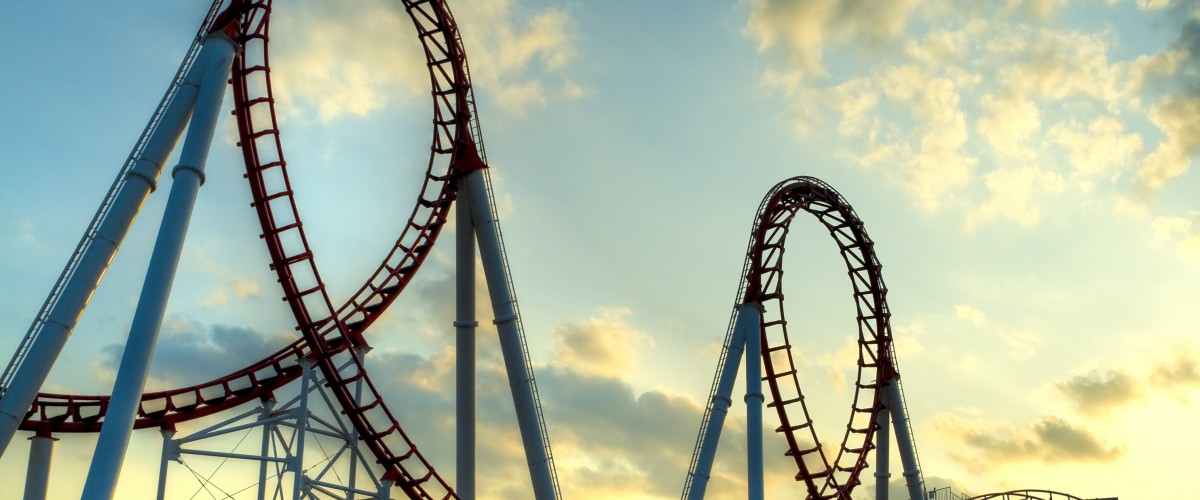
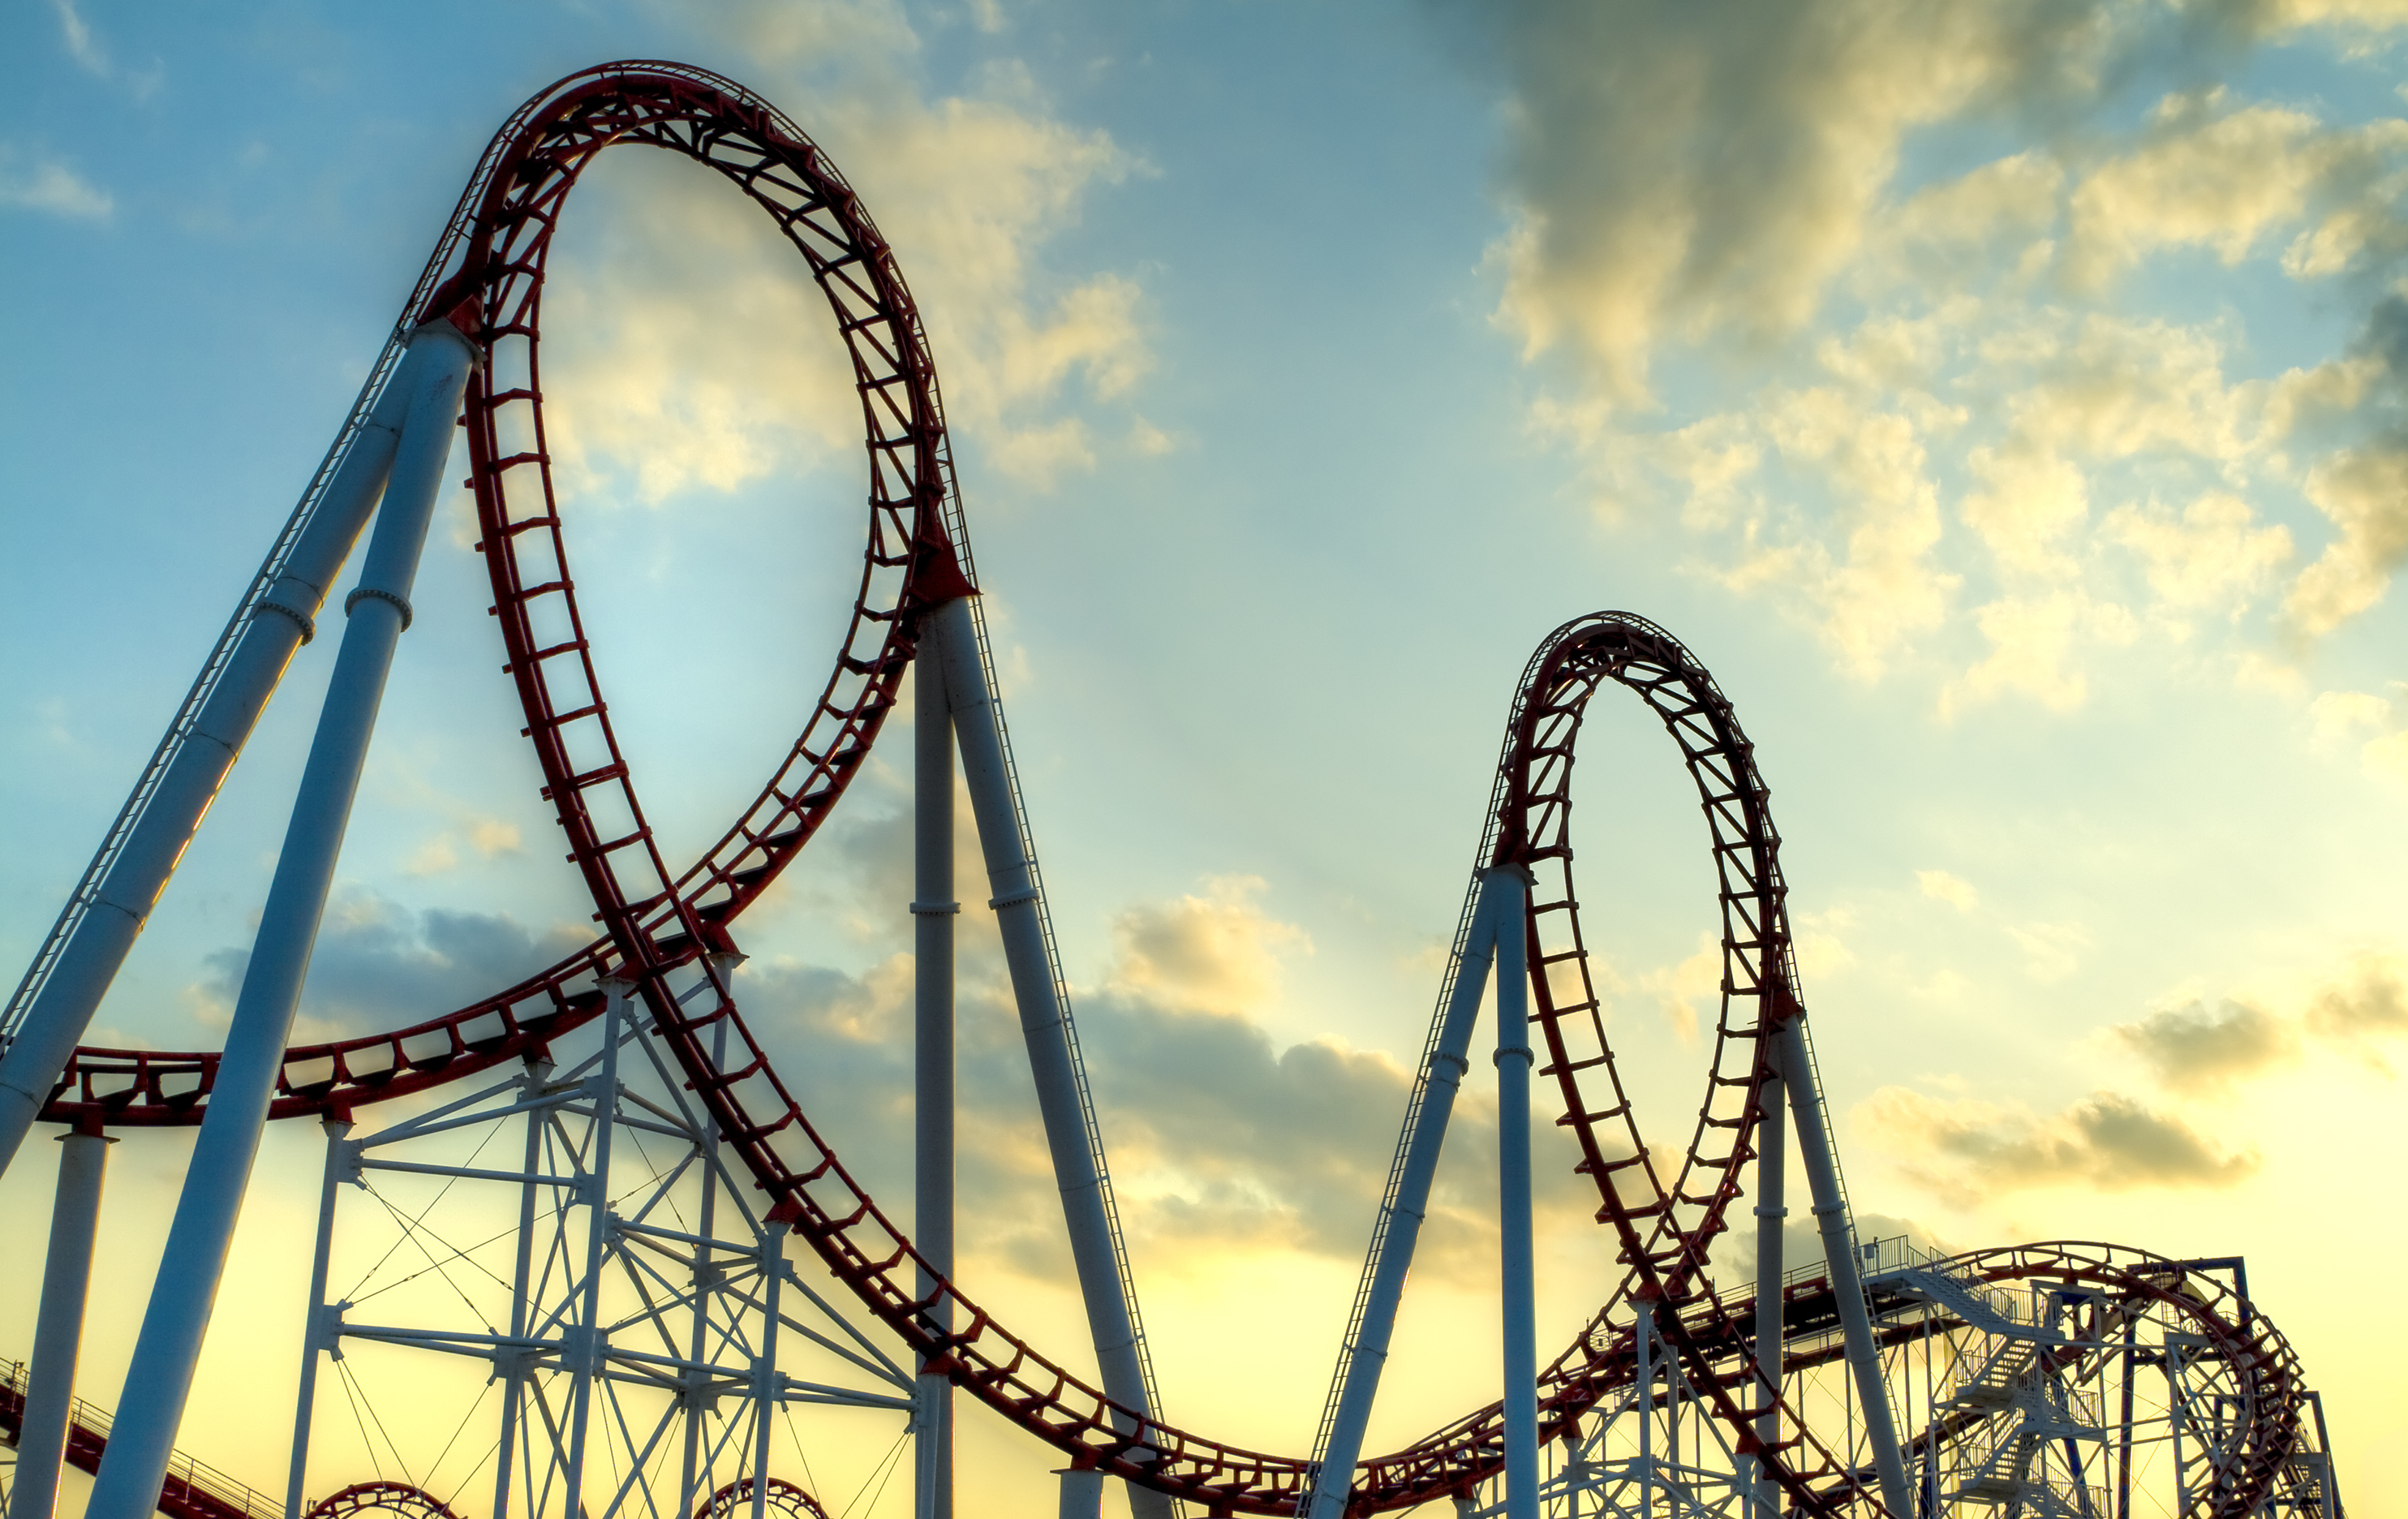
Roller Coaster Physics
Design and build a roller coaster using everyday items, learning concepts in physics along the way.
Trang Ngo & Will Luna, Tufts University CEEO 2015
Final Project
The roller coaster is meant to be used as a tool for easily explaining various concepts in physics, including gravity, friction, potential energy, and centripetal force. The project shows students how physics is not only relevant in the real world, but how it is an essential tool in building some extremely cool stuff, like roller coasters.
Building the roller coaster also presents students with architectural, engineering, and design challenges that can not always be anticipated before beginning construction. Dealing with these unforeseen problems demands teamwork and adaptability, important soft skills rarely taught in traditional physics curricula.
This page not only provides a walk-through for a teacher interested in using this assignment in their classroom, but the process we went through beforehand in coming up with the assignment itself.
The Ask Section documents our initial ideas for a conceptual physics assignment that emphasized creativity;
The Brainstorm Section documents our evaluation of different materials and grading rubrics that would make the best assignment;
The Plan Section documents how we, as though we were students, would design our roller coaster;
The Create Section documents typical problems students might encounter in building projects;
The Improve Section documents how we used feedback from further testing to improve the assignment in the future.
The Big Idea
Physics curricula often tend towards one of two extremes, either involving highly abstract mathematical problems out of a textbook, or tedious lab experiments that demand more data collection than critical thinking. The goal of this project was to brainstorm and design a lesson plan that combined conceptual learning with creativity, to keeps students engaged while reinforcing their understanding of physics.
This project is notable in that it only uses found objects (paper, scissors, tape, etc).
Ask
- Explain the physics behind a technology or phenomena in science fiction.
- Pros: Students would enjoy working with concepts in their favorite movies
- Cons: Feels too confusing to have an exercise that does not use real physics
- Rocket launcher design competition
- Pros: 'Cool' Factor, wind resistance allows for competition and iterative design, and calculations can be made to maximize angle.
- Cons: Many students will have done this activity before, and it does not demand an explicit knowledge of physics
- Recreate a drinking bird
- Pros: Creates an artifact students can be proud of; is the right level of difficulty
- Cons: The process and materials are too costly/time-consuming
- Roller coaster design challenge
- Pros: Demonstrates clear concepts in physics (Gravity, Newton's Law of Motion, Potential vs. Kinetic Energy) as well as being fun and iterative
- Cons: Potentially time-consuming and/or hard to make
We saw a greater potential in the roller coaster challenge than the other three options, and decided to explore the idea further.
Roller coasters are an obvious combination of physics and fun - an ideal classroom activity.
Brainstorm
We recognized that the assignment had to be defined in two ways - what materials can students use, and how are their designs being evaluated?
We began brainstorming on our own, and came up with a handful of options:
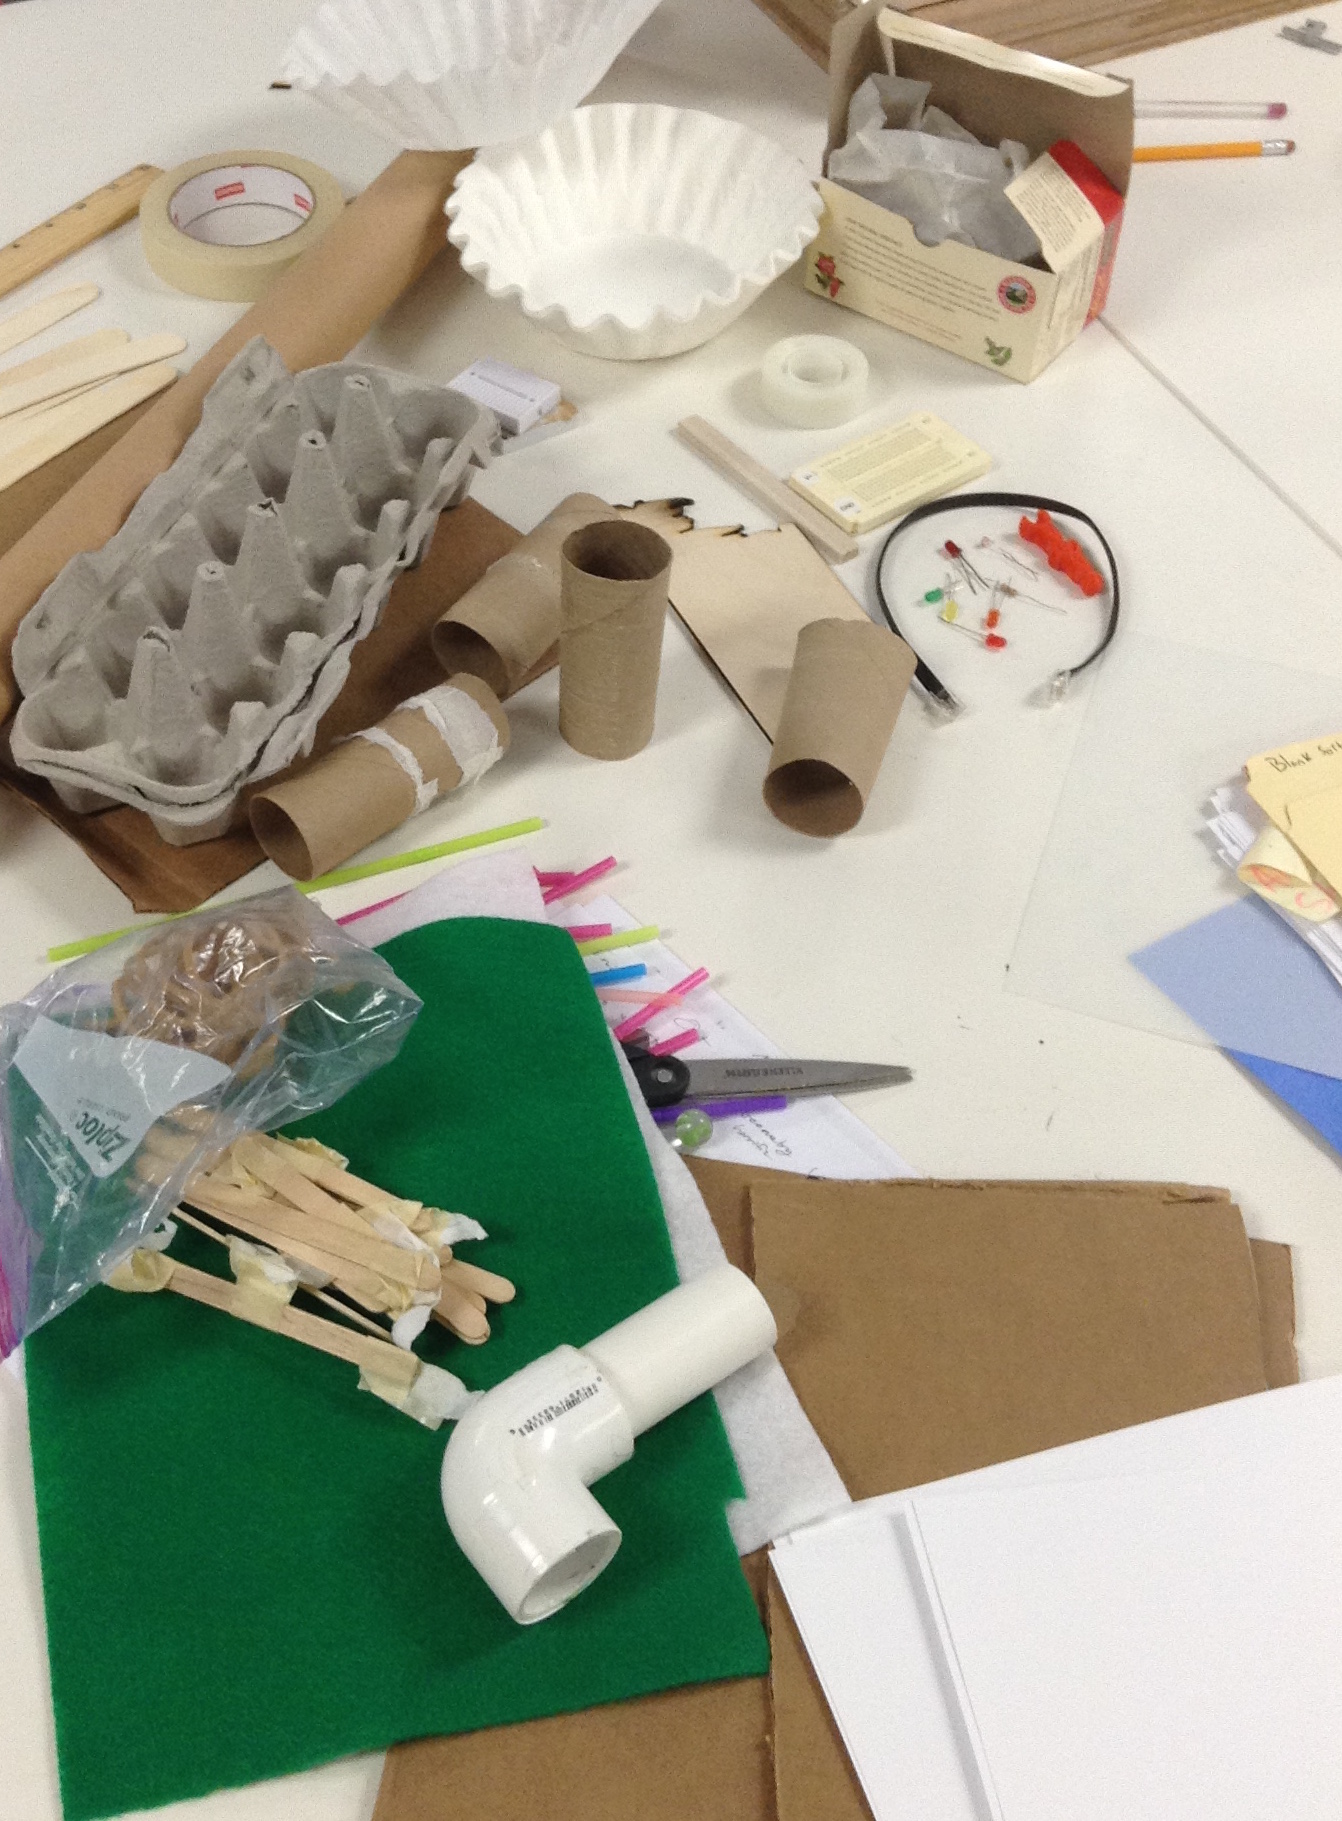
Material Options (what we had at our disposal)
- Roller Coaster (Track and Supports)
- Legos
- PVC Pipe
- Paper
- Cardboard
- Straw
- Car
- Marble
- Large plastic ball
Challenge Options (ideas we came up with)
- Make a loop-de-loop
- Given set track length (with one more materials), make course take as long as possible.
- Given set track length (with one more materials), make course take as short as possible.
These options did not leave us satisfied. The materials felt arbitrary (a roller coaster can be made out of almost anything) and the challenges felt like optimization problems (overly mathematical).
Too Much Stuff
Simply identifying the materials at our disposal did not foster creative thinking, but make the task of designing the roller coaster just seem more daunting.
Finding the Perfect Challenge (Brainstorm Cont'd)
We looked at examples online to try and find more potential materials and assignments.
After evaluated three sample challenges (see below), analyzing in what ways they engendered creative thinking & concepts in physics, and in what ways they didn't.
Number 1: Six Flags Roller Coaster Design Contest
Materials
- 5/8" marble
- wood
- wire
- string
- twine
- doweling
- toothpicks
- cardboard
- construction paper
- glue
- tape
Assignment (Grading Criteria)
- Each model will be entitled to three runs. The longest time to go from the Start position to the Finish will be the official time for that model. (50 pts maximum)
- 5 points per loop. A vertical loop is defined as any time the "rider" is upside down on a loop of track that is within 10° of vertical. If the vertical loop is a portion of a corkscrew, it counts as a vertical loop. Horizontal loops do not add bonus points.
- 0-15 points may be awarded for degree of openness of track.
- 0-10 points may be awarded for novel engineering, including use of unusual materials, quality of workmanship, etc.
- The model roller coaster will be judged for its merits as a possible ride to be purchased by an amusement park. Selecting a theme is an essential element of a new ride. A score out of 25 will be awarded to each entry.
- Each entry will be judged for rider enjoyment. A score out of 25 will be awarded to each entry.
Analysis: This assignment felt like overkill. The requirements are overly specific, and place a lot of value in aesthetics over the creativity of the design. The number of available materials and judging criteria make the task open-ended to the point of being daunting.
Number 2: Ms. Thrilla Roller Coaster Challenge
Materials
- Foam Pipe Insulation
- Marble
Assignment (Grading Criteria)
- The marble (train) must stay on the track at all times! (6 pts.)
- The longest ride is definitely the most fun! (5 pts.)
- Your team’s ride will be timed with a stopwatch, the faster the time, the more fun! (5 pts.)
- The more loops, the more fun! 1 Loop (1 pt.) 2 loops (2 pts.)
- Remember to fill out all the requirements that good engineers, mathematicians, and scientists must complete in your Design Portfolio! (6 pts.)
- Always remember to test your design and record each rise and run! Also remember that good engineers are great researchers, take good notes on your background research! (6 pts.)
Analysis: This assignment is a lot closer to what we're looking for. The last two criteria encourage the design thinking process - using note taking and data collection to improve the design through iteration.
However, evaluating the roller coasters both for their speed and length could be confusing for students, and keeping the marble on track at all times seems to limit potential designs for the sake of making the challenge more realistic - something that does not apply to our curriculum. Only using foam insulation also limits the design possibilities.
Number 3: Roller Coaster Physics (Santa Ana School District)
Materials
- Instruction Manual
- Scissors
- Tape
- Marble
- Ruler
- Cardboard Base
- Paper
Assignment
- Total track length must be 150 cm or longer
- At least one loop
- At least 6 turns
- Safety – your marble must travel down the roller coaster smoothly without flying off the track
- Bonus points given for uphill portions and longer ride time
Analysis: The available materials seem perfect - paper can be used in a multitide of ways, and students will not be distracted by tons of other possible construction materials. The parameters of the assignment are very clear, asking for a design that fulfills some basic requirements, with a lot of room for expansion.
Note that the instruction manual shows students how to build the basic parts of the roller coaster, saving them time in trouble-shooting construction. We were big fans of this, because it let the students get to the creative (and conceptual) element of the assignment more quickly.
The bonus points are also great - it keeps the faster teams engaged while the slower ones can finish the basic requirements of the project. Again, the safety element feels like an effort to bring the real world into the design, a normally noble effort that may not serve the purposes of our own challenge.
While the Six Flags contest places heavy emphasis on themes and workmanship, our assignment should focus on physics and creativity.
Our Challenge (Brainstorm Cont'd)
We took the best of those three assignments with some of our own goals in mind, coming up with:
Materials:
- Marble
- Paper
- Scissors
- Tape
- Cardboard
- Online Tutorial (Instructables.com)
Assignment:
- One horizontal loop
- One loop-de-loop
- One funnel
- An uphill portion
- Minimum time (to be determined)
Justification:
We wanted all to force all of the groups to successfully build the elements we felt would be most effective in provoking their creativity (loops, funnels, uphill segments) and that would be easy to explain using basic physics terminology. The materials are basically identical to the second example we looked at, except that we wanted to provide the students with an online tutorial that would show them how to quickly build the tracks and supports.
Building the Tracks
Showing students how to build the basic elements of their roller coaster prevents them from getting frustrated early on and lets them focus on the more creative parts of their design.
However, we tried the assignment out ourselves and ran into some problems. Primarily, that the building process takes such a long time that it eclipses the designing and presenting of the roller coasters (what we wanted to focus on). Even with the tutorials, satisfying our minimum constraints took so long that we did not consider going outside the box and designing more inventive elements.
We wanted the students to think more creatively right off the bat, so we ditched all of the constraints of the assignment with a new grading system - individuals would vote for their favorite roller coaster (and could not vote for their own) to determine the winner. The only requirement was that each team would have to use their roller coaster to explain three concepts in Physics (Newton's Law, etc). We also thought that showing a video of a particularly elaborate roller coaster online would get the students to think more creatively.
We gave this new assignment to two of our coworkers, showing them the video and then giving them time to design a roller coaster. However, it turned out that this was also limiting to their creative process (see the 'Improve' Section for a more in-depth analysis).
Instructables Roller Coaster Video
While the video shows some amazing creativity, we found that it restricted the students - they designed their roller coasters combining the ideas they had already seen rather than coming up with their own.
The Final Assignment (Brainstorming Cont'd)
So we revised the challenge again:
Assignment:
- The team whose roller coaster receives the most votes wins
- The marble must be able to get through the track in under ten seconds
- The team must explain how three physics concepts are exemplified by their design
Materials:
- All physical materials are allowed
- Tutorial on building supports, tracks, and loops (from Instructables.com)
Justification:
Simply by making the online tutorials available to students, they will have an overwhelming tendency to build the majority of their roller coasters out of paper, cardboard, and tape. They are likely to use the other materials where they count, in coming up with creative ideas after building the foundation. This makes material restrictions unnecessary.
The time constraint is to nudge students towards spending more time on designing and less on building. Successful roller coasters need to be short, sweet, and cool, and this should deter students from building an idea until they have a top-notch design.
Plan
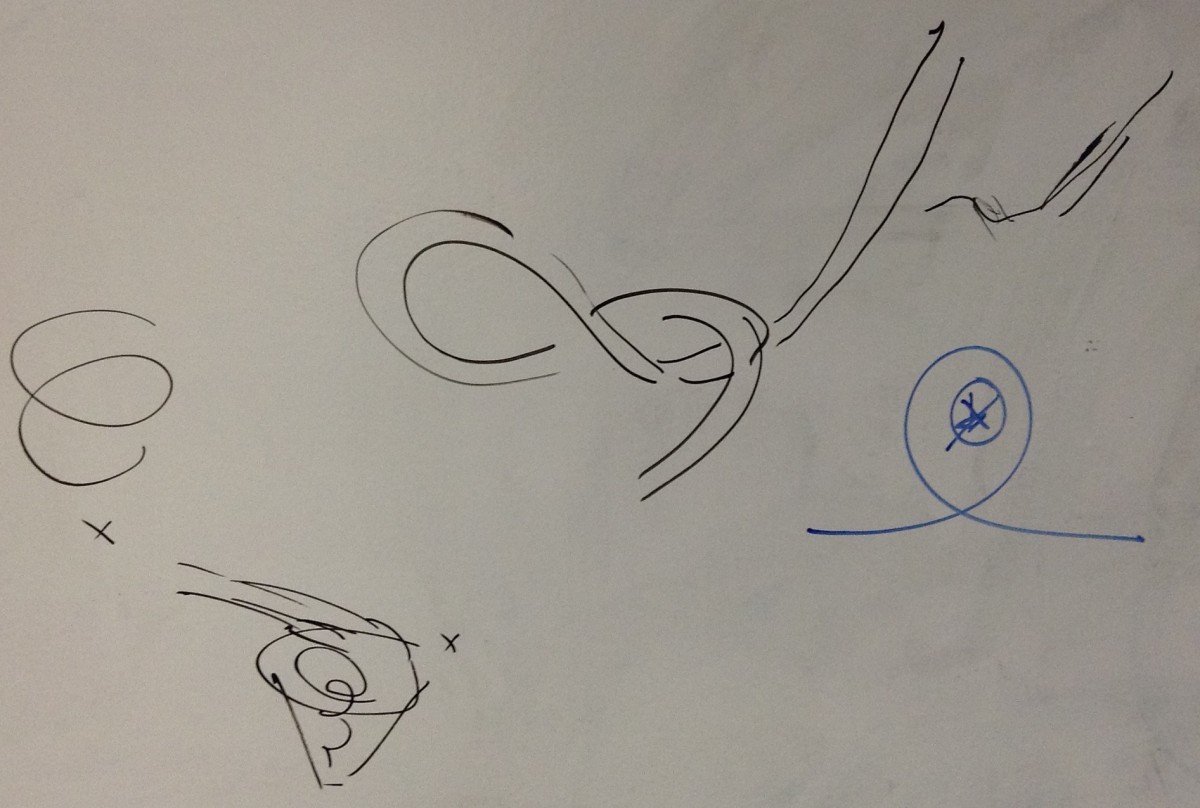
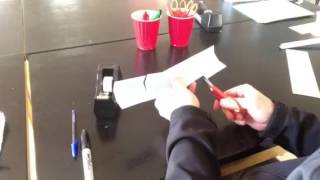
We wanted our roller coaster to be short and sweet - so we decided to make it only two stories tall, with a funnel, loop-de-loop, and horizontal corkscrew. We experimented with folding and taping paper to create those three features, and found designs that we liked. We were not concerned with the designing the layout of the track - connecting it all up seemed trivial and easy. We also knew that we could use the online tutorials to make supports and tracks, and we did not consider improving them.
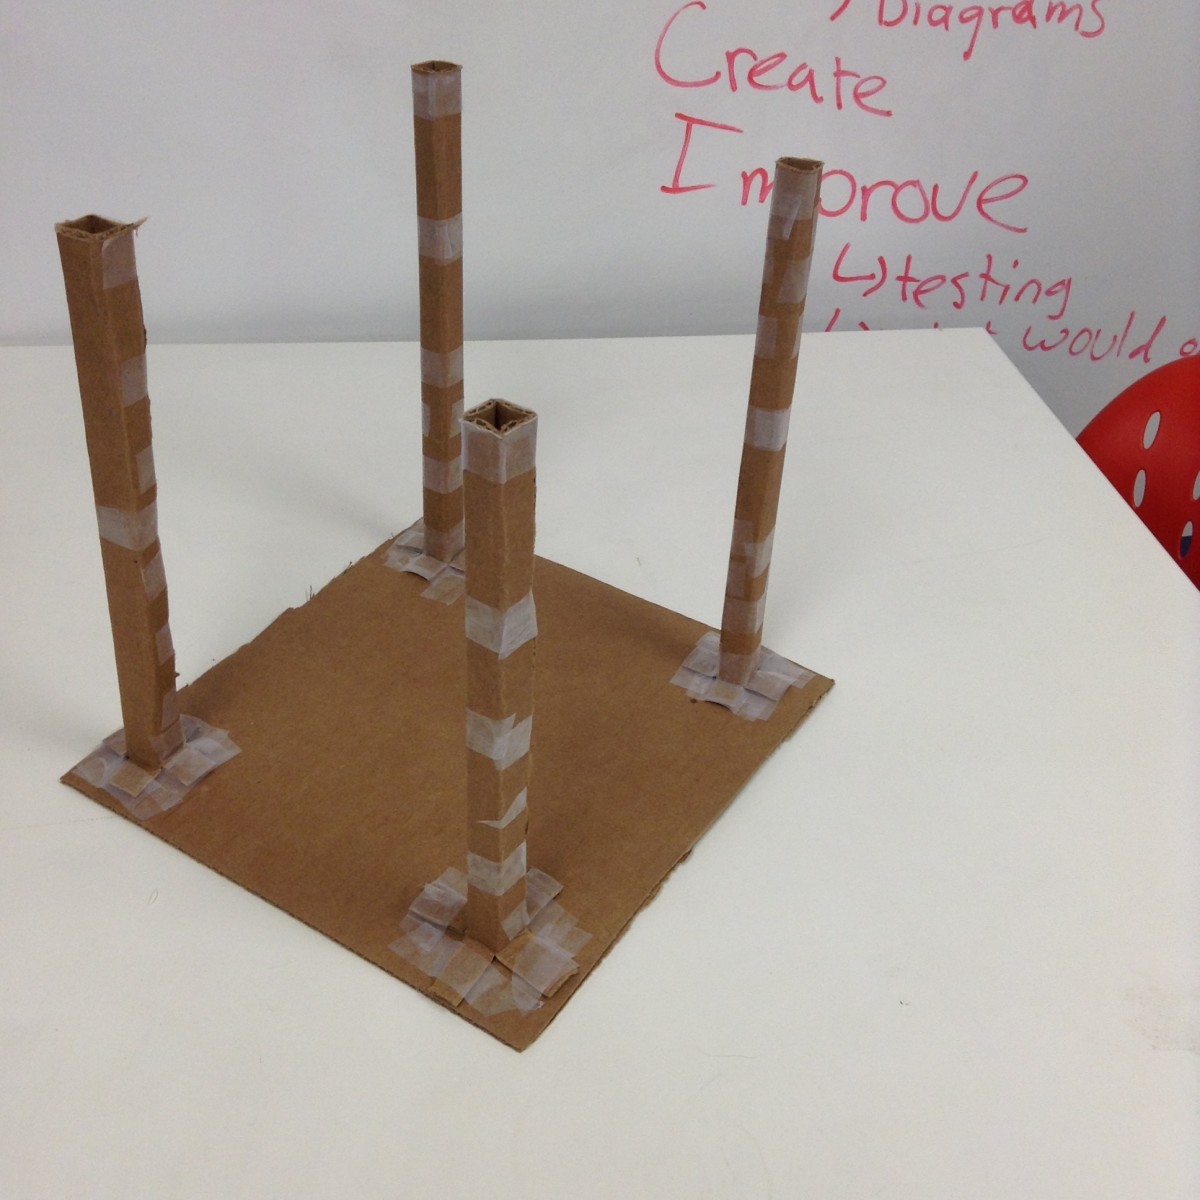
Making the Supports
Following the tutorial at:
http://www.instructables.com/id/Paper-Roller-Coasters-/step2/Supports/
Create
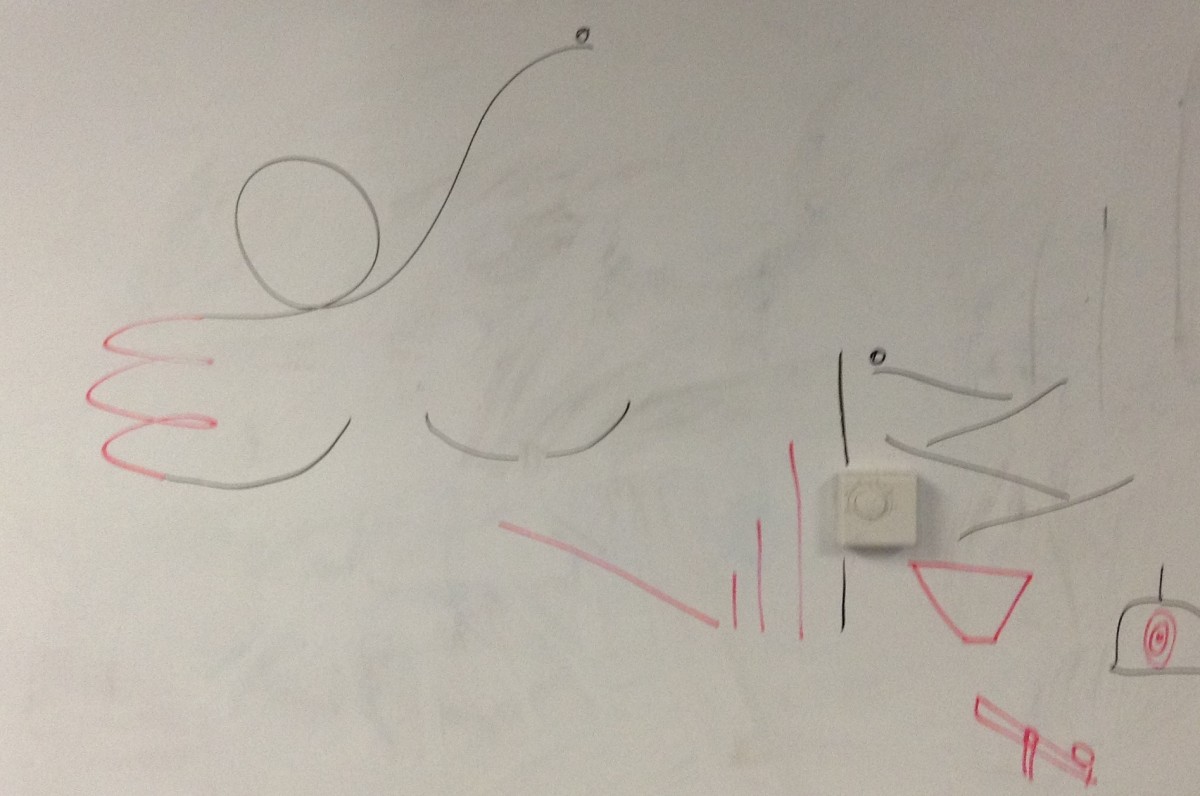
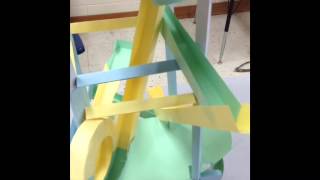
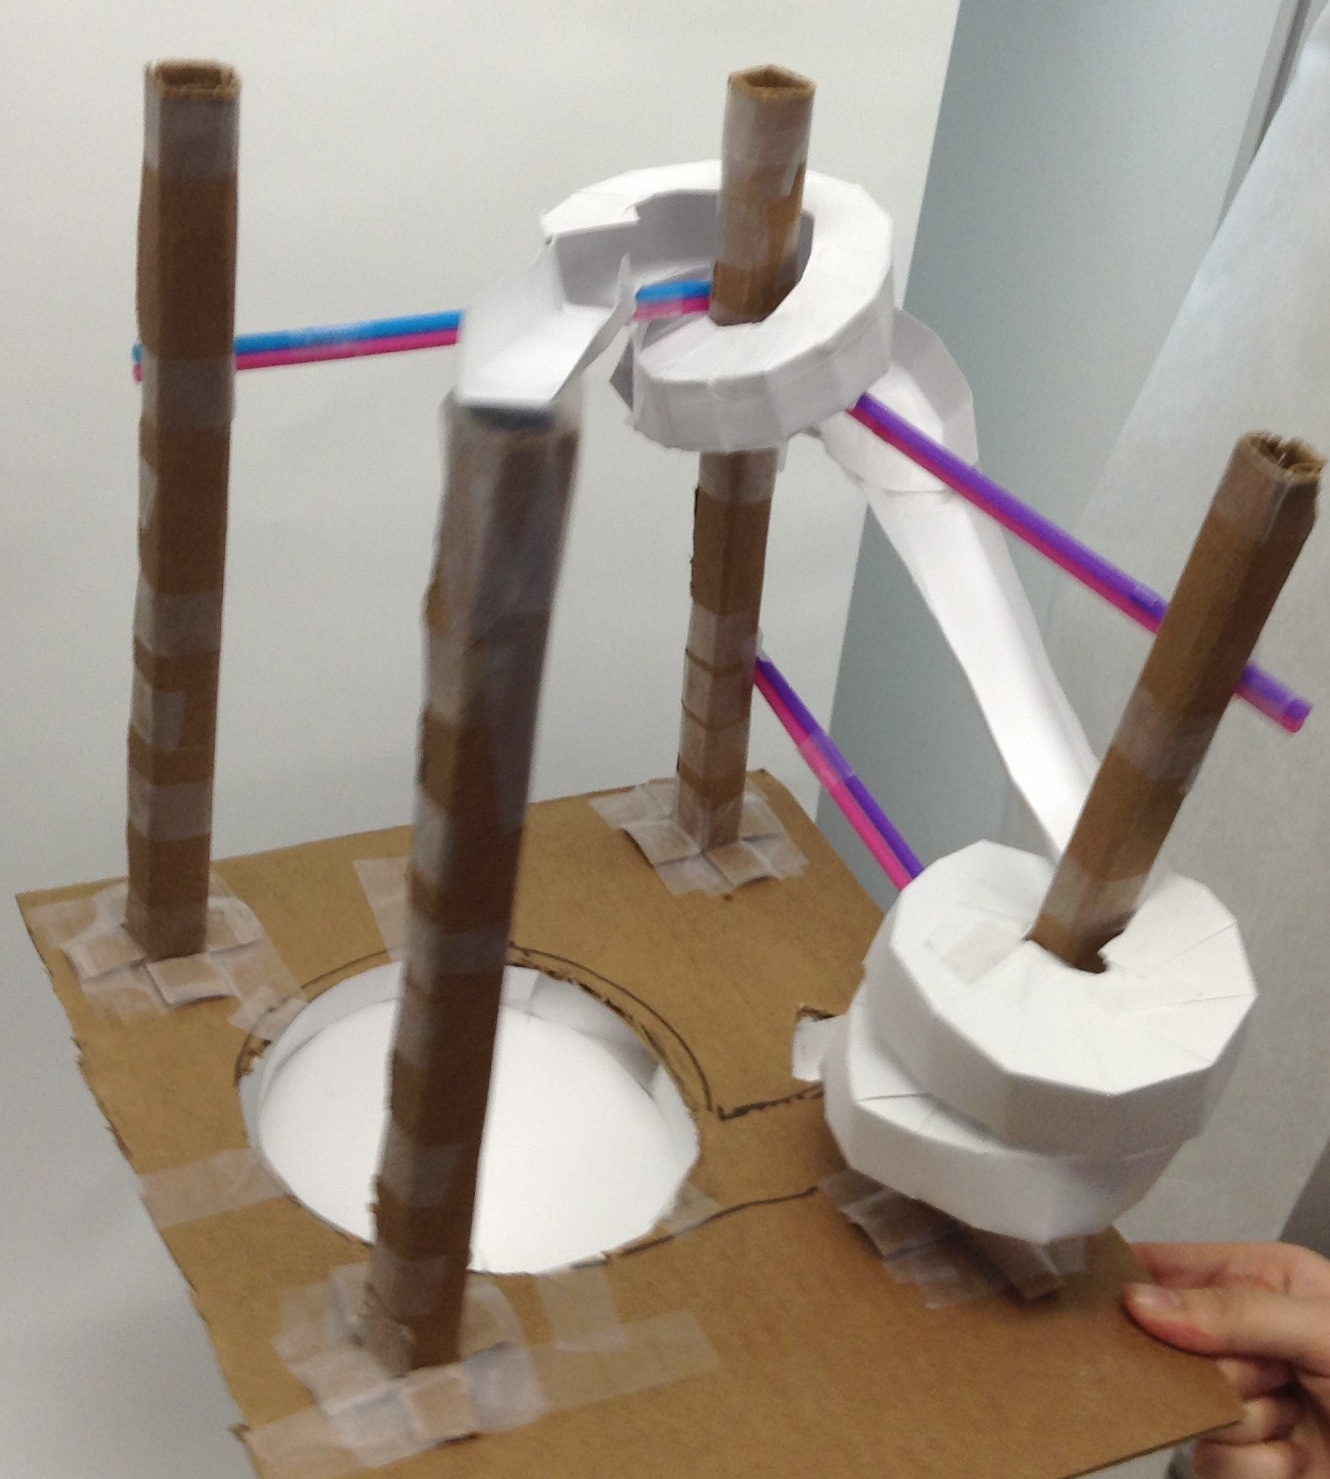
Right off the bat, we built four supports out of paper, decided they were not sturdy enough, and built them again out of cardboard.
Attaching those supports to a cardboard base, we used our design ideas to make more polished versions of the funnel, loop-de-loop, and corkscrew. We used straws to set these features against the supports, and then only had to connect them with the track.
A Work in Progress
That was a big mistake. The entry and exit points of the corkscrew, for instance, came out at awkward angles, that made it difficult to connect it to the basic tracks without extra construction. We also had to cut a hole in the cardboard base so that the marble had more vertical distance before the funnel. Otherwise, the marble falls in a straight line, rather than moving in an ellipse for a few cycles before falling into the hole.
We should have spent more time considering how one part of the roller coaster would lead into the next, and not underestimate the amount of height necessary to get the appropriate speed to make it through the funnel and the corkscrew.

Explaining the Physics
We were not thinking of the physics while building the roller coaster, and teachers should remind students that they will have to explain the physics behind their designs. The students should be able to observe the movement of the marble while running through this roller coaster and recognize various concepts of physics.
Here is a brief example of what students should be expected to present or write:
- The main force creating the movement of the marble is gravity.
- When running through straight steep tracks, the marble is accelerated.
- When entering the funnel, the marble goes around in circles before falling through a hole. This movement is the result of the combined force between its existing velocity and its centripetal force.
- The marble has to be drop from a steep track before going over an uphill track. This can easily be explained by the relation between potential energy and kinetic energy. While going down from the steep track, the potential energy of this marble is gradually converted to kinetic energy. When entering the uphill track, this kinetic energy propels the marble to overcome gravity and slide over the track.
- When constructing the roller coaster, the students also have to take into account the friction between the marble and the tracks.
The Finished Beauty
Improve (from the 'Trying it Out' section)
While designing the roller coaster, our co-workers:
- Identified that it would be easiest to design from 'top to bottom'
- Trade off on coming up with new features
- Rarely criticize each other's ideas
- Start with the most popular ideas (such as a 'loop-de-loop') working towards more unusual ones (a see-saw that launches another marble at a bell)
- Start with ideas from the video, ending the roller coaster with some of their own
- Use terminology from the video (such as referring to a nearly flat part of the track as a 'time-waster')
- Not consider the time or materials it would take to make any parts of the roller coaster
- Only questioned their ability to make the parts of the roller coaster they had not seen in the video
We concluded that showing students the video would restrict their creative thinking, making the design process shorter and the build process longer (both of which we do not want). We decided not to show students the video before future activities.