Soldering Iron
Soldering irons are the hammers and nails of the electronics world; they're very common, highly useful, and they're one of the first tools you'll need to use as you learn more about electronics.
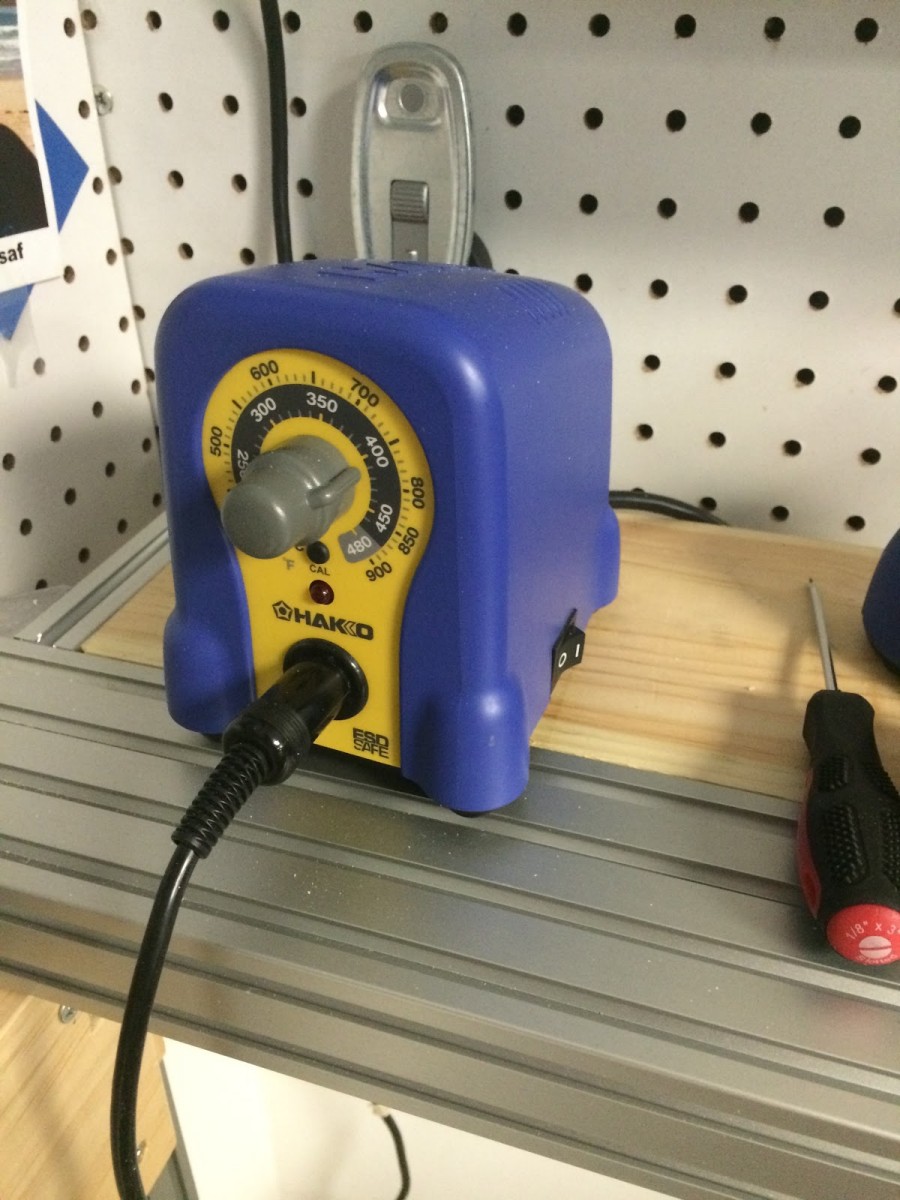
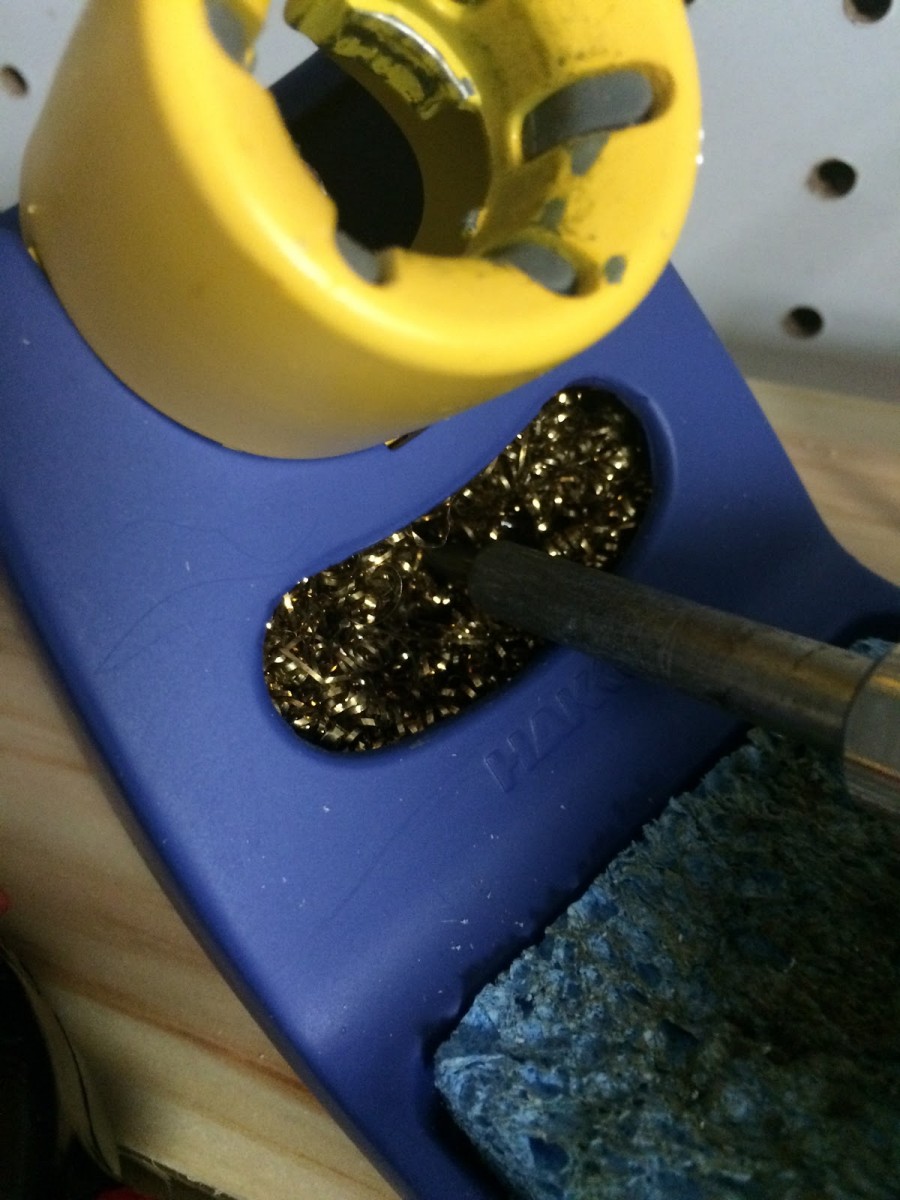
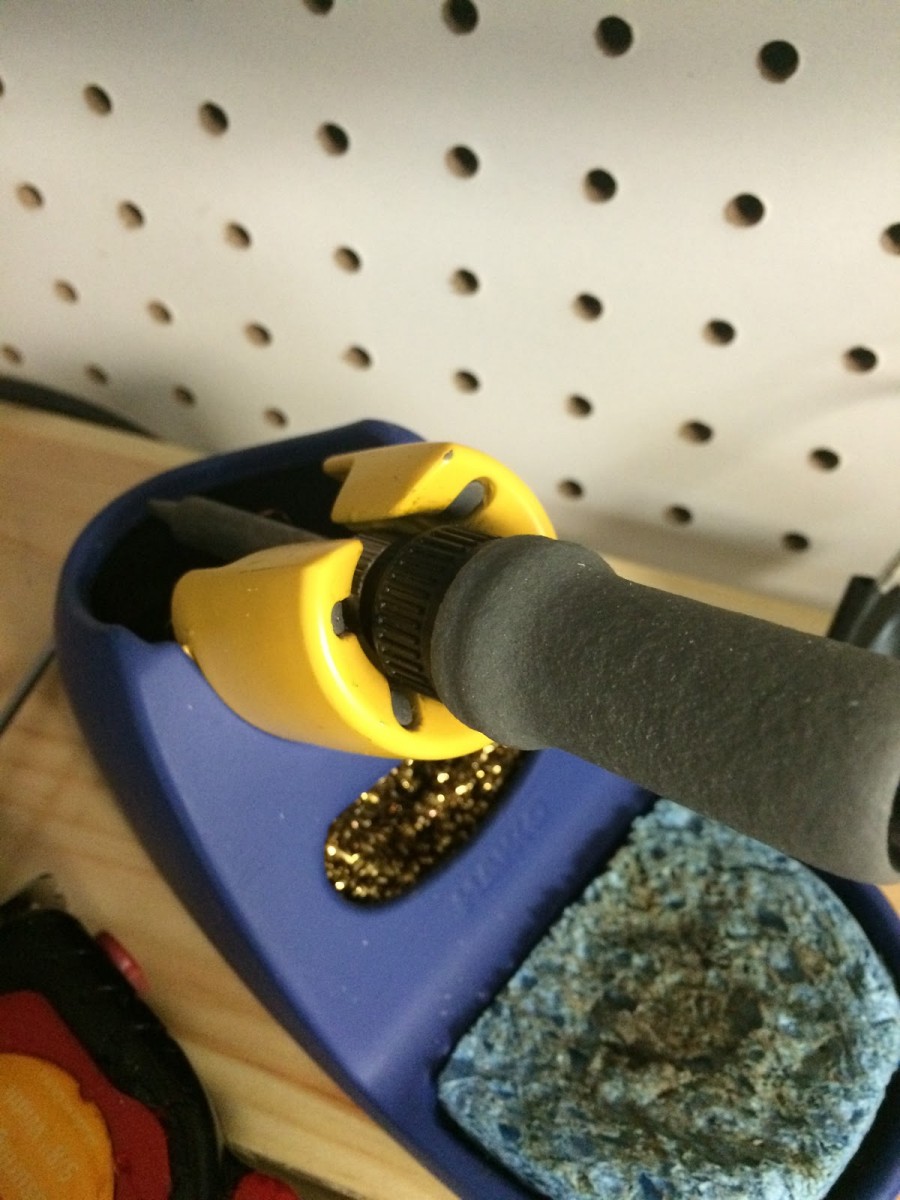
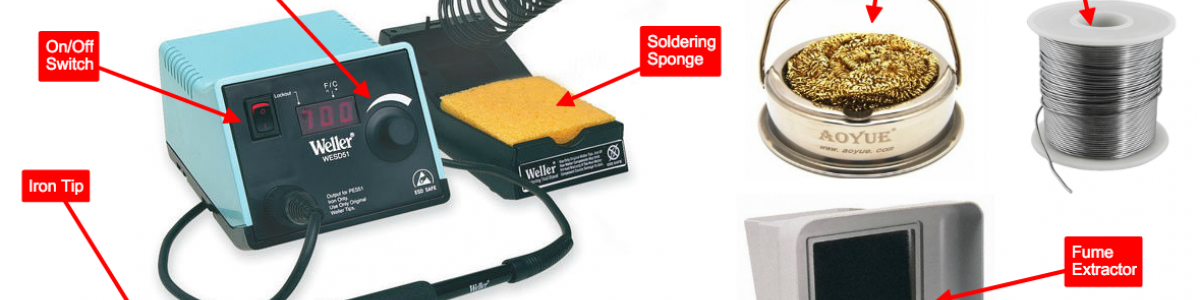
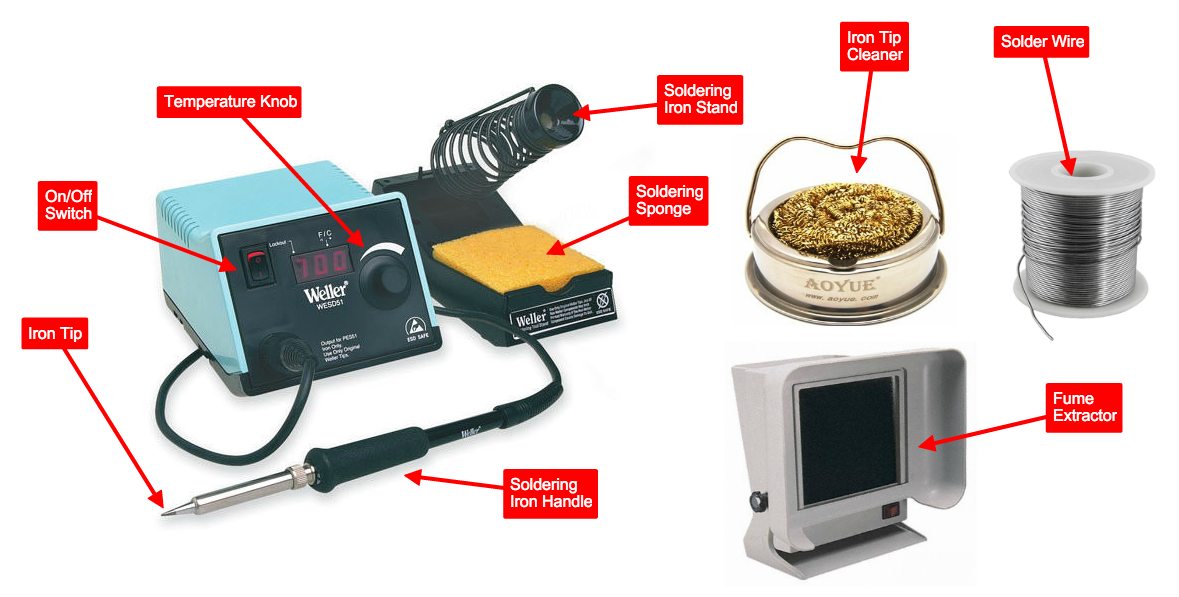
Soldering irons are pretty simple, mechanically. There's a handle part and a metal pointy part, and the metal part gets REALLY HOT when it's plugged in. For that reason you should always keep soldering irons inside their holsters when not in use to protect yourself and others. Some holsters have manual temperature controls, and often include sponges or wire brushes to clean the tip of the soldering iron.
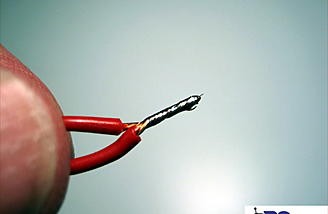
The point of a soldering iron is to heat up metal contact points on a circuit board so that solder (a flexible metal alloy with a very low melting point) can adhere to those metal contacts and connect various electronic components to the board.
Setup
- Turn on the soldering iron
- Set appropriate temperature using knob (check solder wire for recommended temperature – usually 250 ~ 350 ºC)
- Wait for soldering iron to heat to temperature
- Indicated by digital display or by station LED turning off
- Turn on fume extractor
Safe Operation
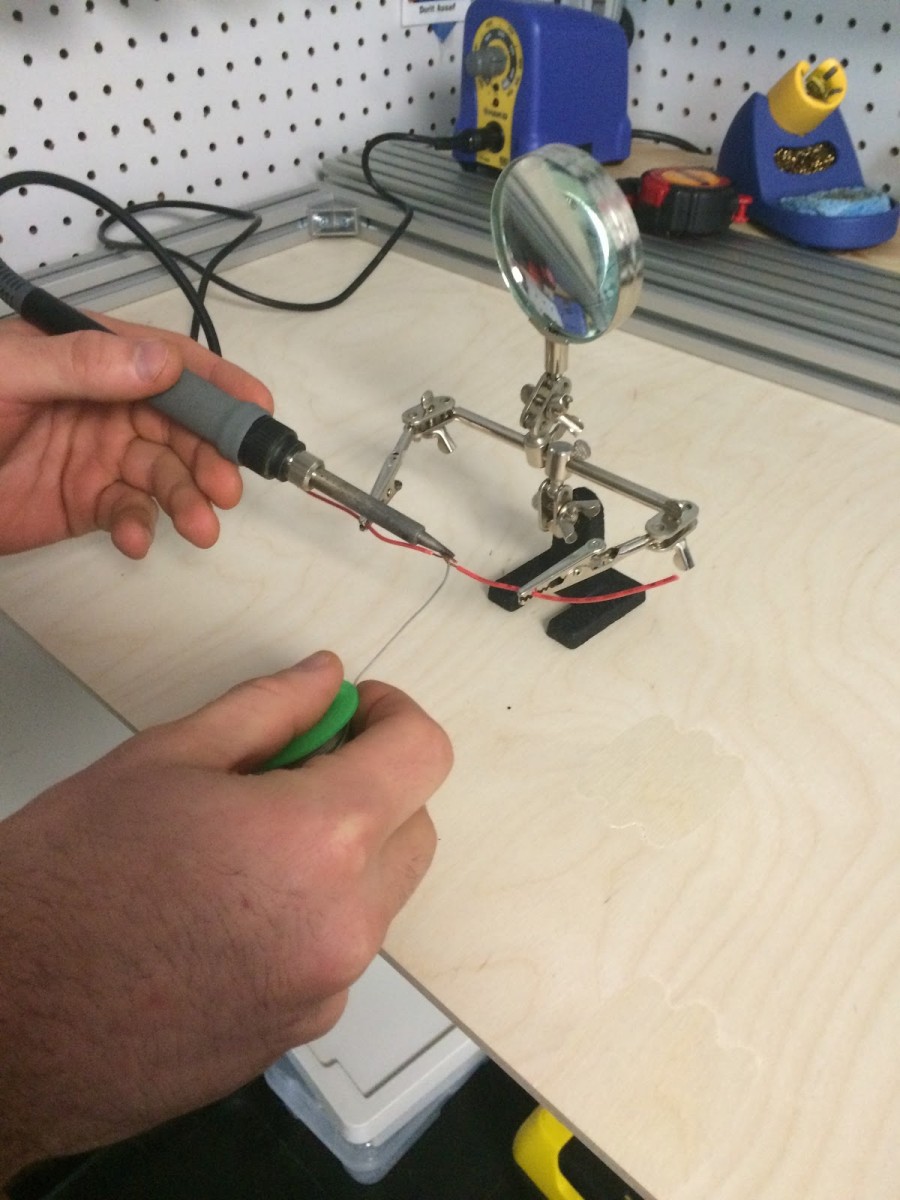
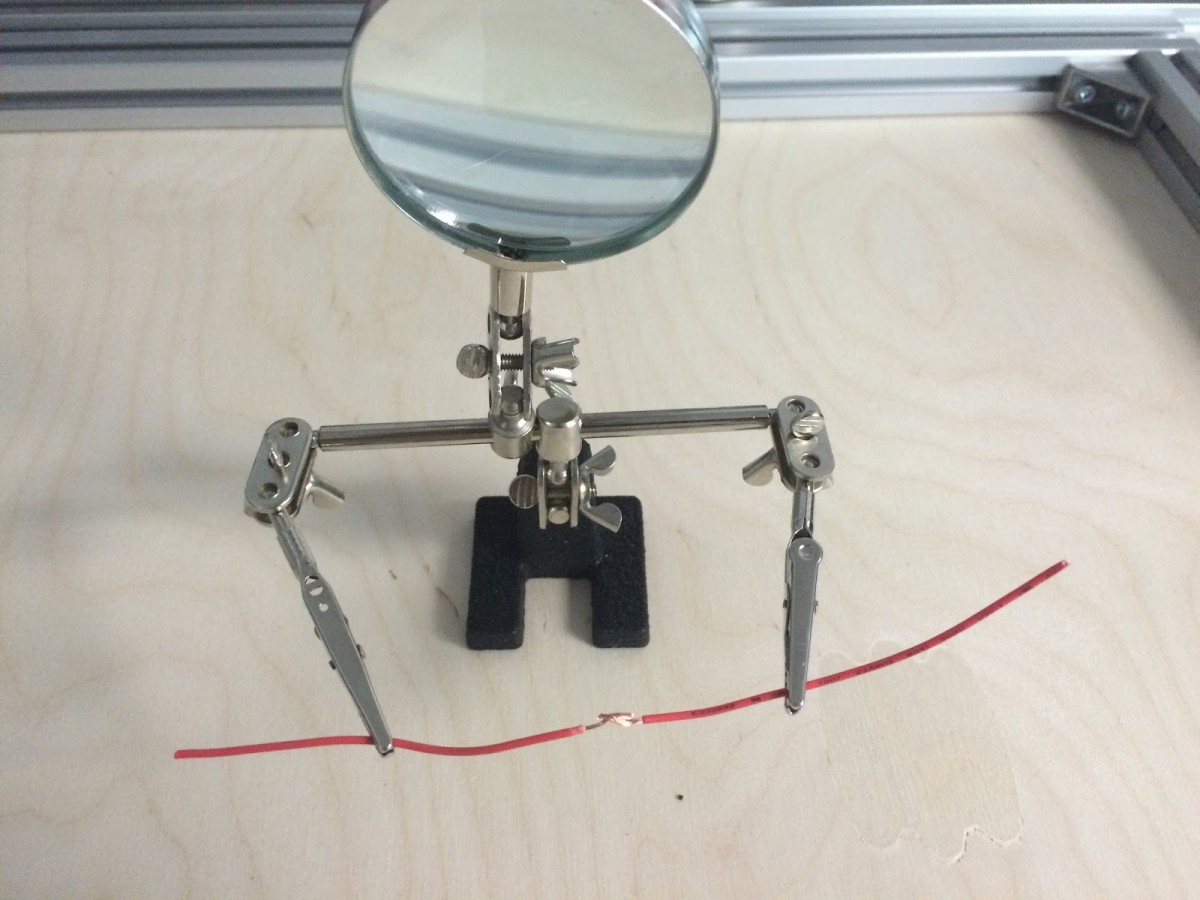
- Place two items to be soldered (pins, wires, etc) together
- Tip: Use helping hand stand with clips to hold items in place
- Touch iron tip to the two items
- Touch the solder wire to the heated items to melt them together
- Clean iron tip of any melted solder
- Return soldering iron to stand between uses
Cleanup
- Clean iron tip
- Place soldering iron back into stand
- Turn off fume extractor
- Turn off station/clean any spilled solder
Reference